Reporting Tags
As a growing business, you would have a rapidly expanding customer base spread across several domains and locations. So when you generate reports, it becomes hard and confusing to find details pertaining to a particular domain or location. Zoho Books lets you associate tags known as Reporting Tags and filter all your reports based on the tags.
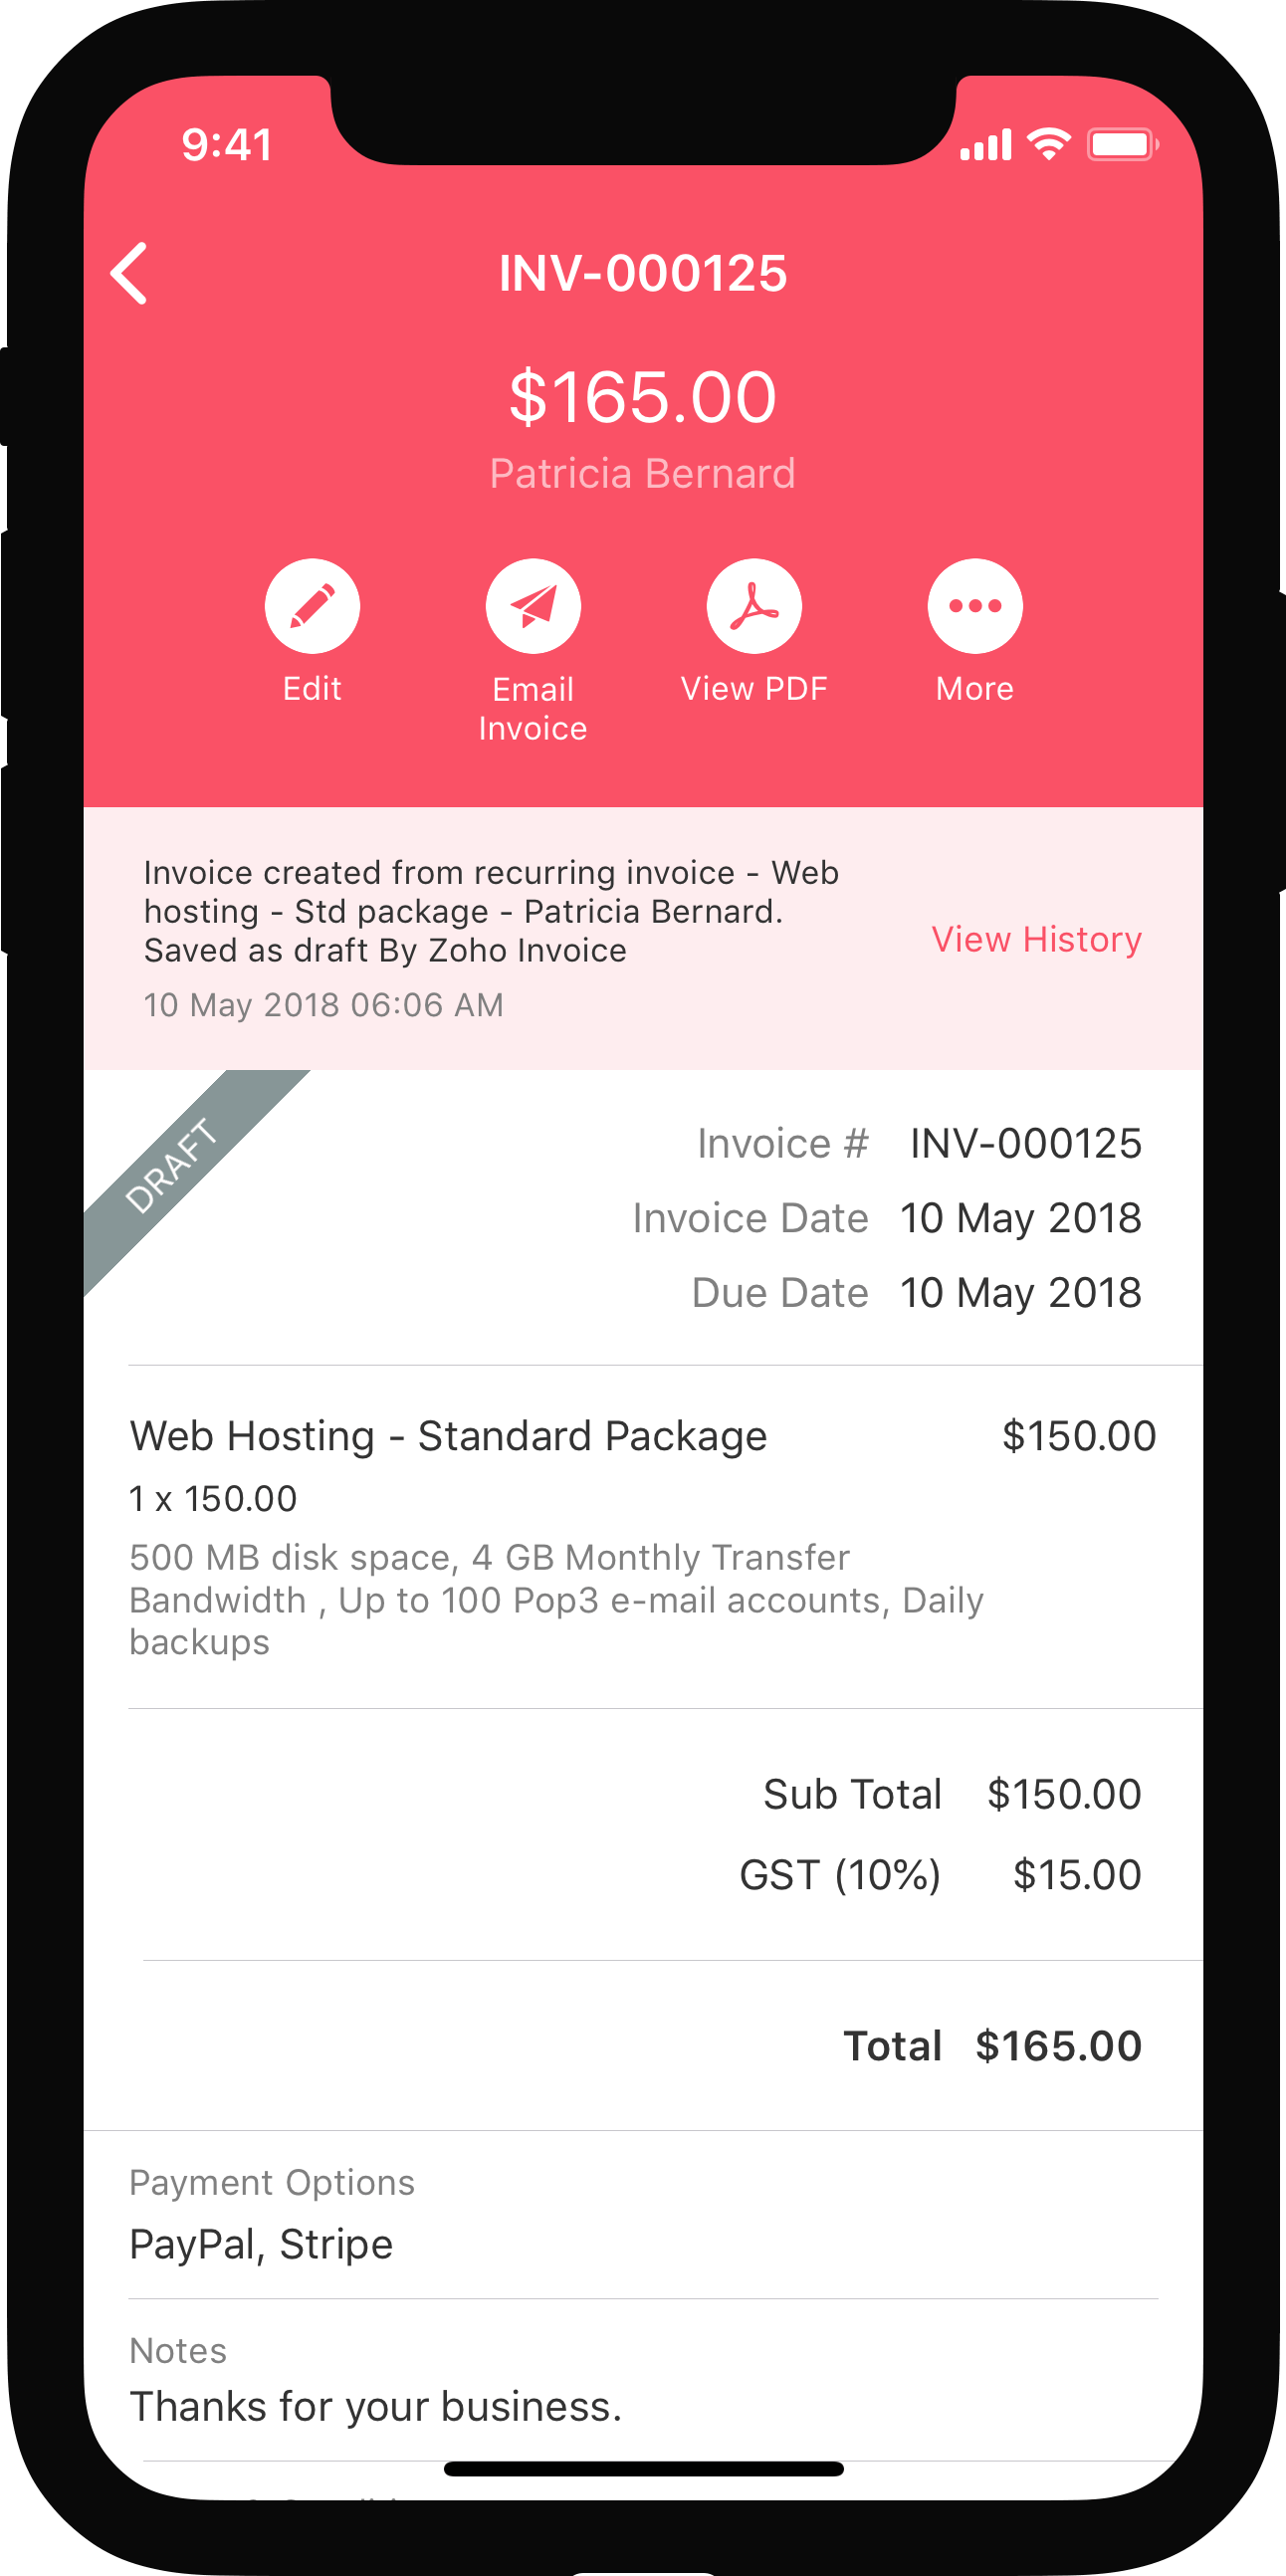
You will be able to associate reporting tags to Contacts, Items, Quotes, Sales Orders, Invoices, Recurring Invoices, Credit Notes, Expenses, Recurring Expenses, Purchase Orders, Bills, Recurring Bills, Vendor Credits and Journal entries.
Scenario: Jacob runs a travel and tourism agency and provides services around the globe. Jacob would like to generate profit or loss reports based on the most visited locations. Jacob immediately sets up reporting tags and filters his reports based on the tags to identify the most profitable locations and the best time of the year to visit them.
Note: This feature is available only for certain plans of Zoho Books. Visit the pricing page to check if it’s available in your current plan.
ON THIS PAGE:
Create Reporting Tags
You can create reporting tags with as many options as you want based on your business needs. To create reporting tags:
- Go to Settings in the top right corner of the page.
- Select Reporting Tags under Customization.
- Click + New Tag in the top right corner.

- Enter a Tag Name and provide the Options.
- Add more options by clicking + Add another option or delete an option by clicking the Trash Icon.
- Click Save.
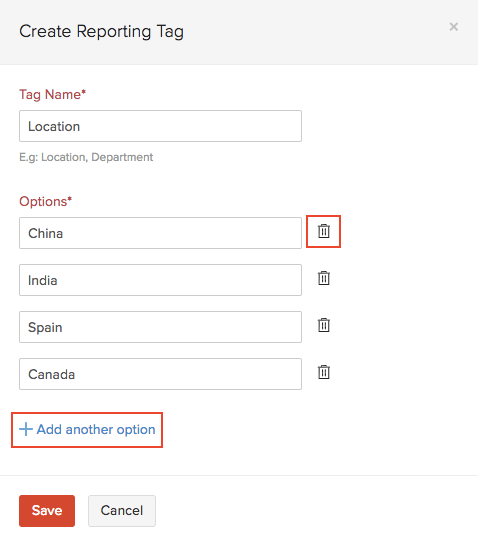
Note: You can create a maximum of 10 reporting tags and each reporting tag can have a maximum of 500 options.
Other Actions in Reporting Tags
Edit Reporting Tags
- Go to Settings in the top right corner of the page.
- Select Reporting Tags under Customization.
- Hover over the reporting tag, and click Edit from the dropdown to the right of the reporting tag.

- Make the necessary changes and click Save.
Delete Reporting Tags
- Go to Settings in the top right corner of the page.
- Select Reporting Tags under Customization.
- Hover over the reporting tag, and click Delete from the dropdown to the right of the reporting tag.

- In the pop-up, confirm by clicking OK.
Mark Reporting Tag as Inactive
- Go to Settings in the top right corner of the page.
- Select Reporting Tags under Customization.
- Hover over the reporting tag, and click Mark As Inactive from the dropdown to the right of the reporting tag.

- Make the necessary changes, and click Save.
Associate Reporting Tags
Once you have created reporting tags, you will be able to associate them with items, contacts and other transactions.
Associating Reporting Tags to Items
- Go to the Items on the left sidebar, and select Items.
- Create a new item by clicking + New in the top right corner or select an existing item.
- Enter all your details and click Associate Tags at the bottom of the page.
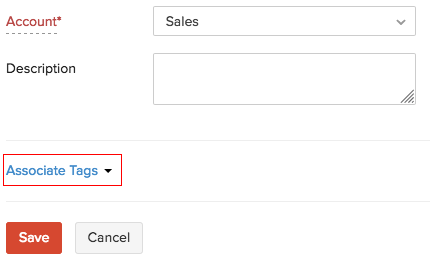
- Associate the required tags and click Save.
Associating Reporting Tags to Customers/Vendors
- Go to Sales or Purchases on the left sidebar, and select Customers or Vendors.
- Create a new customer or vendor by clicking + New on the top right corner or select an existing customer/vendor.
- Click the Reporting Tags tab at the bottom.
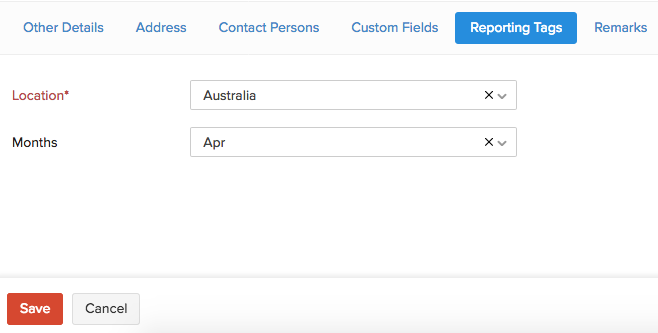
- Associate the required tags and click Save.
Associating Reporting Tags to Transactions
- Create a new sales or purchase transaction (For example, a Quote).
- Enter the details and click the More icon next to the item you’re entering.
Note: You can add reporting tags only to line items in transactions.

- Click Show Additional Information and select the Reporting Tags dropdown.
- Associate the required tags, and click Save.
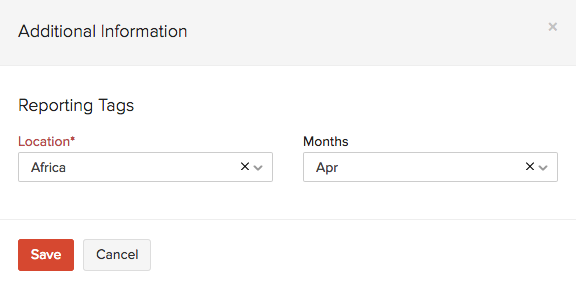
Note: In case of expenses or recurring expenses, you can click Associate Tags at the bottom of the expense creation page under Reporting Tags.
Generate Reports
Once you have created tags and associated them to transactions, you can run your business overview reports and filter them using the associated tags. To do this:
- Go to Reports on the left sidebar.
- Select a report under the Business Overview section (For example, Profit and Loss).
- Click Customize Report and select your reporting tags.
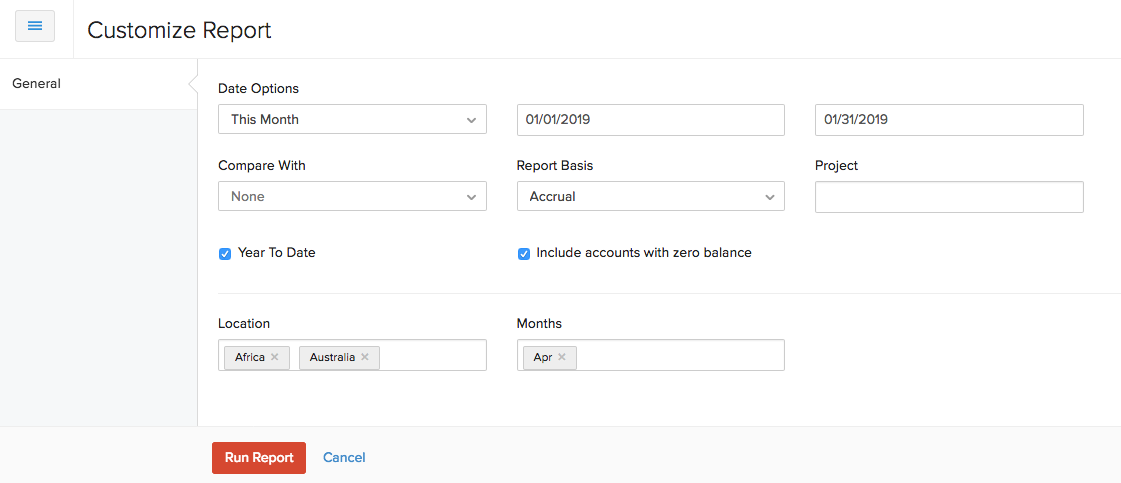
- Click Run Report to generate a report based on the criteria you’ve set.
Get access to 50+business reports and simplify your financial reporting.
 Yes
Yes
 Thank you for your feedback!
