Introduction - Customers & Vendors
In Zoho Books, you can add customers or vendors that you deal with in your business.
- For creating sales transaction like invoices or sales orders, you will have to add customers in your organization.
- For creating purchase transactions like bills and purchase orders, you’ll have to add vendors.
Create from Customer and Vendor creation page
To create a new customer:
- Go to Sales on the left sidebar and select Customers.
- Click + New in top right corner of the page.
- Select the Customer Type as Business for B2B customers, or Individual for B2C customers.
- Enter the details of your customer.
- Select the Currency they deal in.
- You can add other details such as their Billing Address and Shipping Address by navigating through the different tabs at the bottom of the page.
- After entering all the details, click Save.

| Fields | Description |
|---|---|
| Customer Type | Choose Business for B2B customers or Individual for B2C customers. |
| Currency | Select the currency which the customer deals in. This currency will be used in all the customers’ transactions. |
| Credit Limit | A credit limit can be set for the customer. |
| Company ID | Enter the unique identifier assigned to your company or organization |
| Payment Terms | Select the due date by which the customer has to make the payment. |
| Address | Add a Shipping and Billing address. |
| Contact Persons | Add contact persons to be associated with the customer. |
| Custom Fields | Assign a default value for the custom fields of the customer. |
| Reporting Tags | Assign a default value for the reporting tags of the customer. |
| Company ID | Enter the customer’s (business/organization) unique identification number issued by the government or tax authority, if applicable. |
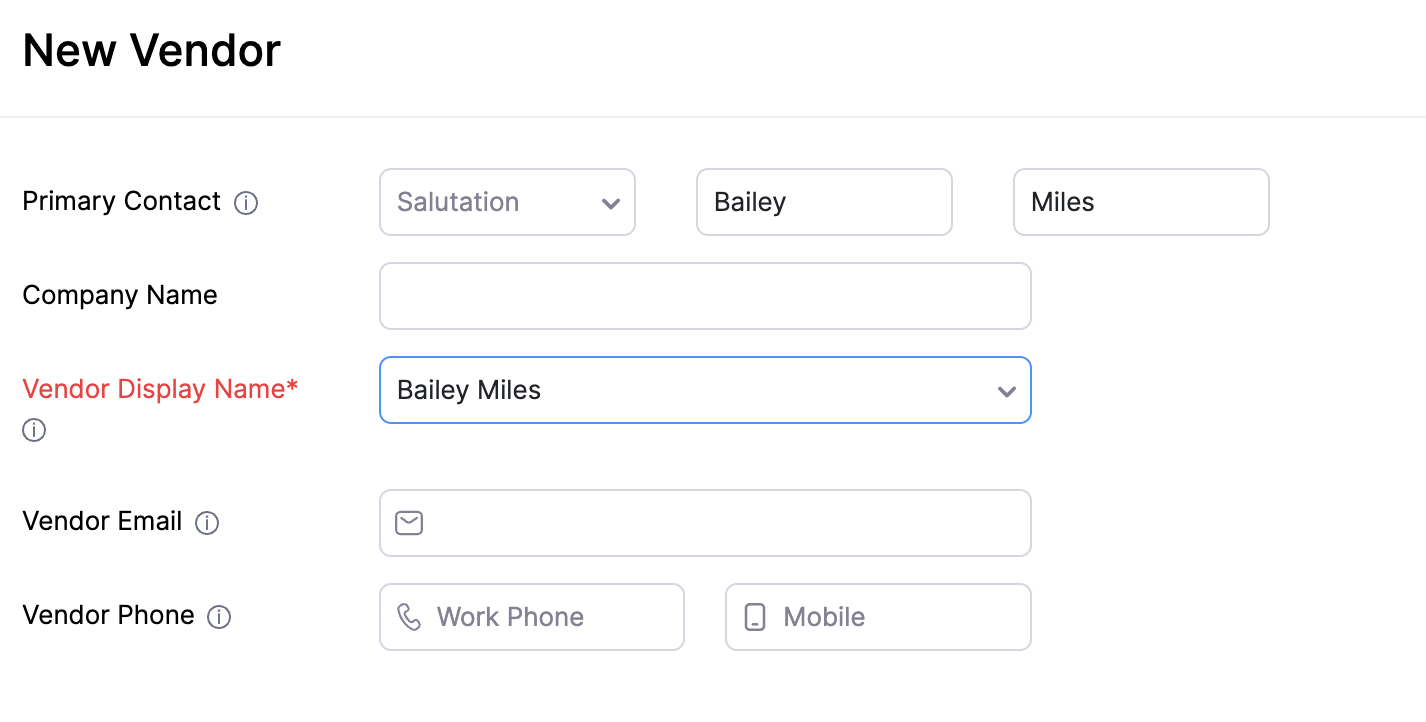
To add a new vendor:
- Go to Purchases on the left sidebar and select Vendors.
- Click + New in the top right corner of the page.
- Enter the details of your vendor.
- Select the Currency they deal in.
- You can add other details such as their Billing Address and Shipping Address by navigating through the different tabs at the bottom of the page.
- After entering all the details, click Save.
Import Customers/Vendors
To import customers/vendors from other systems:
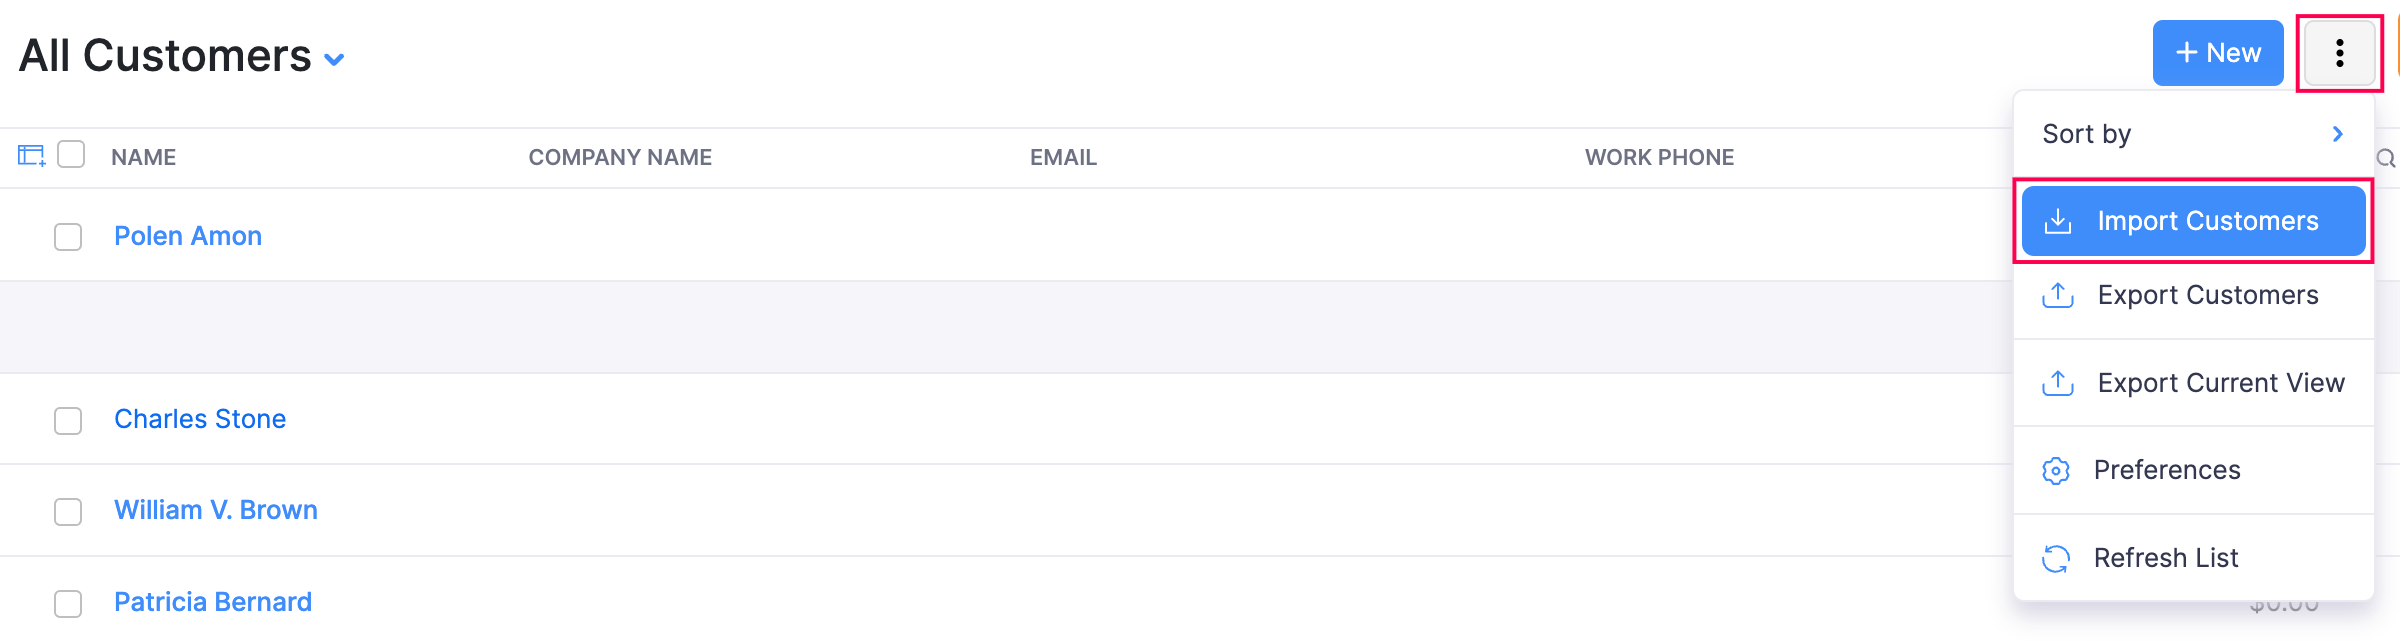
- Go to Sales on the left sidebar and select Customers (for customers) or go to Purchases on the left sidebar and select Vendors (for vendors).
- Click the More icon in the top right corner of the page.
- Select Import Customers or Import Vendors.
- In the pop-up that appears, Click Continue.
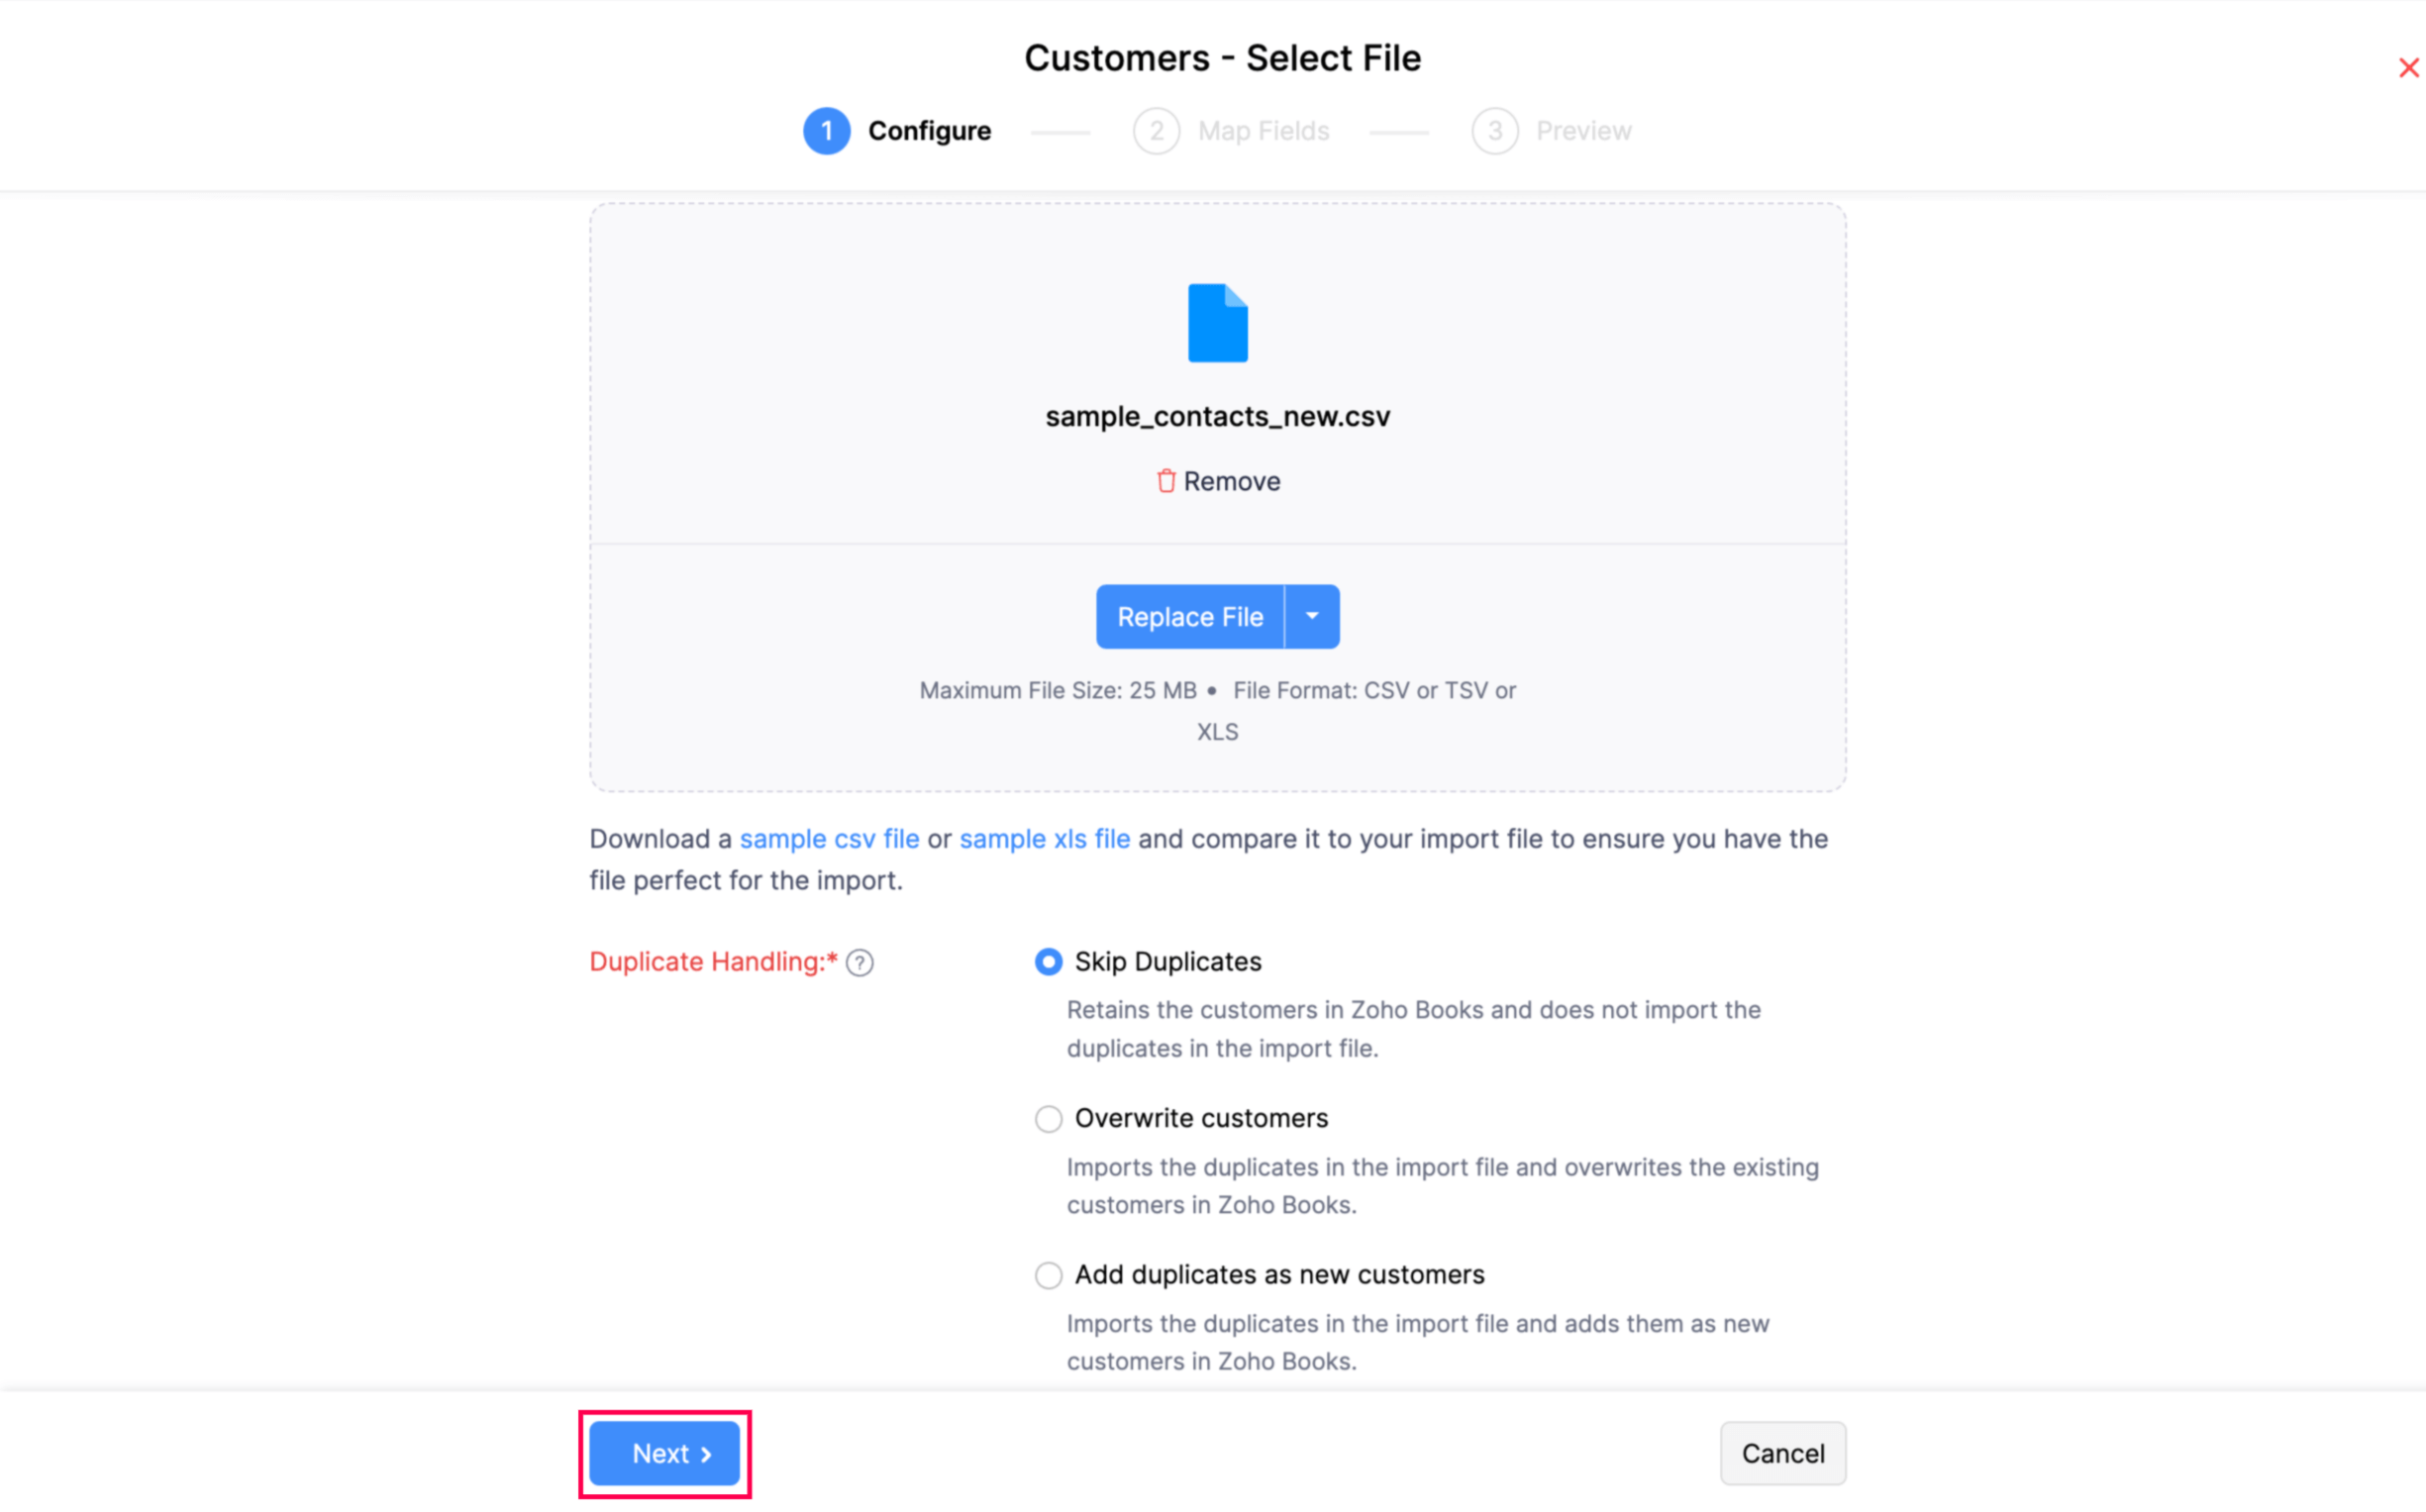
- Click Choose File and select the file to be imported. You can download a sample file for your reference.
- Click Next.
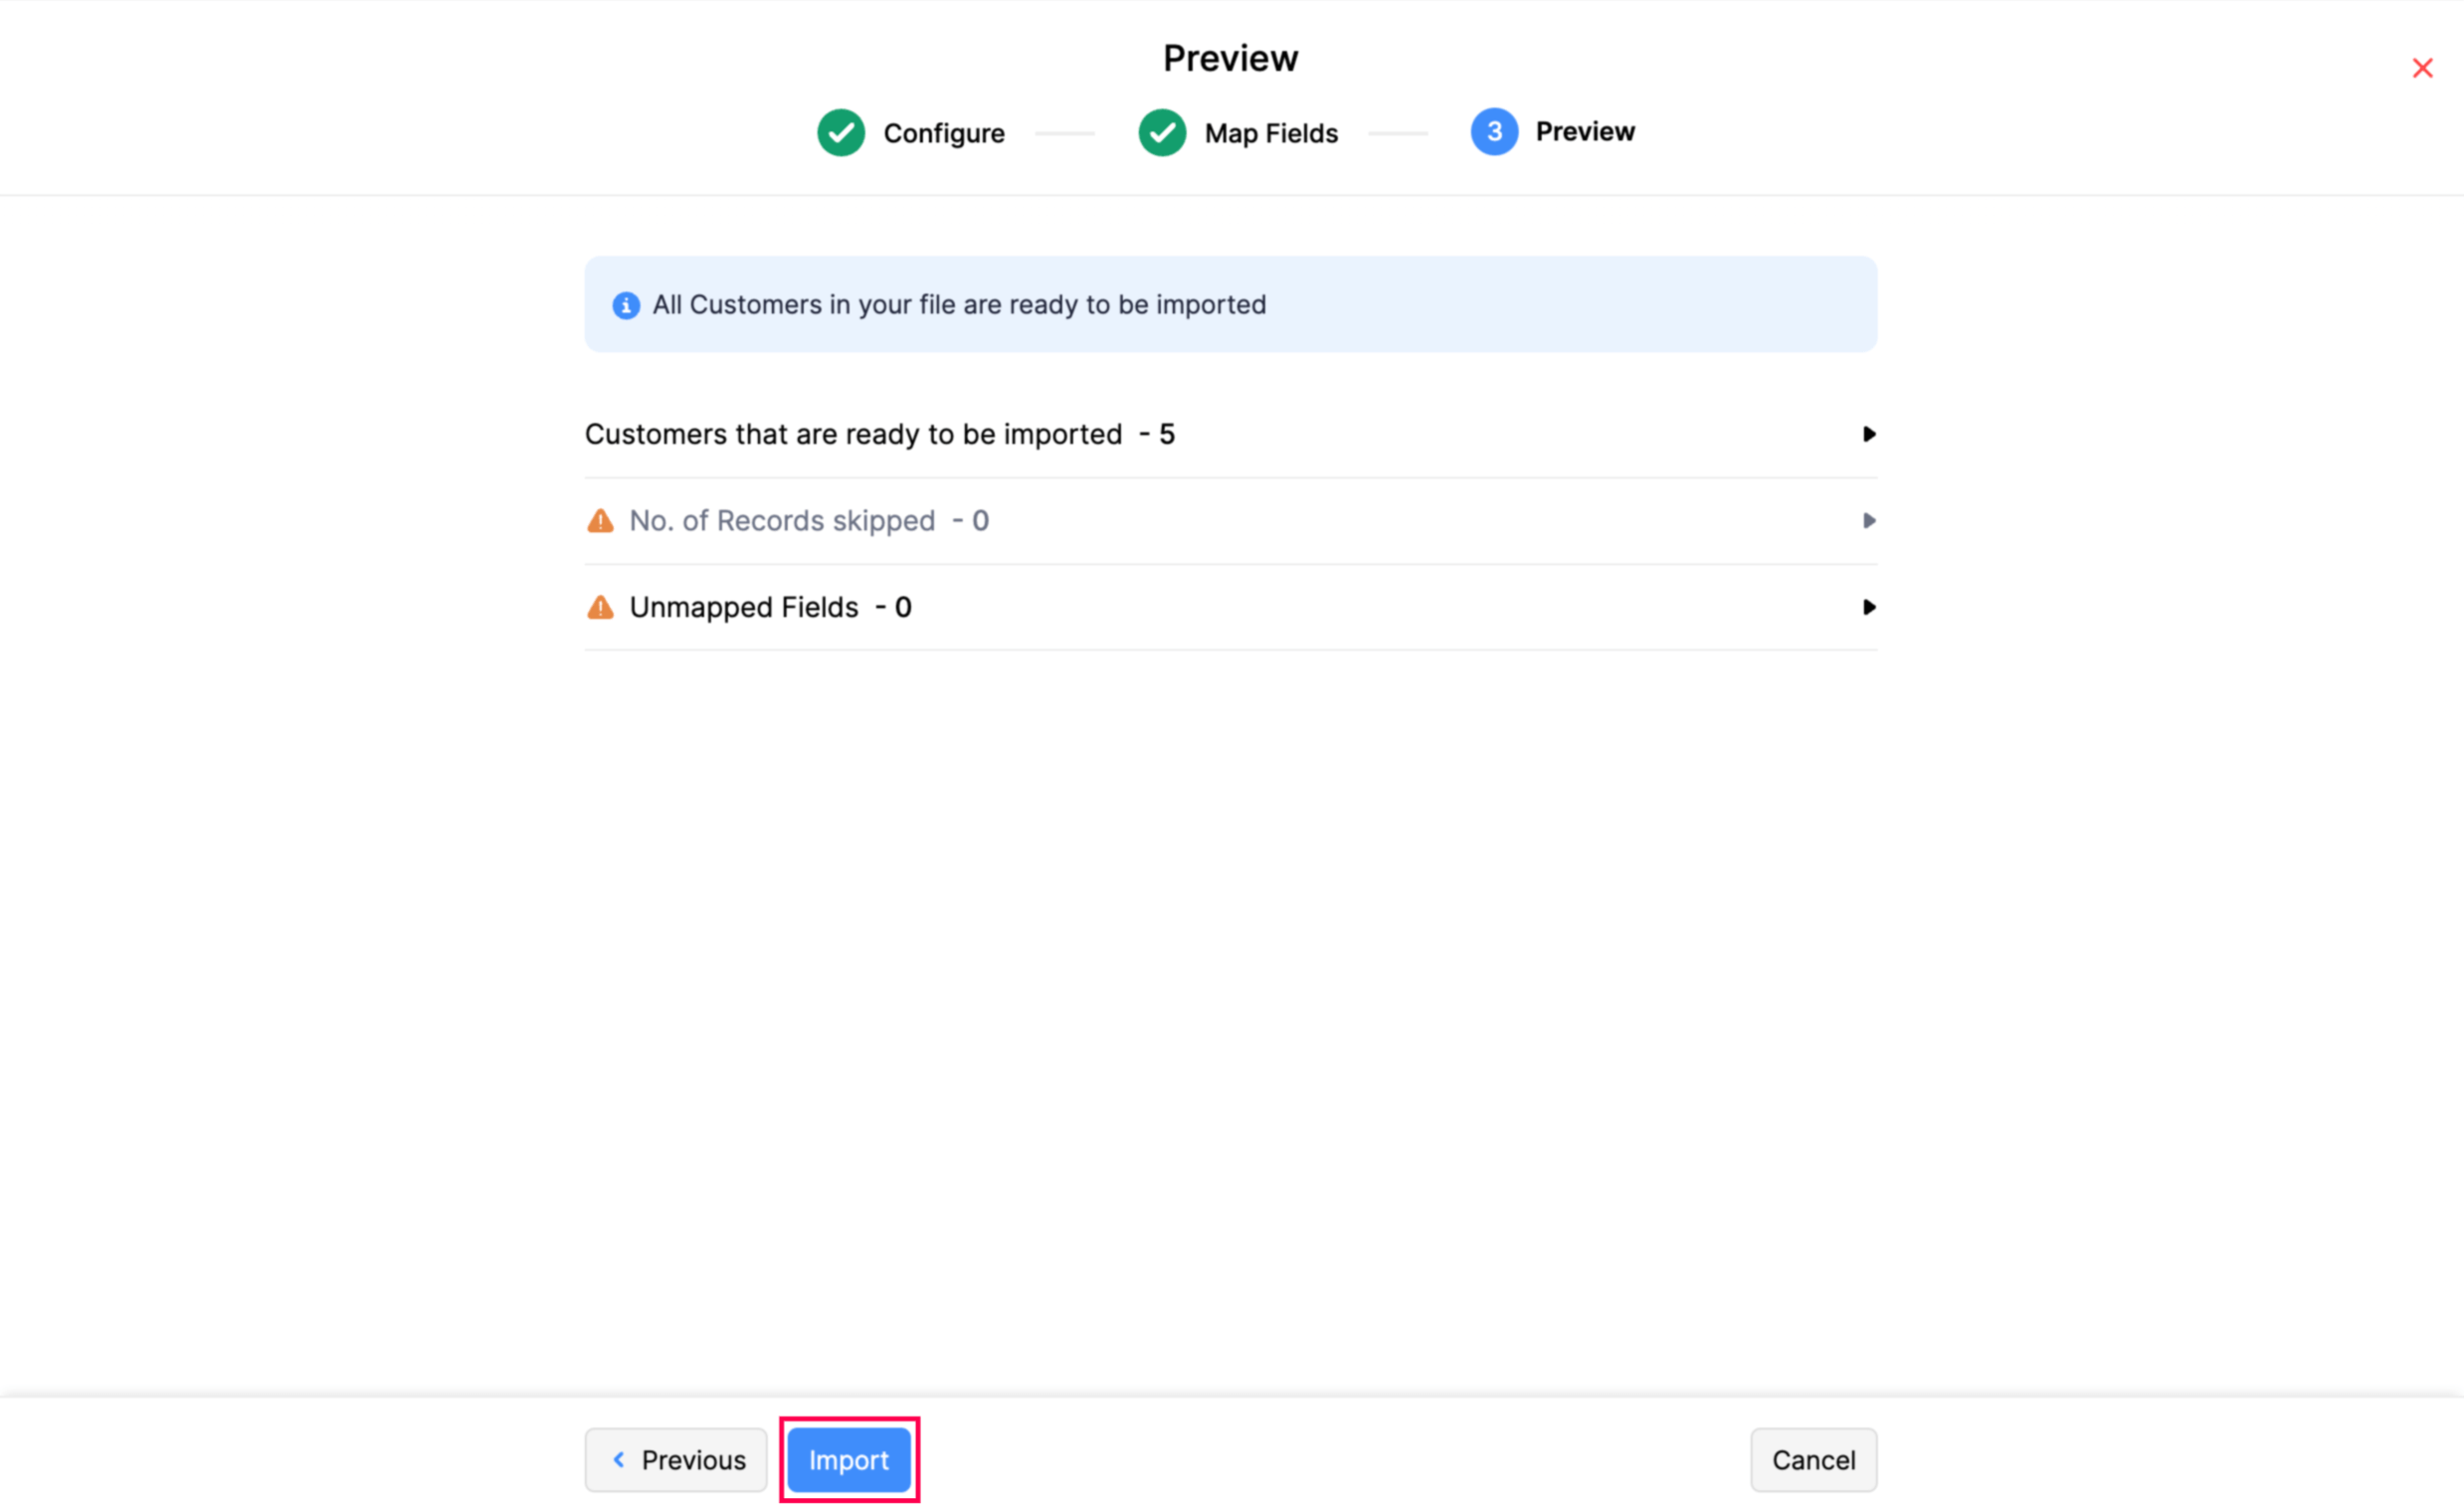
- Check the mapping of the fields and click Next.
- Click Import.