 Inventory
Creating Sales Orders
Overview:
- Creating a New Sales Order
- Creating Sales Orders from Contacts
- GST Treatment
- Importing Sales Orders
- Generating Online Orders
- Creating a drop shipment
- Multiwarehouse operations related to Sales Orders
Creating a New Sales Order
To create a Sales Order, follow this route map:
- You can either click on the quick create (+) icon next to the Sales Order tab or the +New icon placed on top of the sales order window to create a new sales order.
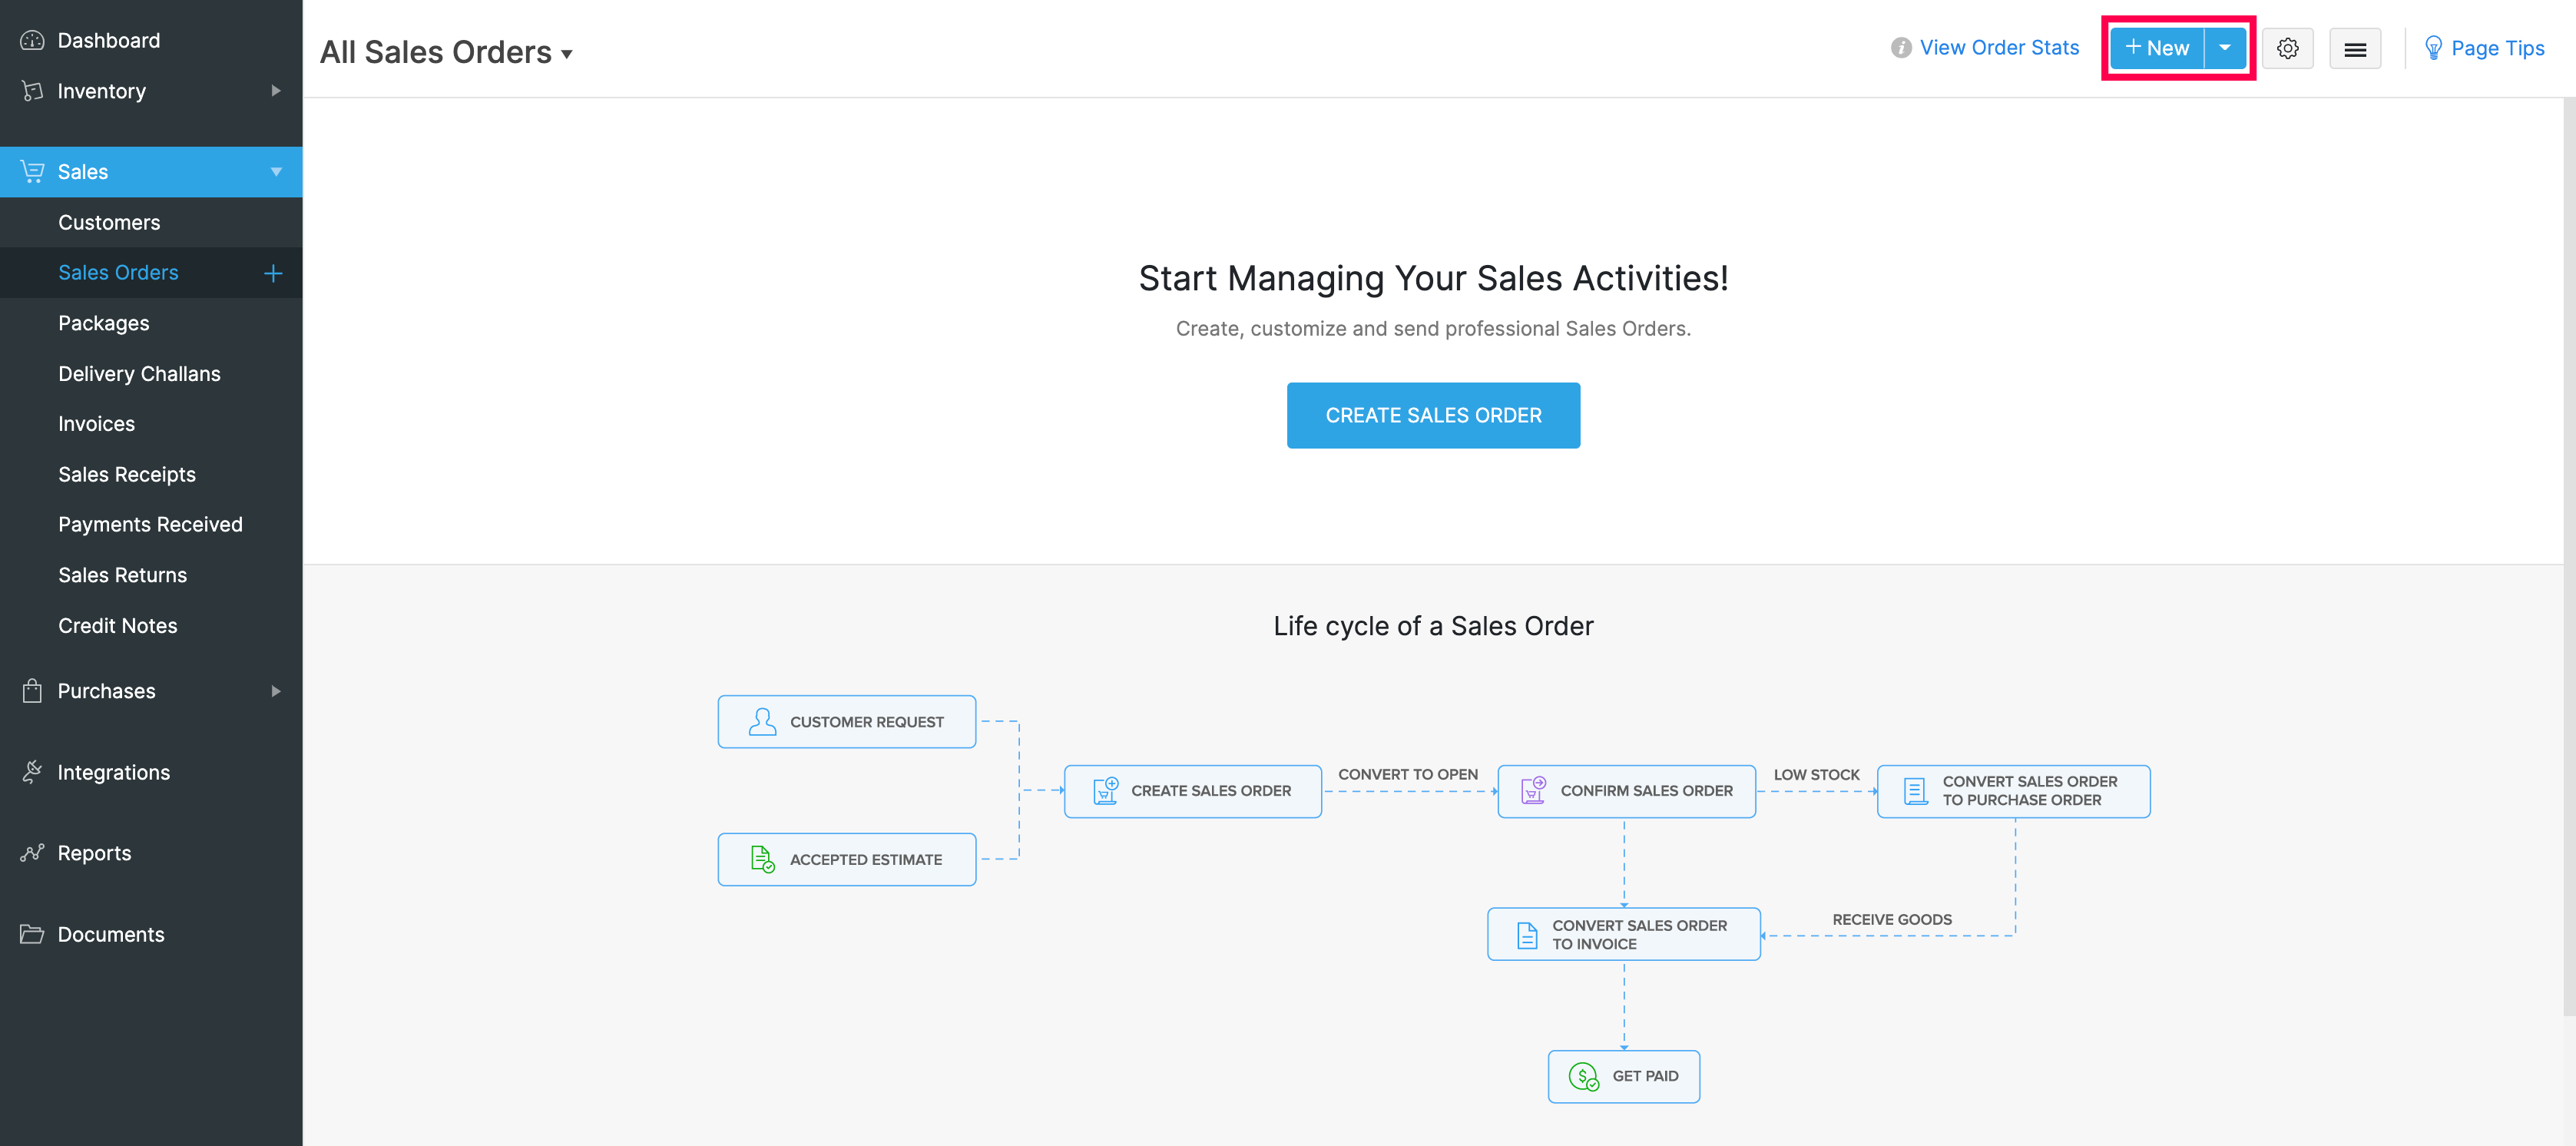
- You will be navigated to a new window for entering the details for creating the new sales order.
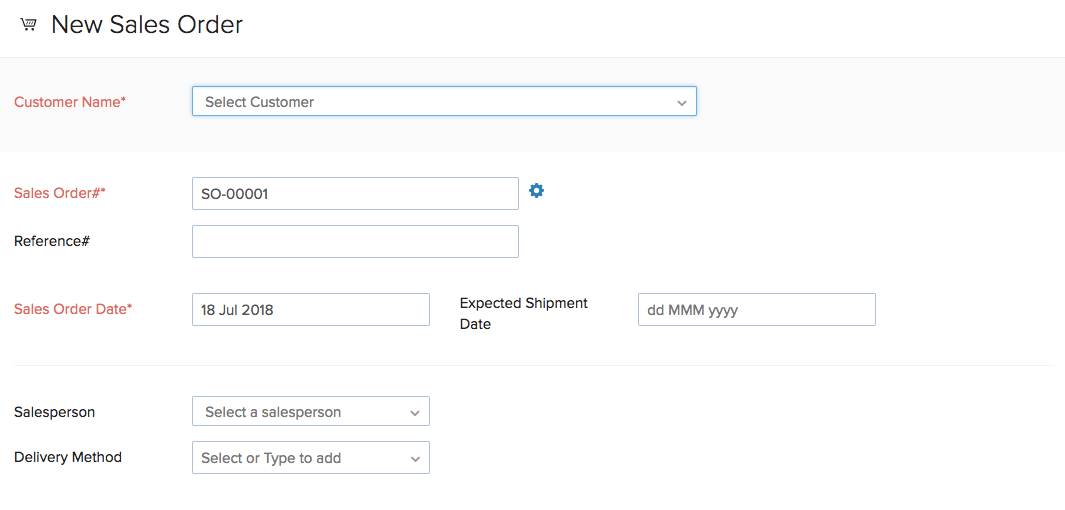
Enter the details for the customer related fields
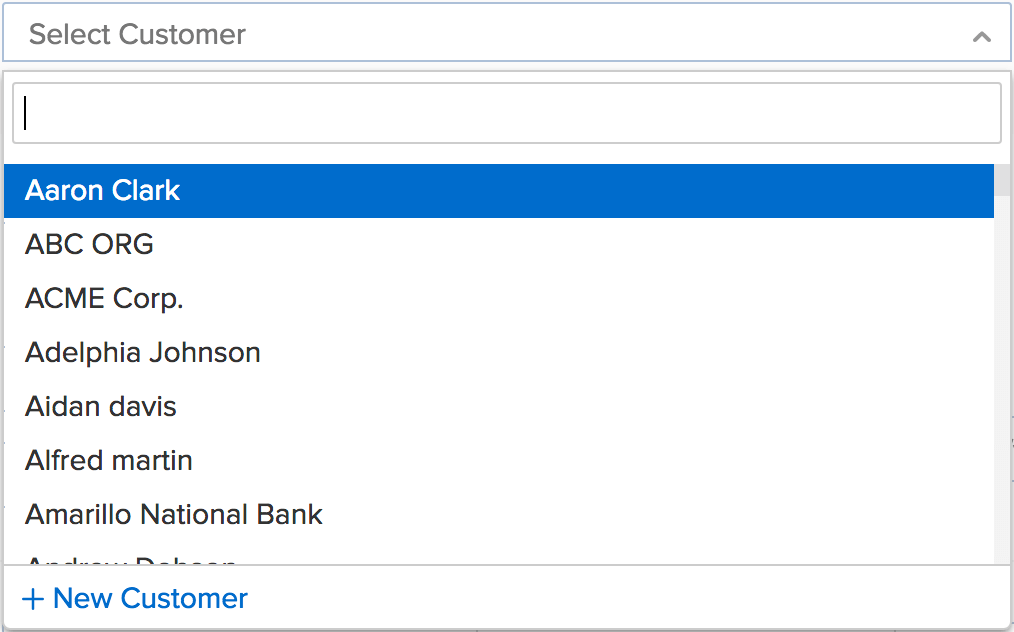
- Under the Customer name field, you can either pick the customers from the list of customers you have already created or you can add a new customer
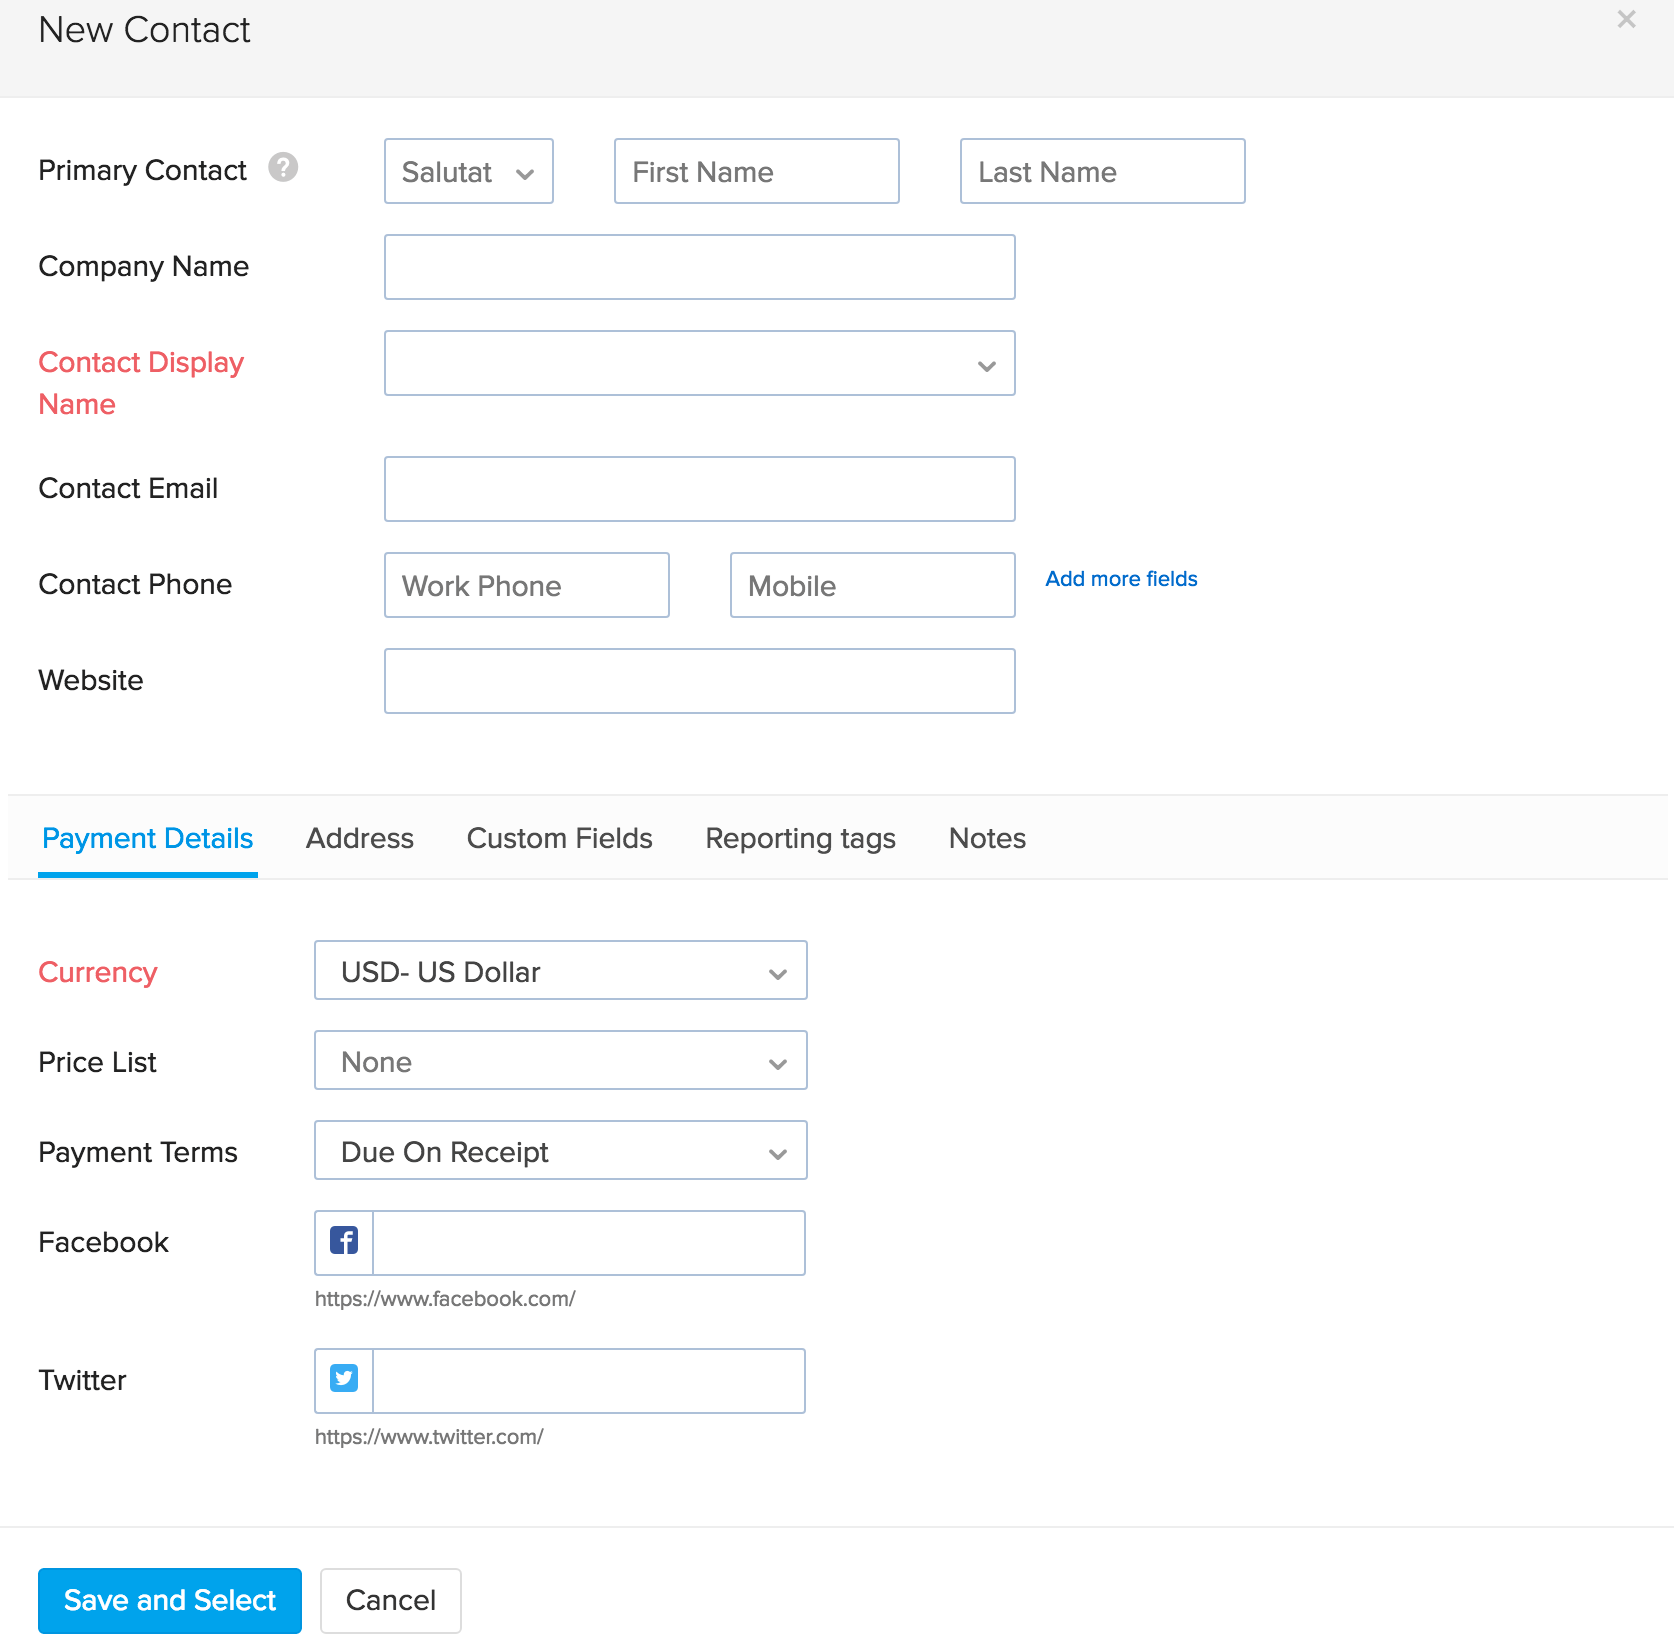
- If you choose to add a new customer, a new window for creating a new customer appears.
-
Place of Supply is the registered place of business of the selected customer. Select a State or Union Territory from the dropdown.
-
After filling up the required details, click on Save and Select to add the new customer to the sales order.
-
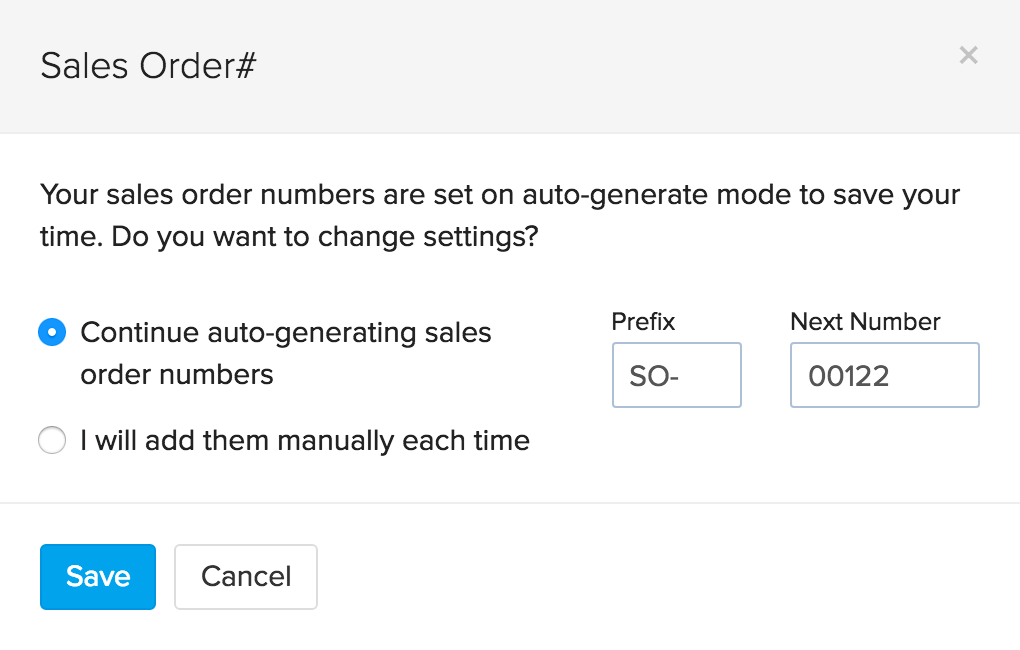
In the Sales Order# tab a sales order number is generated by default. If you wish to manually enter a sales order number, click on the Settings icon next to the tab and a pop-up will appear where you can select between auto-generated estimate number or manual entry of sales order numbers.
- Enter a reference number, if you wish in the Reference# tab.
- The Sales order date will by default be the current date. But if you wish to enter a different date, you can change it.
- Using the Expected Shipment Date field, you can set the date by which the product should be shipped to the customer.
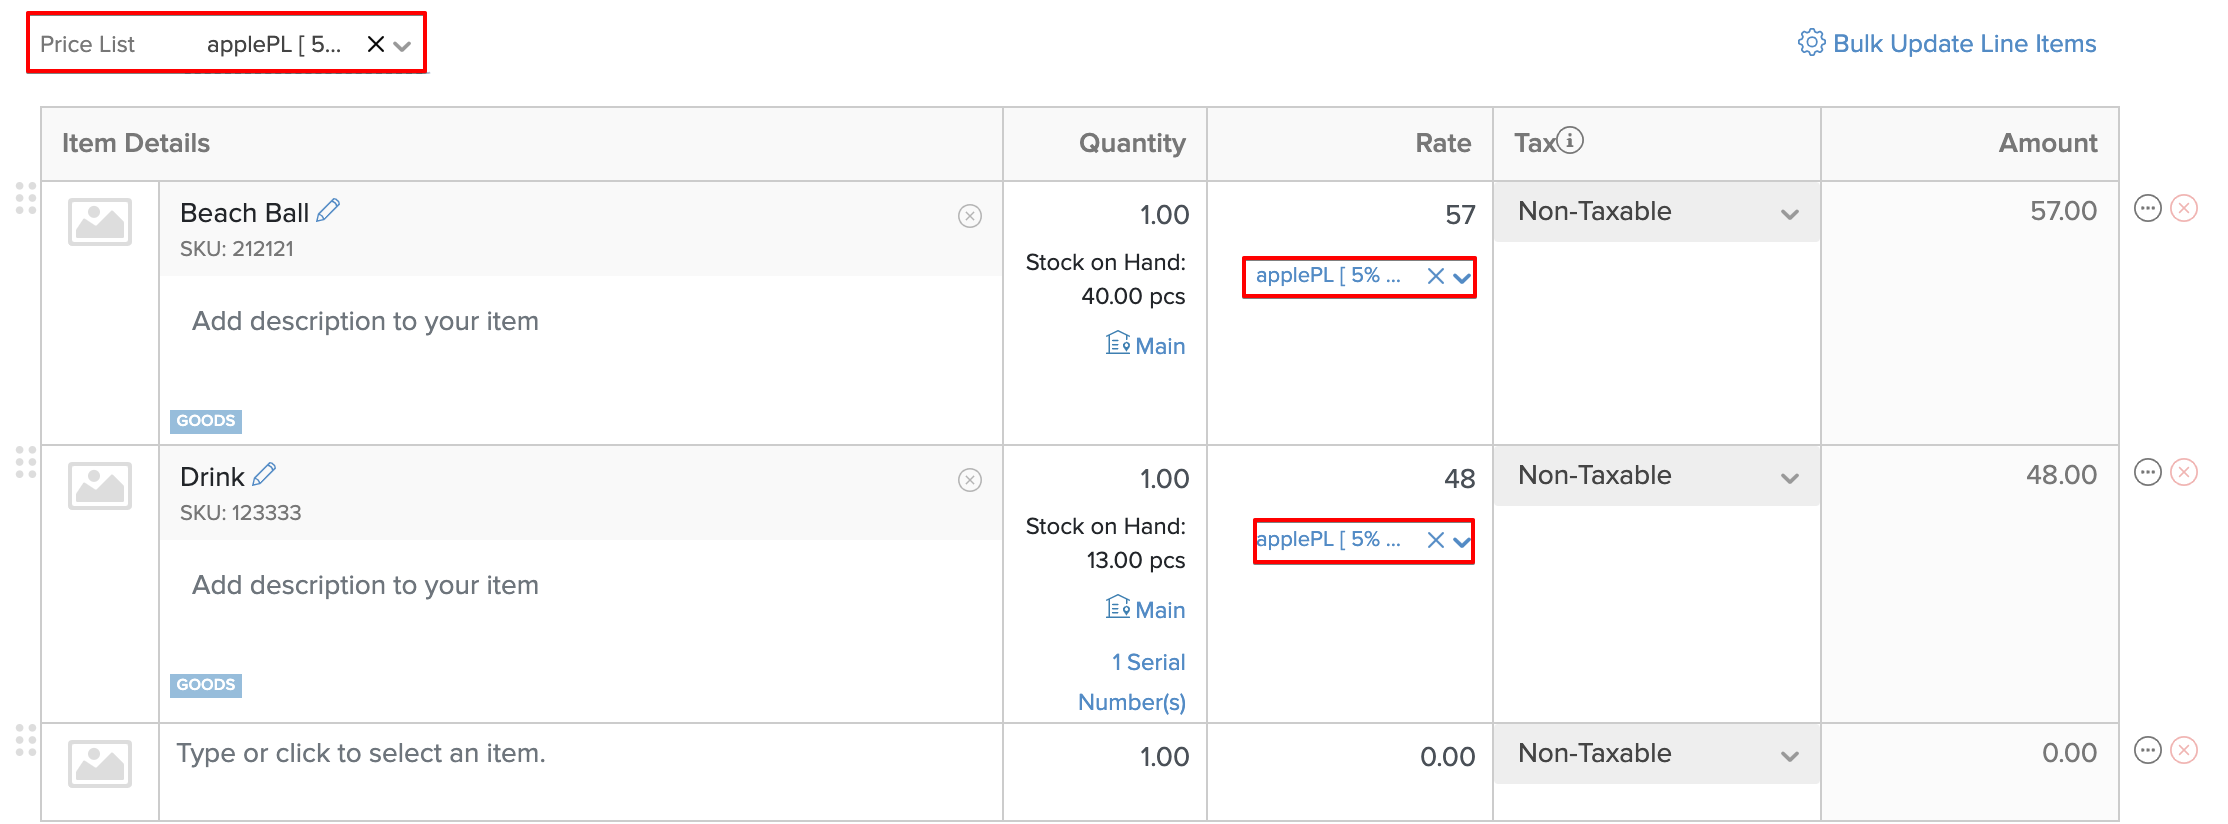
- The Delivery Method field, will let you specify a delivery method for the items in the order in order to intimate both your product team as well as the customer. You can select a Price list at the sales order level or at the item level. This will change the rates according to the selected price list. Learn more about Creating Price Lists.
- In the Sales Person field, you can add a new sales person or choose an already existing sales person from the drop-down. Learn more about sales persons.
Important Note : Price list and sales person options will be present only if they are enabled in the settings.

Enter the item details for the sales order.
- Items can be added from the list of items shown in the drop down that are already created by you in your Zoho Inventory account.
- To add more items to your sales order, click on Add another line option.
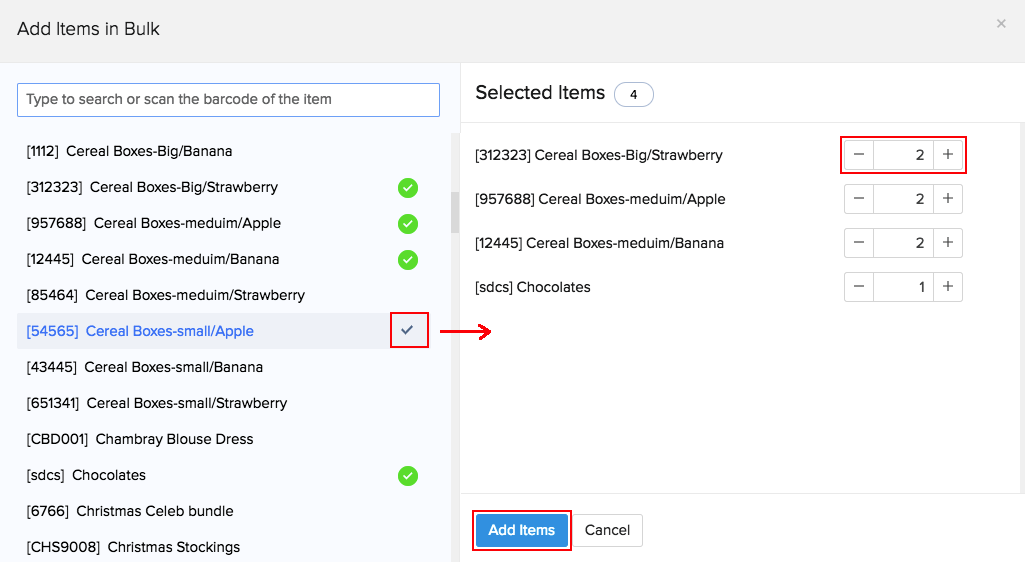
- Alternatively, you can also click the Add items in bulk option to add several items at once to your sales order.
Pro Tip: Instead of searching for the items from the list, you can select an item by scanning its barcode. When you scan the same barcode more than once, the quantity of the item gets incremented automatically.
- Enter the Quantity, Rate and Tax if applicable from the drop down. Tax drop down shows only the taxes you created in the settings tab under taxes section. Learn more about Taxes.
- Enter the Discount rate, Shipping Charges and Adjustments if applicable.
- You can record Customer Notes of upto 5000 characters and Terms & Conditions of upto 10000 characters for the sales order. This will be carried forward while converting the sales order into an invoice.
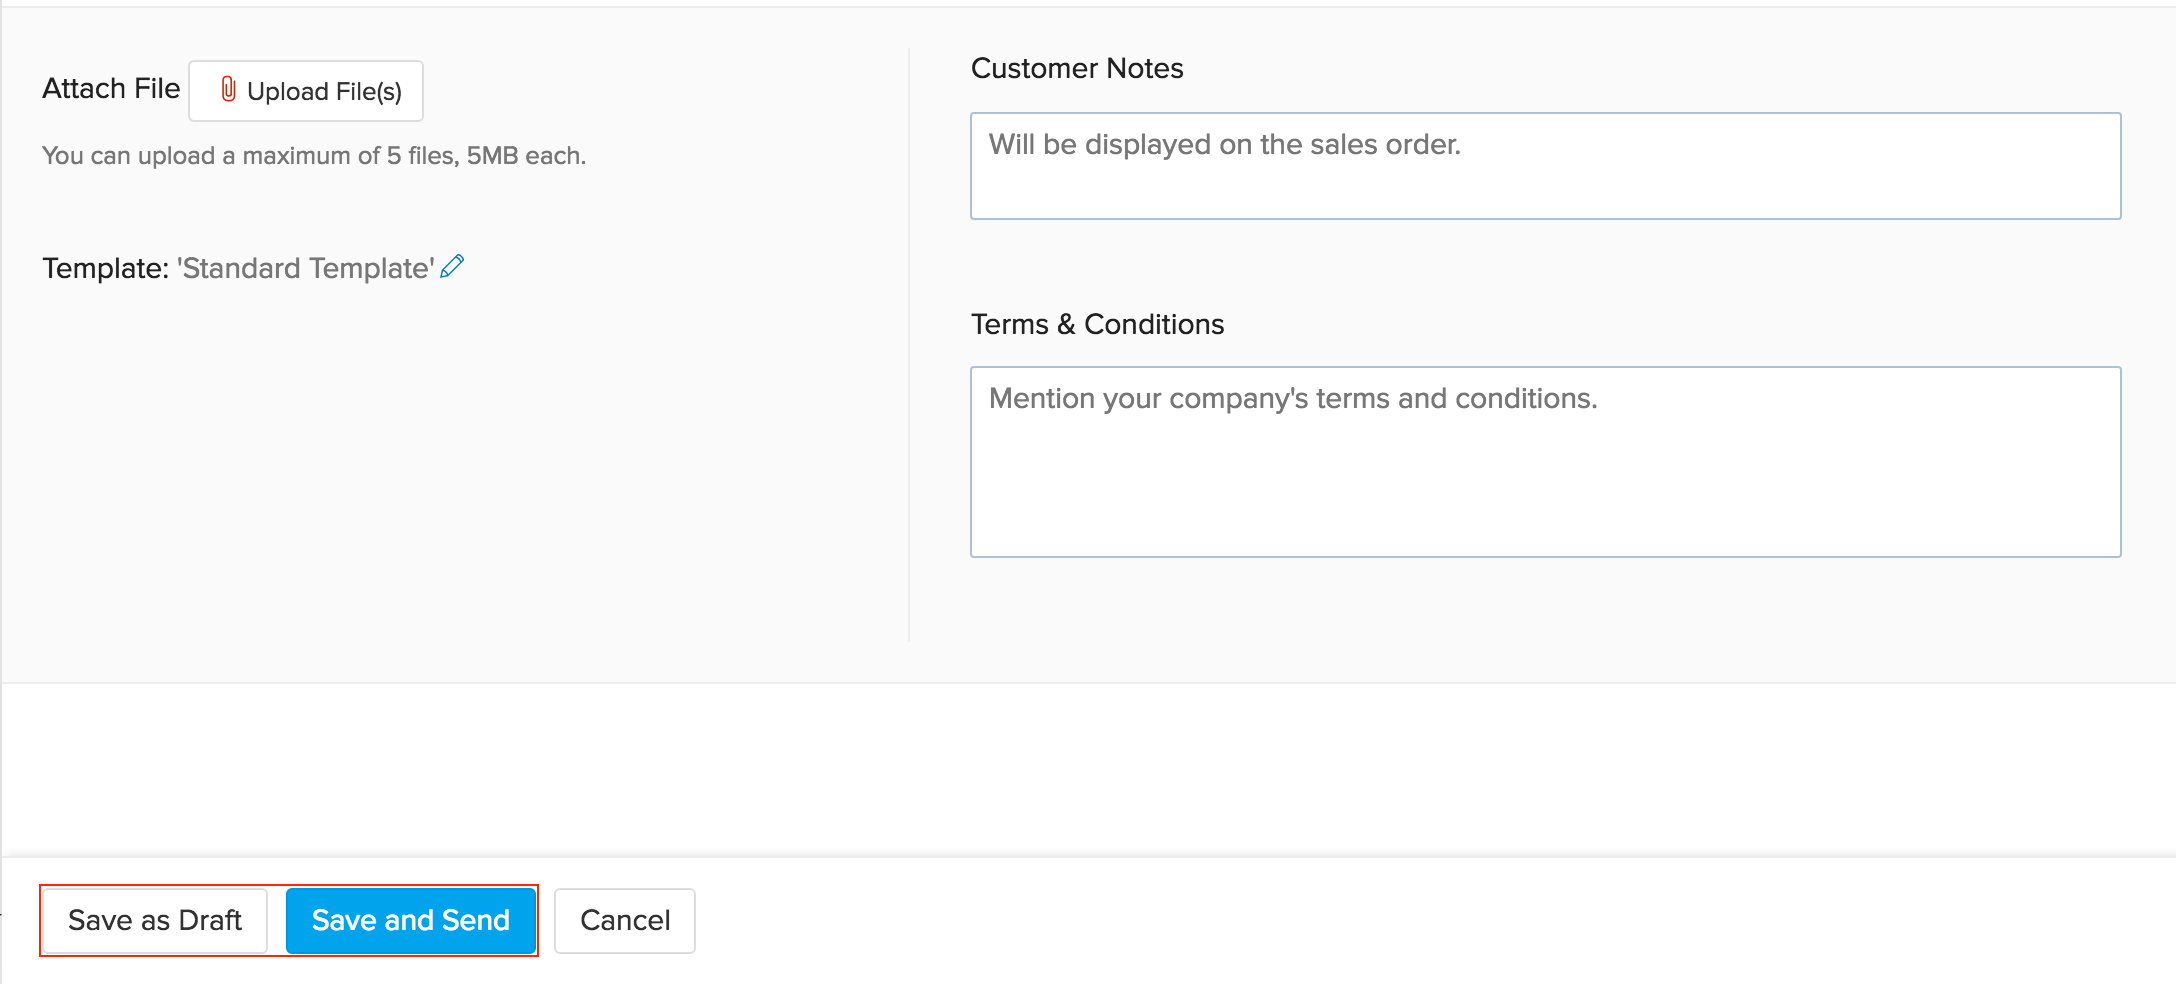
Now click on Save as Draft to save the new sales order in draft state, Save and Send to send it to your customer and change its status to confirmed.
NOTE: If you’ve enabled multiple warehouse management for your organization, you will have additional steps and capabilities when creating a Sales Order. To know more, click here.
Creating a Sales Orders from Contacts
To create a sales order directly from contacts, follow this route map:
- Navigate to the Contacts tab and click on a specific contact who is a customer to whom you wish to create a sales order for.
- Above the Contact window, you will find a New Transaction button placed.
- Click on the New Transaction button and select Sales Order, a new window will appear for creating a new sales order for that specific contact.

- Now you can follow the procedure to successfully create a sales order for the contact.
- After creating the new sales order, you will be able to find the sales order in draft under the Sales Orders tab.
- You can also send the sales order to your customer by clicking on the Mail icon placed on top of the sales order window.

GST Treatment
As soon as you select the customer, Zoho Inventory will display a link mentioning the GST Treatment that you’ve selected for the contact while creating it. If you had not configured it while creating the contact, you can set it up or update it by clicking the link.

-
Select the appropriate GST Treatment for the contact and update the details.
-
Check Use these settings for all future transactions of this customer. if you wish to use the same GST Treatment in all future transactions.
Important Note:
You can create Sales orders from contacts page only for those contacts who are your customers.
Importing Sales Orders
If you have integrated your organization in Zoho Inventory, with the one in books, then all imports and changes will be reflected automatically.
In cases where you wish to import sales orders from other sources, follow these steps.
- Open the sales orders tab from the side bar.
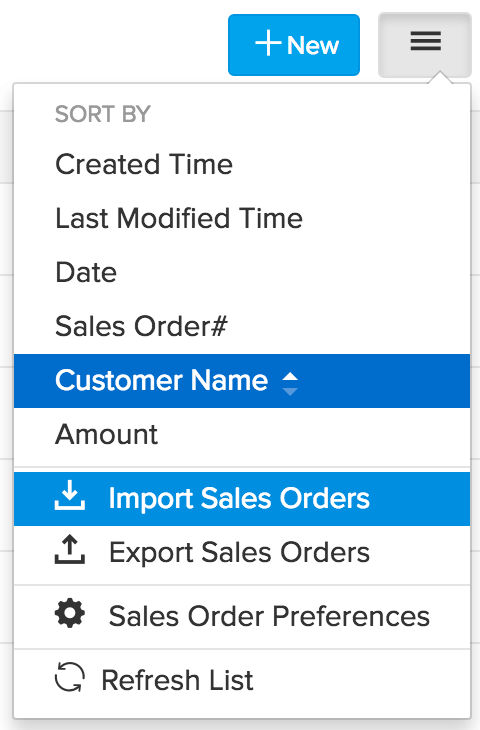
- Click on the Menu icon on the right top corner.
- Select the option Import Sales Orders from the drop down.
- A new page with all the fields necessary to import a sales order opens up.
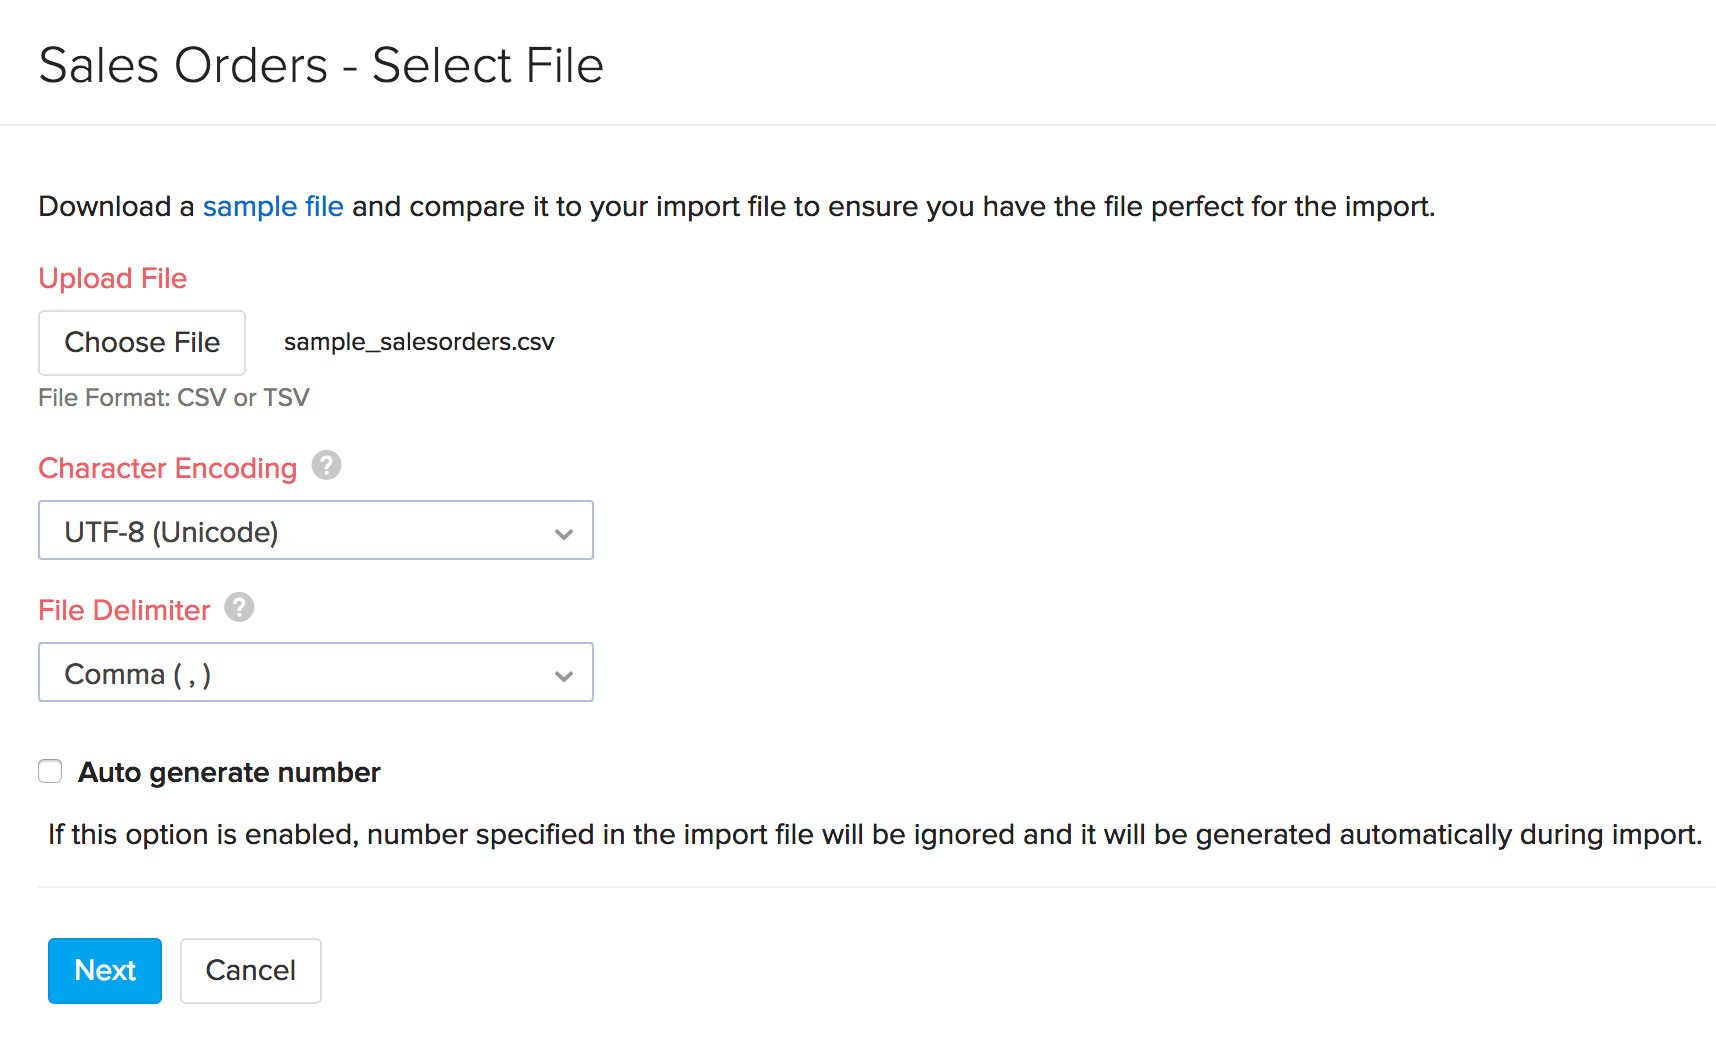
- Choose the file to be uploaded.
- Note: The sales order to be imported must be stored only in .CSV or .TSV format for the import to work.
- Select the character encoding. by default its UTF-8 (Unicode).
- Check on the box Auto generate number, if you wish assign an automatic SO number to the sales order that’s being imported.
- Click on the Next to proceed to mapping all fields.
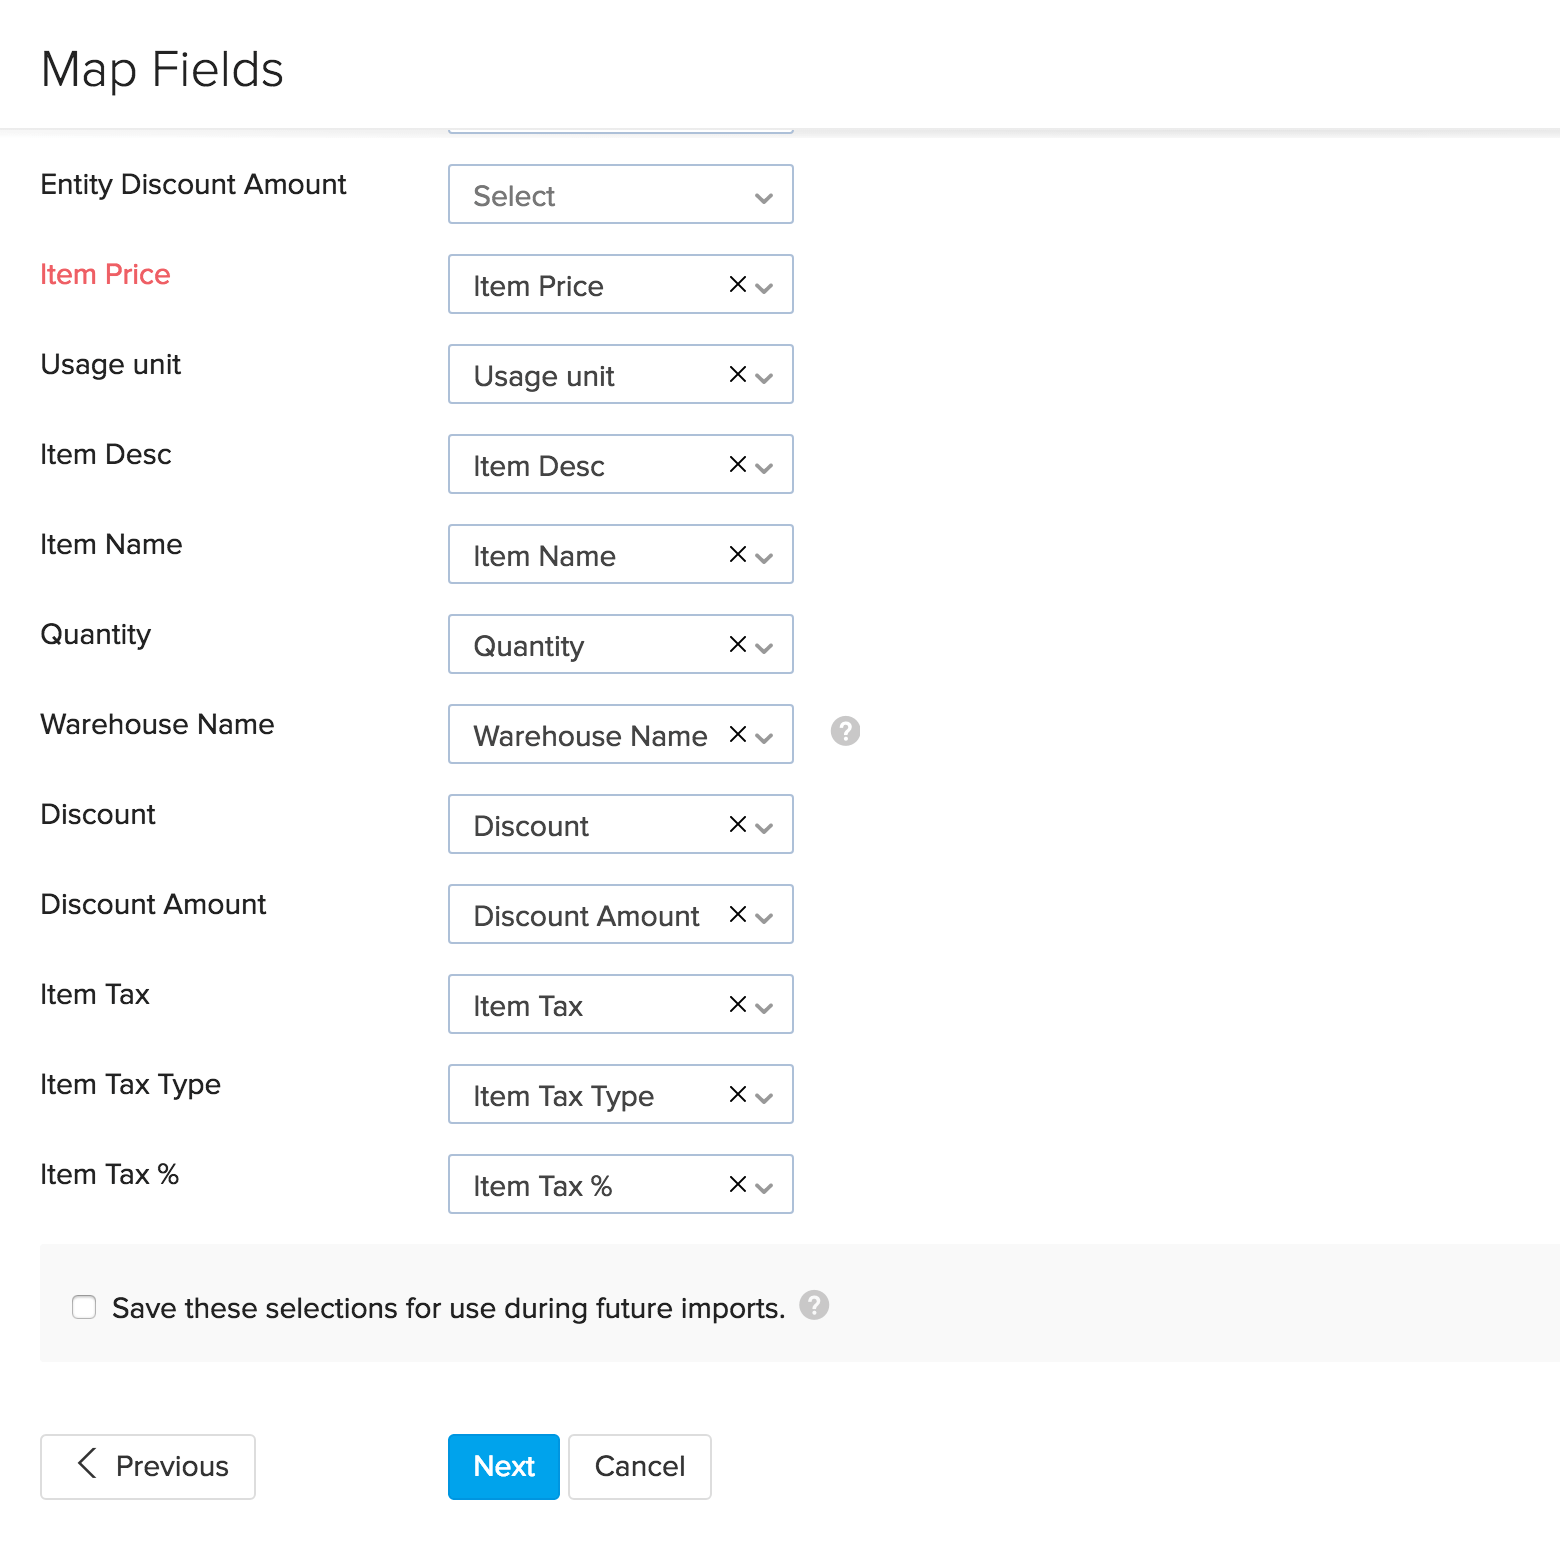
- Zoho Inventory automatically maps all relevant and similar fields.
- You can manually match the dissimilar fields or make any changes.
- Check the box near Save these selections for use during future imports to save your preferences for all future sales order field mapping operations.
- Click on the Next button to proceed to the preview page.
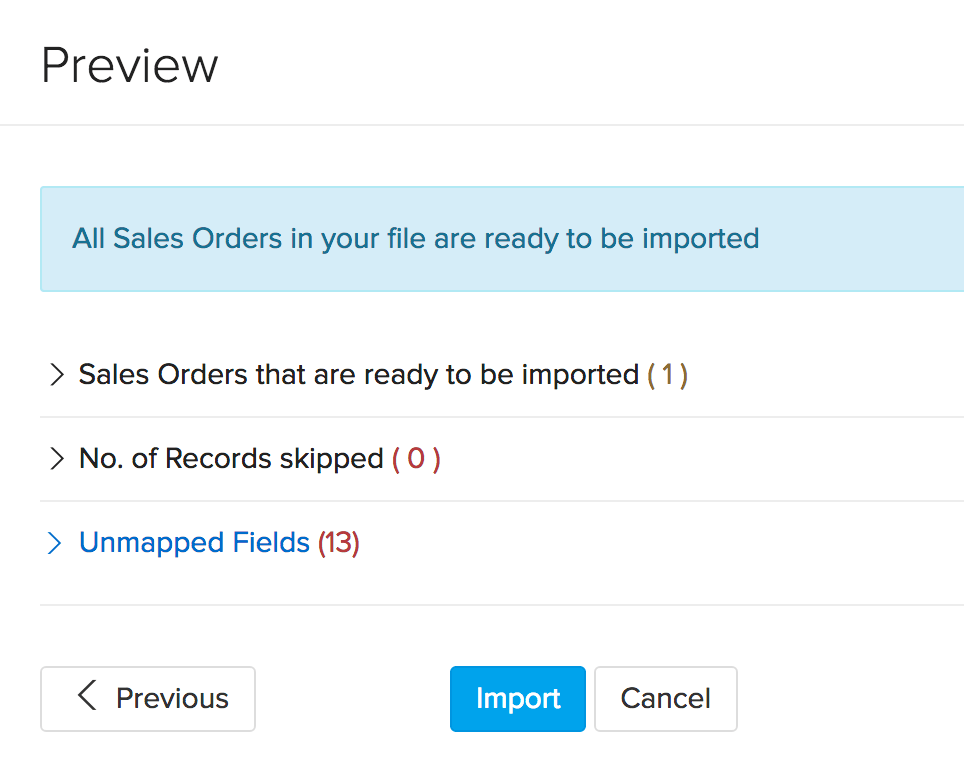
- Here a synopsis of your import conditions is shown like the no. of files ready for import, no. of rows skipped and No. of unmapped fields.
- Check if everything is alright and if you wish to make any changes, click on the Previous button.
- To proceed to importing sales orders, click on the Next button.
Important Note: The Max size limit for a file that’s being imported is 1MB. You can get a good idea of how your import file must be like, by downloading the sample file in the import page.
Generating Online Orders
When you integrate with an online marketplace or a shopping cart, for every sale made inside the marketplace or shopping cart, a sales order along with items & customer informations gets automatically generated inside Zoho Inventory. Such a sales order is known as an Online Order.
Important note: Only orders that are not fulfilled by amazon or other third parties get auto generated here as an online order.
For an online sales order, you can create an invoice, package the items and create a shipment order and have the shipment information & the item stock automatically updated to the marketplace.
To know more marketplace integrations, click here
Multiwarehouse operations
If you’ve enabled multiwarehouse management for your organization, you’ll have additional capabilities with Sales Orders. To know more, click here.


