

Create Sales Receipt
If the Sales Receipt module is not available by default in the left sidebar, you’ll have to enable it in the Preferences. To do this:
- Go to Settings from the top-right corner of the page.
- Select General Preferences.
- Mark Sales Receipt under Select the modules you would like to enable.
- Click Save at the bottom of the page.
To create a new sales receipt:
- Go to Sales Receipts from the left sidebar.
- Click the + New icon in the top-right corner of the page.
- Fill in the required details.
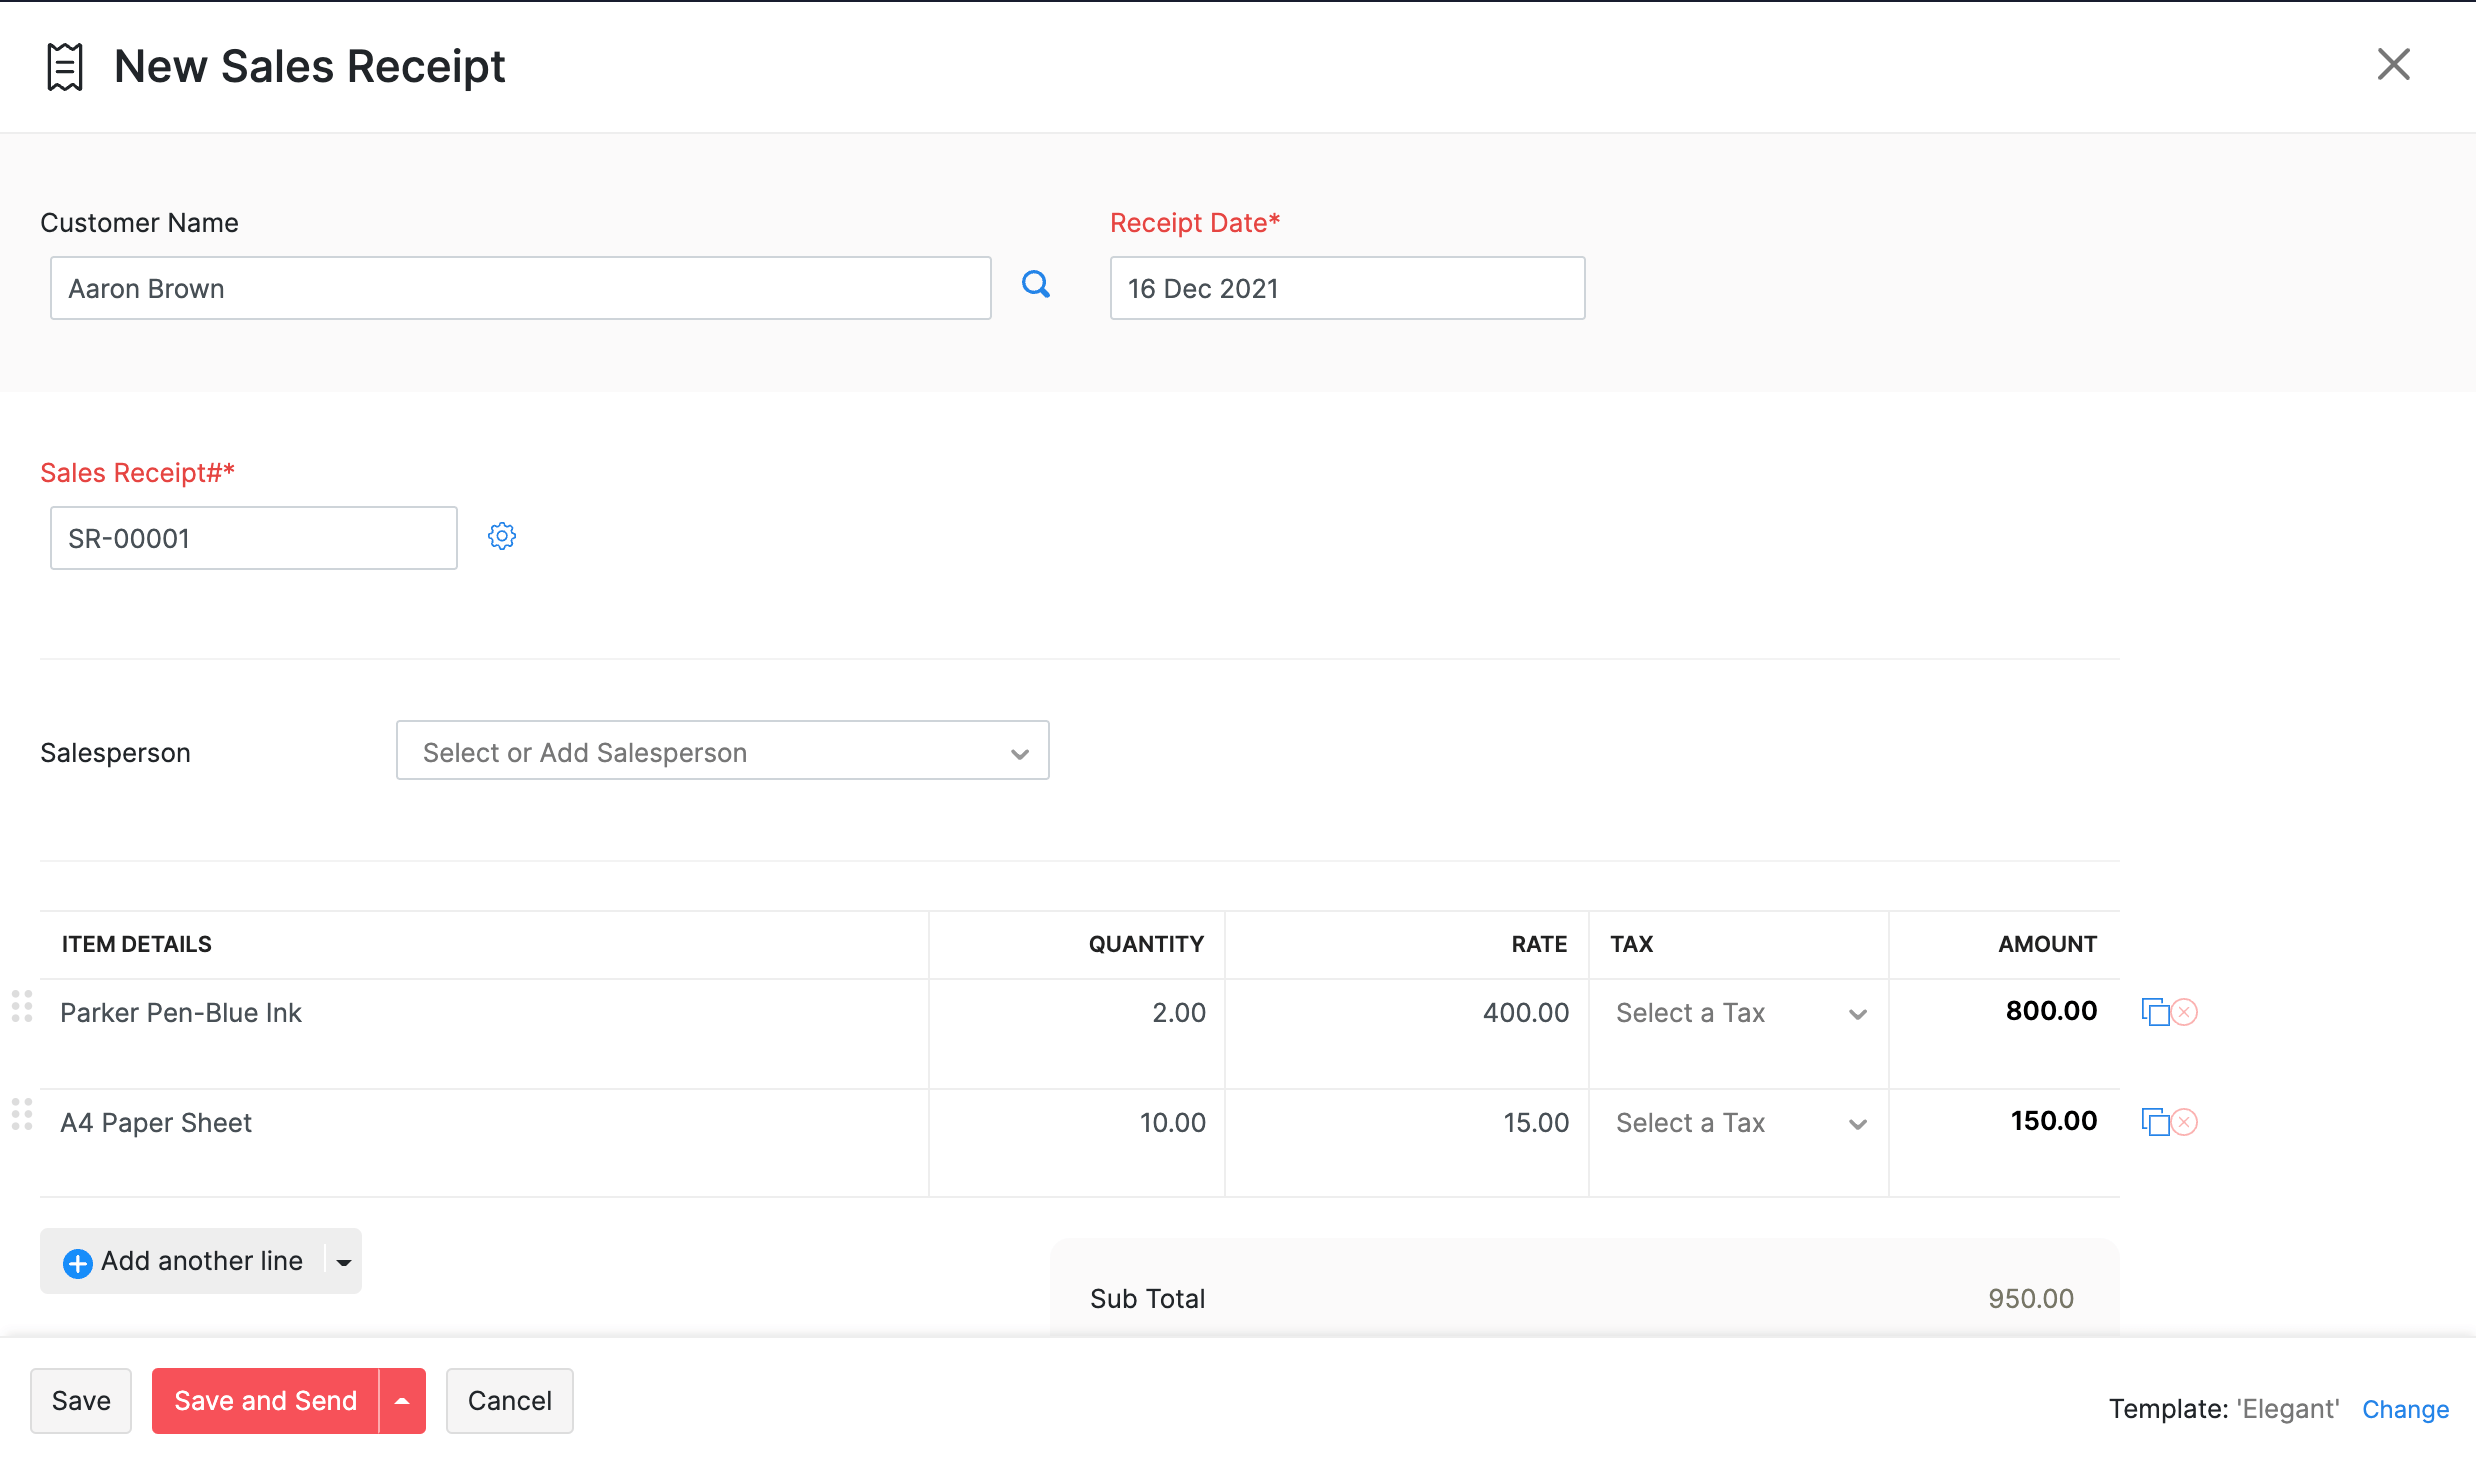
| Field | Description |
|---|---|
| Customer Name | Select or enter the customer name for whom the sales receipt is created. |
| Receipt Date | Select the date on which the sales receipt is generated. |
| Sales Receipt# | The sales receipt number will be auto-generated. However, you can change the auto-generation series or enter a unique number by clicking the Gear icon. |
| Item Details | Select the item(s) to be included in the sales receipt. |
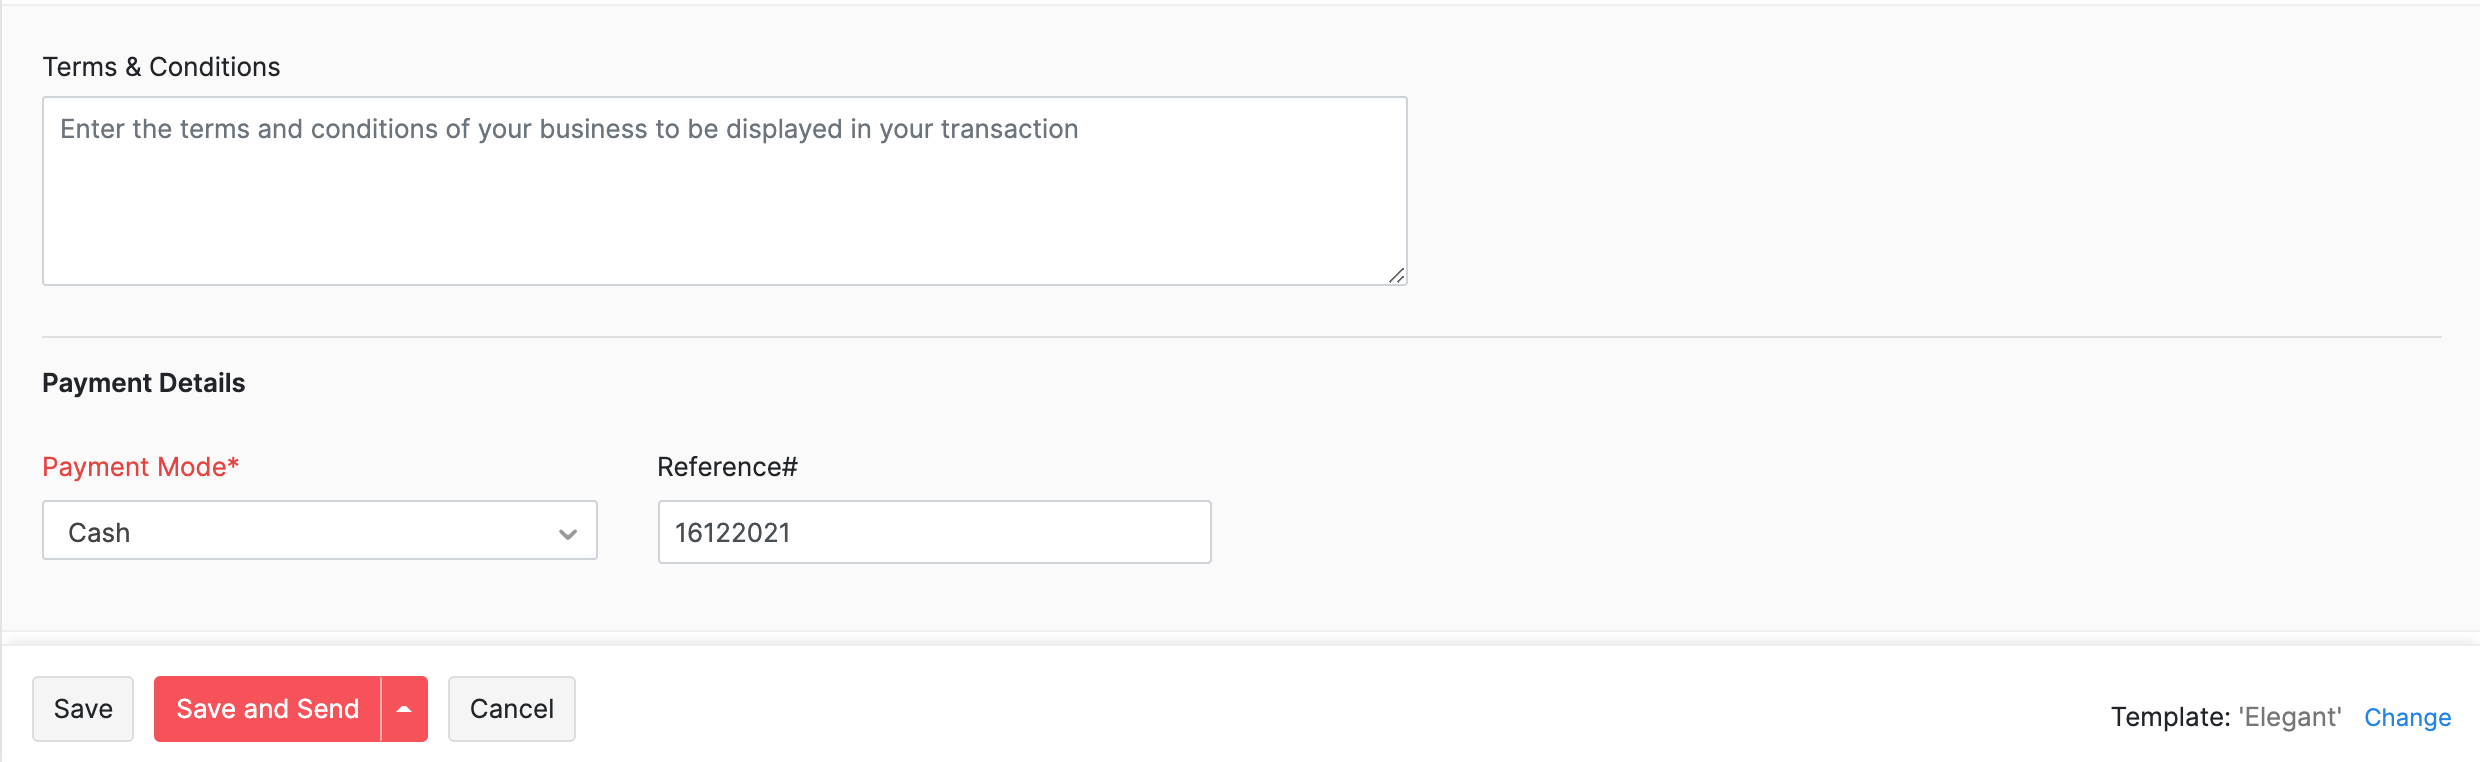
- Enter the Customer Notes and Terms and Conditions if any.
| Field | Description |
|---|---|
| Payment Mode | Select the mode of payment used by the customer. |
| Reference# | Enter the reference number for the payment. |
Note: The payment recorded here will not be listed under the Payments Received section. This amount will only be recorded under the account you have chosen.
- Click Save to save the sales receipt or Save and Send to save and send the sales receipt to the customer’s email.
Send Sales Receipt to Customer
To send a sales receipt to a customer:
- Go to Sales Receipts from the left sidebar.
- Select the sales receipt you want to send.
- Click Send Mail on top of the receipt .
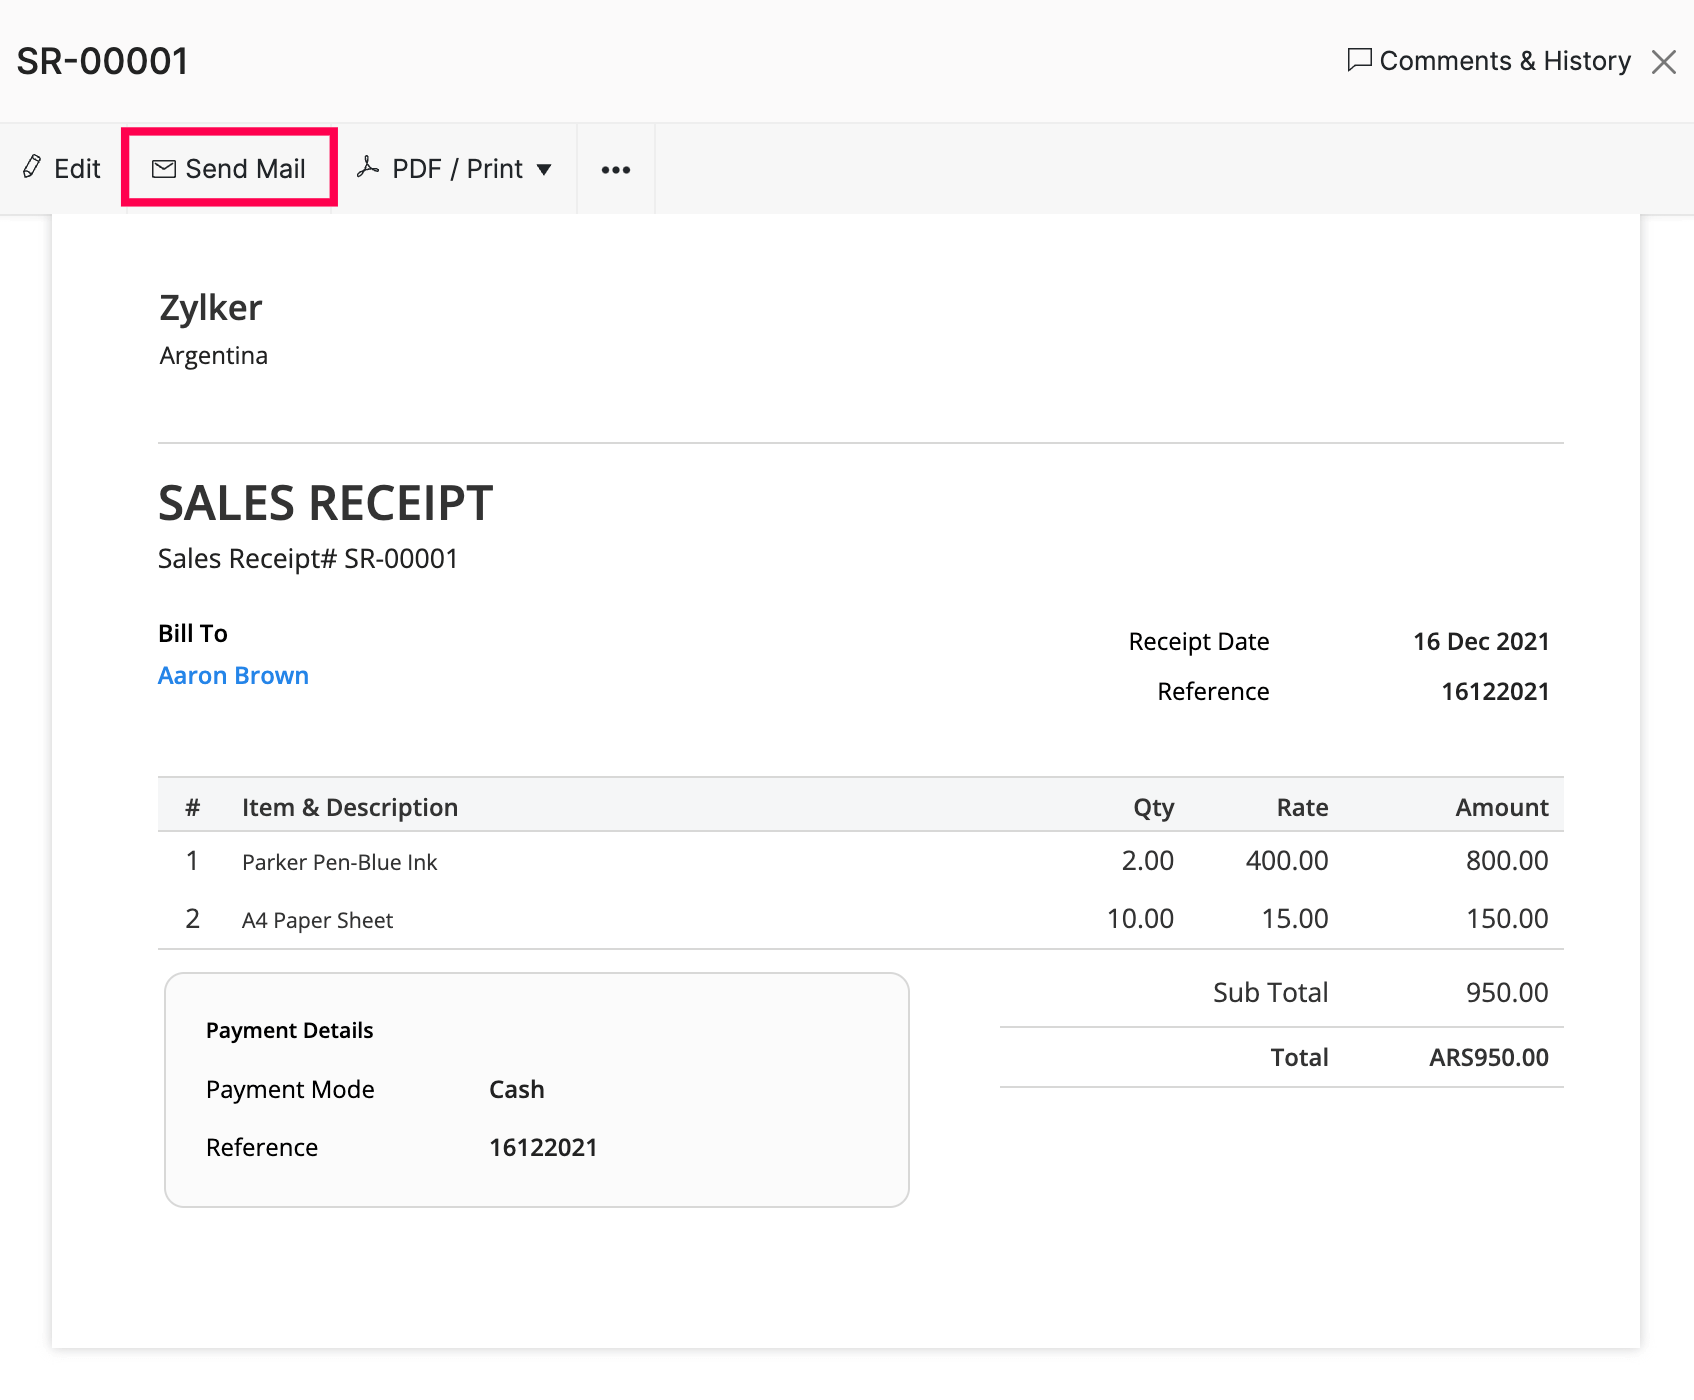
- Go through the template and click Send.
Let’s take a look at other actions you can perform.
 Yes
No
Yes
No
Thank you for your feedback!