Zoho Inventory - Etsy Integration

Note: You can now edit etsy orders and override the tax applied based on your organization’s nearest set tax rate.
Why Etsy?
- It’s starter friendly as setting up a store is relatively simple and quick.
- They take care of hosting, payments and other technicalities that might be an online rookie seller’s nightmare.
- They are flooded with new visitors everyday who can easily get to know your products and turn into a potential customer. This reduces the need for you to source your own customers.
Things to remember
- Before setting up an integration, please ensure that your base currency in Zoho inventory and the one you use in your sales channel account are the same.
- No partial shipments are allowed for the items in Etsy as you can only provide a single tracking ID for a sales order in Etsy.
- Etsy supports SKUs, so either the item name or SKU must be identical to map it automatically with the ones in Zoho Inventory.
- If the names are not identical, then you can manually map your unconfirmed items. Learn more about managing sales channel items.
- In Etsy a seller can play different roles in different shops, but can own only one shop at a time. Zoho inventory syncs the data with only the user owned shop.
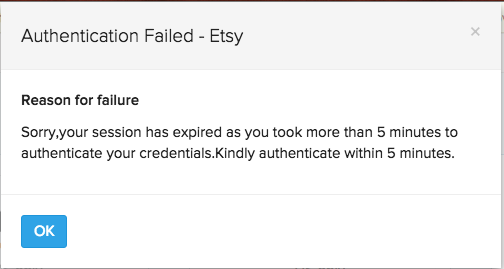
- Note: If you do not sign in within 5 mins after you click the Setup Now button, you will get an error as shown below.
Integrating with Etsy
To do so:
- Navigate to Integrations.
- Select the Marketplaces tab.
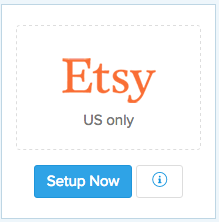
- Click on the Setup Now button under the Etsy logo.
- You will be directed to the Etsy website, where you are required to sign in to your seller account.
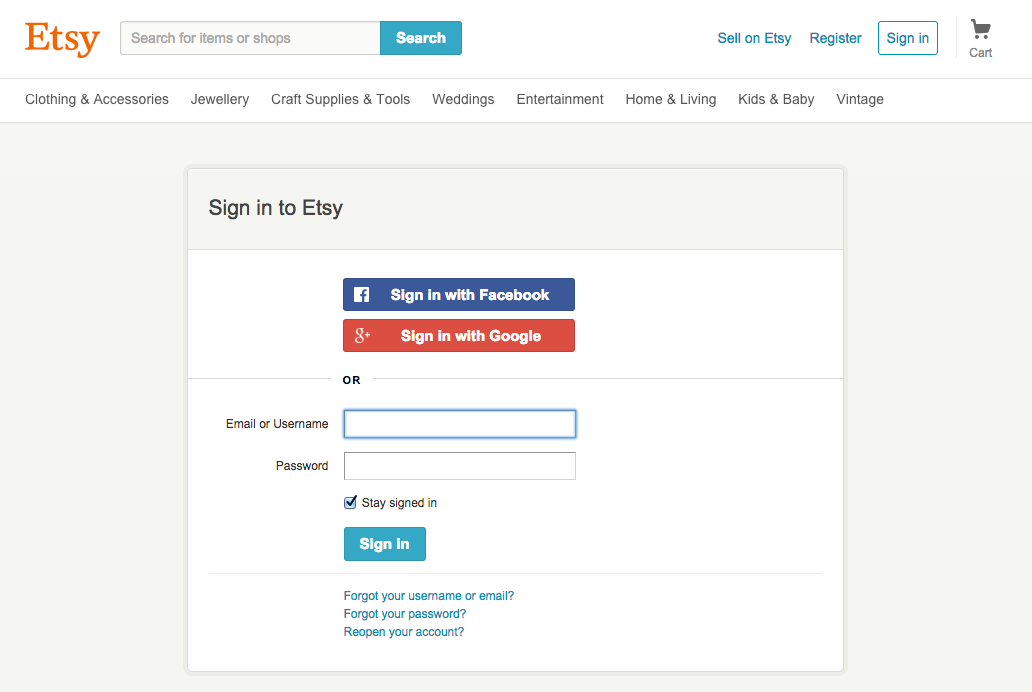
- Log in to your account.
- An authorization page opens up.
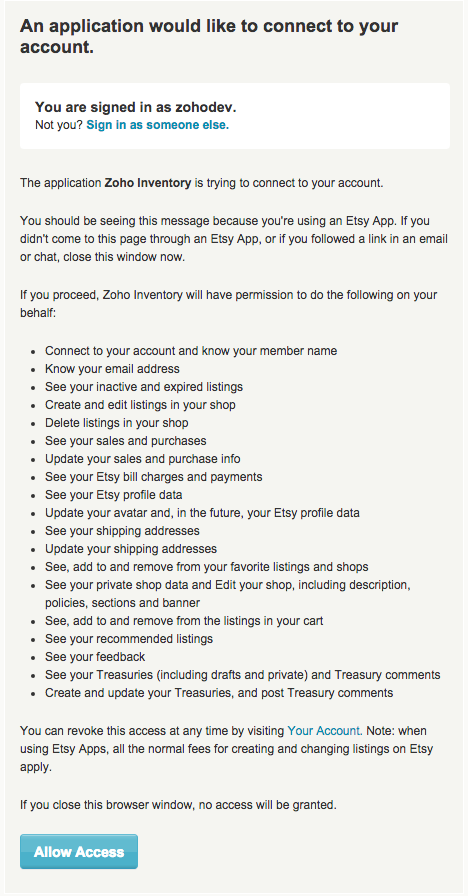
- Click on the Allow Access button.
- Now you will be successfully integrated with your Etsy account.

Warehouse mapping
Initially after setting up the integration, orders from Etsy are tracked in the primary warehouse and stock updates take place in the organization level. You can however, choose a specific warehouse from which you want to update the stock to your sales channel.
Prerequisite: Make sure to enable the Multi-warehouse feature in Zoho Inventory before proceeding.
To map a warehouse:
Log in to Zoho Inventory.
Go to Settings > Integrations > Marketplace.
Go to Etsy and click Show Details.
Under Modules in Sync, click the toggle button to enable warehouse mapping.

In the following pop-up, choose the warehouse you want to associate with Etsy.
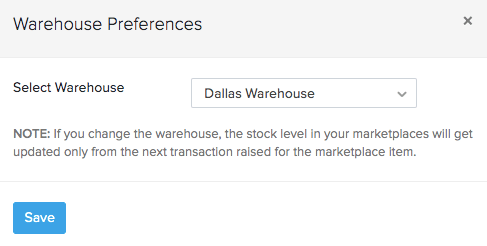
Click Save.
All stock updates and orders received henceforth from this sales channel will be tracked in this warehouse.
- To change your warehouse selection, click on Change warehouse and select another warehouse.
- To disable warehouse mapping, click on the toggle button and in the following pop-up click Disable. On doing so, your orders from this sales channel will go back to being tracked in the primary warehouse, and the stock update will take place in the organization level.
Tuning the integration
On successfully integrating your Etsy seller account with Zoho Inventory, you can now start tracking your inventory for every sale you make in Etsy.
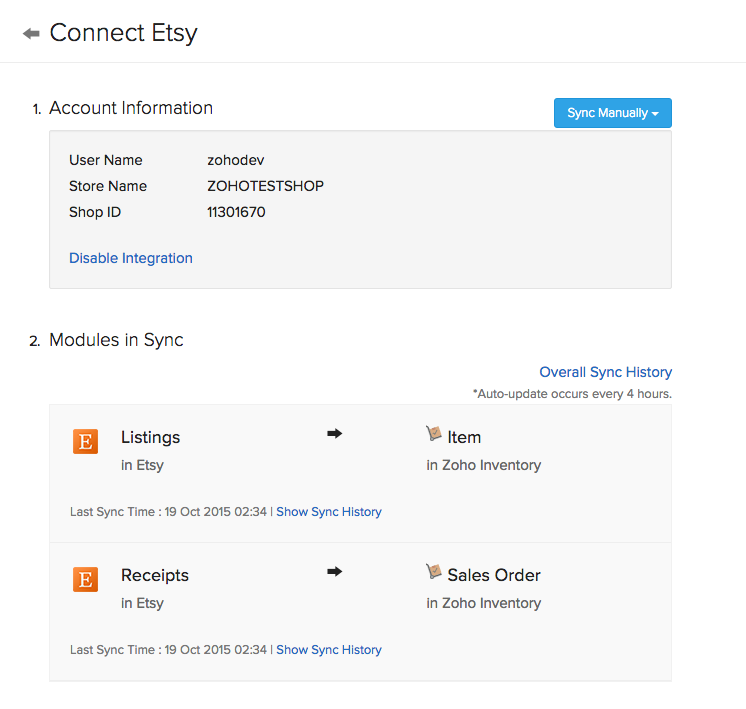
- For additional control over your integration:
- Navigate to Integrations.
- Select the Marketplaces tab.
- Click on the Show Details button under Etsy.
A page with all details associated with the integration opens up. Lets take a look at the individual options below.
Sync - auto & manual sync
- The details of all the sales on Etsy are reflected as sales orders here during a sync. We have an automated sync cycle in Zoho Inventory, which would automatically keep your organization up to date with your Etsy account.
- You can also manually update your organization at any point of time by clicking on the Sync Manually button and choosing one of the options(items or sales orders) in the drop down.
- Note: Using the manual sync in one marketplace will sync all the other marketplaces as well.
Sync History
The sync history page logs the periodic syncing of items and sales orders from the respective sales channels into Zoho Inventory. For each timestamp, you can view the the number of items and sales orders that were successfully synced or had failed to sync into Zoho Inventory.
To view the sync history of a sales channel:
- Go to Integrations on the sidebar and open Marketplace.
- Click the Show details button beside the marketplace you want to view.
- Click the Overall Sync History option below the 2. Modules in Sync section.

- Click the hyperlinked number against each timestamp to view the details of the items/sales orders that were synced or had failed to sync into Zoho Inventory.
Insight: The successfully synced record histories that are older than a month and failed sync histories that are older than two months will be deleted automatically.
Re-initiating a Sync
You can also re-initiate a sync to once again fetch the items and sales orders that was brought into Zoho Inventory on a particular timestamp. This is beneficial when:
- An item or sales order had failed to sync into Zoho Inventory. By re-initiating the task, the items that had failed to sync will be brought in.
- You have incorrectly linked an item from a sales channel to an existing item in Zoho Inventory. In such cases, you can unlink the items, make the necessary modifications, and re-sync the incorrectly mapped items.
To re-sync a task in Zoho Inventory:
- Go to Integrations on the sidebar and open Marketplace.
- Click the Show details button beside the marketplace you want to view.
- Click the Overall Sync History option below the 2. Modules in Sync section.

- Place your cursor over the task that you want to re-sync and click Resync.

The items/sales orders that were synced on the particular timestamp will be fetched once again into Zoho Inventory.
Sync Orders and Items from a Custom Timeframe
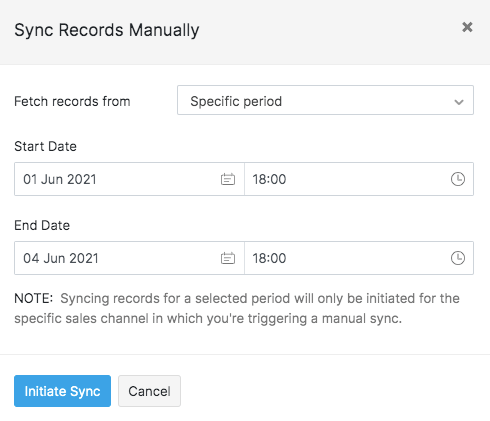
You can also resync orders and items from a custom date range from etsy. To do so:
Go to the Integrations module on the left sidebar.
Click the eCommerce tab.
Under Etsy integration, click the Sync Manually button.
Choose whether you want to sync Items or Orders from the dropdown.
Choose the Specific Period option from the ‘Fetch records from’ dropdown.
Select the Start Date and the End Date.
Click Initiate Sync to pull your orders or items from Etsy.
Workflow
Initial Sync
- On setting up the integration between your Zoho Inventory account and Etsy, all your existing data will be synced in 15 mins from successful authentication.
Sync cycle
- The integration is kept alive by the sync process between Zoho Inventory and Etsy.
- At the moment, an auto sync happens once every 4 hours, and thus keeps your organization updated with the sales that happen online. However, you can change this sync time by clicking on the Change button below the Overall Sync History option in the sales channel’s integration page. The possible options are:
- 30 minutes
- 1 hour
- 1 hour 30 minutes
- 2 hours
- 2 hours 30 minutes
- 3 hours
- 3 hours 30 minutes
- 4 hours
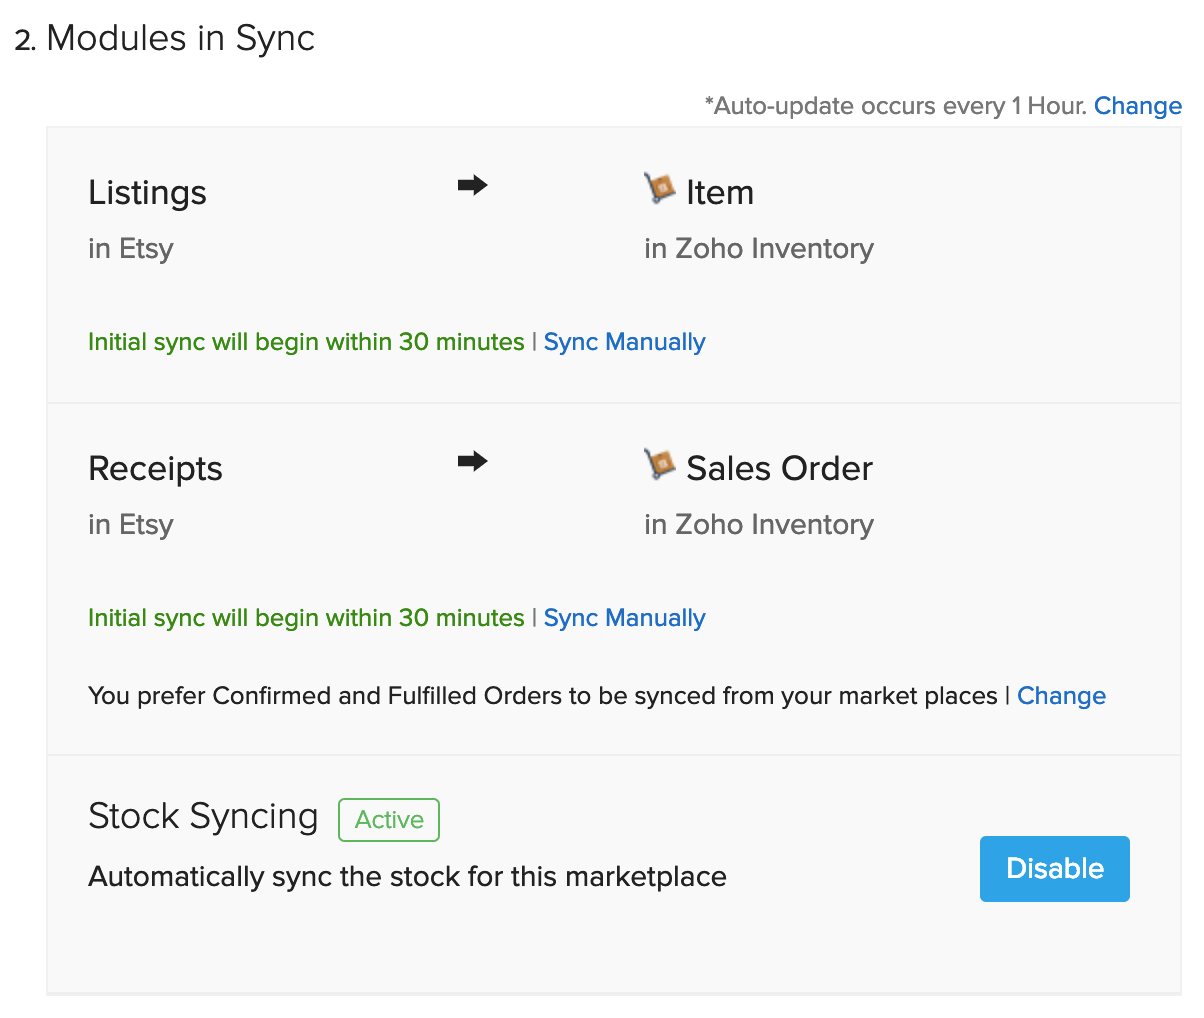
Items
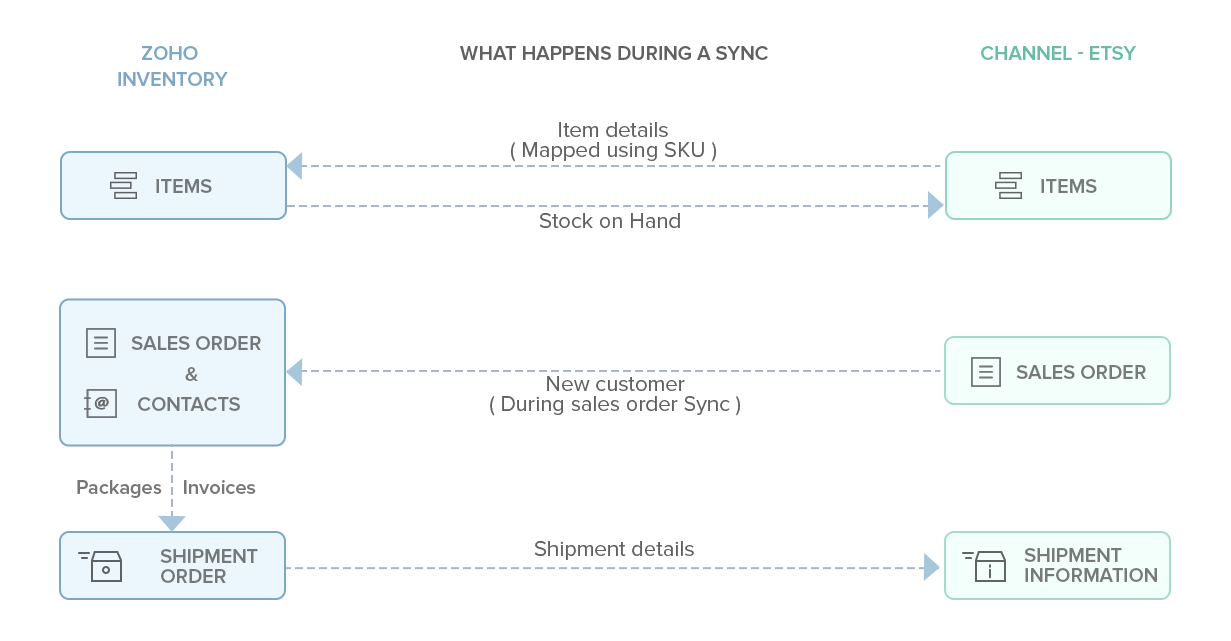
- Your current item stock on hand will be updated to Etsy automatically whenever there is a change in your stock levels.
Sales Orders
- When you make a sale on Etsy, a sales order is automatically generated for you inside Zoho Inventory.
- Any new customers who make purchases from your Etsy store will be automatically added to your contacts inside Zoho Inventory. Note: The customers synced from marketplaces will be mapped with the customers in Zoho Inventory based on their email ID. If email ID is not available, the mapping will take place based on customer name.
Order Sync Preferences
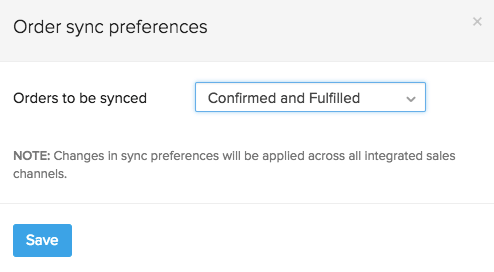
You can choose to sync only the Confirmed orders or both Confirmed and Fulfilled orders from your marketplace to Zoho Inventory. To do so:
- Go to the Modules in Sync section.
- Click the Change button under Orders.
- Select your sync preferences from the dropdown.
- Click Save to proceed.
Insight: Changes in sync preferences will be applied across all integrated sales channels.
Stock Sync
- By default, any changes in the stock in Zoho Inventory is automatically updated on Etsy. This is indicated by the Active status.
- If you disable this automatic sync, then the stock changes in Zoho Inventory will no longer get reflected in your marketplace. This is indicated by the Inactive status.
Shipments
- When you create shipments for the orders from Etsy, the shipping information you have in Zoho Inventory will be automatically updated to your Etsy account.
Payments
- The payment status of the inbound sales order from Etsy would be displayed as a comment under the sales order.
- As Etsy supports only paid orders, the payment status under the sales order would be indicated by a comment as Paid.
Disable integration
You can disable an integration at any point of time. To do so:
- Navigate to Integrations.
- Select the Marketplaces tab.
- Click on the Show Details button under Etsy.
- Choose the Disable integration option under Account Information.
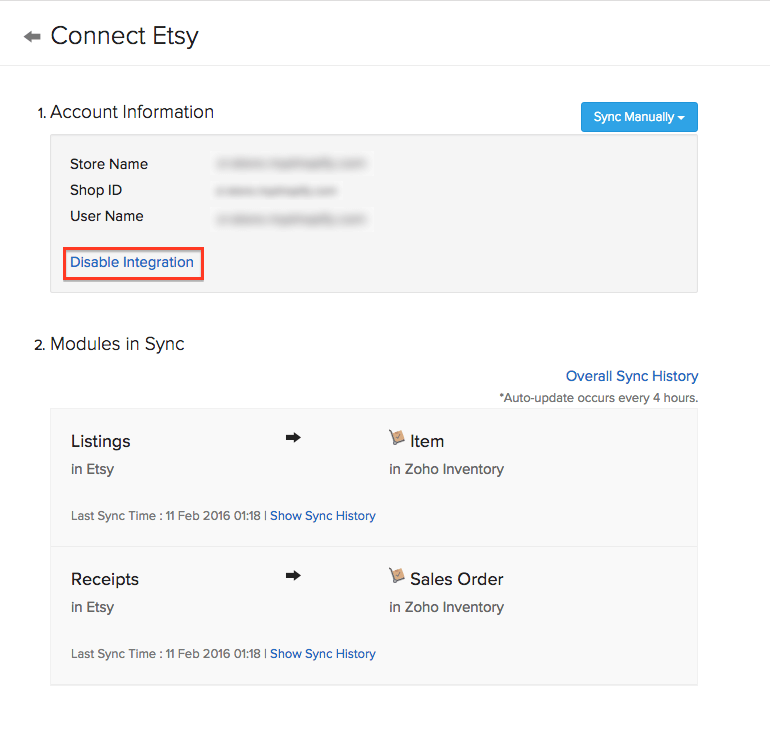
- Confirm the action by clicking on the OK button on the pop-up that follows.
- On doing this, your Etsy integration status will be moved to an Inactive state.
- To reactivate the integration, simply click on Enable Integration button inside the Etsy Details page under Integrations.
Reauthenticating the integration
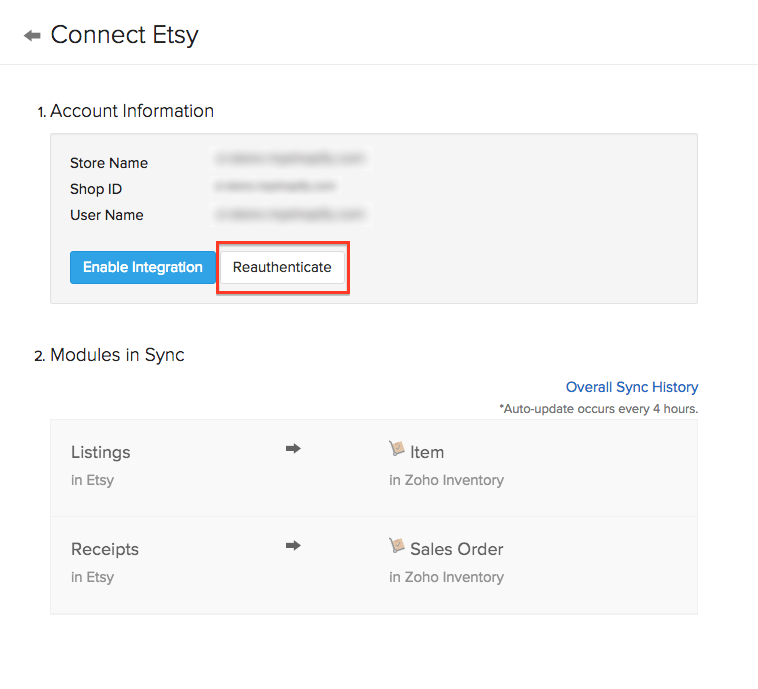
In case you have de-activated the integration between Zoho Inventory and Etsy from within your Etsy account by removing Zoho Inventory as an associated app, you can re-enable this integration using the re-authenticate feature.
To re-authenticate the integration,
- Navigate to Integrations.
- Select the Marketplaces tab.
- Click on the Show Details button under Etsy.
- Click on the Reauthenticate option under Account Information.

- You will be taken to a login interface from Etsy where you have to enter the credentials and log in.
- An authorization page opens up.

- Click on the Allow Access button.
- You will henceforth be able to sync your items and orders between your Shopify store and Zoho Inventory.
Very Important: Make sure that you re-authenticate the existing account by logging into the correct account. If not, you will be warned by an error message and you have to start over from the beginning because the re-authenticate option will only allow you to re-establish an integration with an existing account. This process will not allow you to change the account that is being integrated.


