Recurring Invoice Workflow
A recurring invoice or profile in Zoho Books has a certain workflow, i.e., how and when the recurring invoice gets generated, how an invoice can be created manually from the existing profile and how the recurring invoice can be stopped from further generating more invoices.
Child Invoices
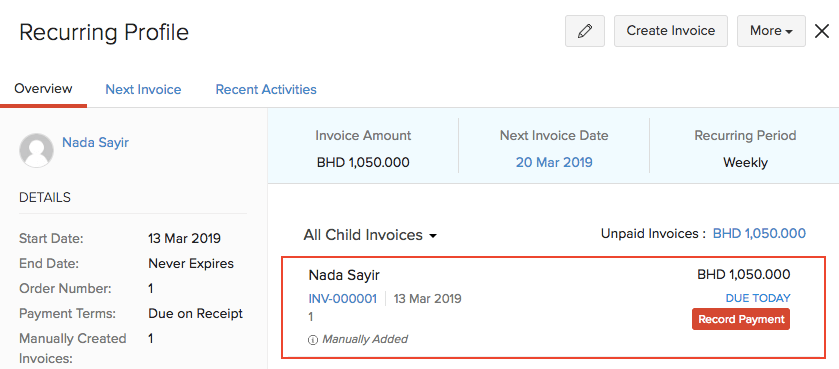
After you have created a recurring invoice, you can view all its child invoices. Child invoices refer to all the invoices which are generated for a recurring profile based on its time period.
Scenario: Patricia creates a recurring invoice for her customer Nada on 7th January 2019 for the time period of one week. The next invoice for this profile will be generated on 14th January 2019 (a week later), 21st January 2019 and so on.
To view the child invoices of a recurring invoice:
- Go to Sales > Recurring Invoices.
- Select the recurring invoice you want to view.

You can find all the child invoices which are generated for the recurring profile under the All Child Invoices section in the bottom right corner of the page. You can filter the Paid and Unpaid invoices by clicking the All Child Invoices drop-down.
Insight: Child invoices for recurring invoice profiles will be automatically created at 6 AM in your organisation’s time zone, based on the schedule you’ve configured.
Next Invoice
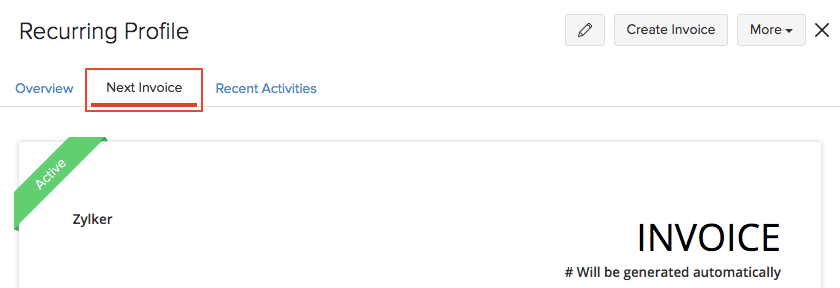
Once you create a recurring invoice, you can view the next invoice which will be generated on a later date based on the time period you have set. Here’s how:
Scenario: Patricia creates a recurring invoice for her customer Nada on 7th January 2019 for the time period of one week. The next invoice for this profile will be generated on 14th January 2019.
To view the next invoice:
- Go to Sales > Recurring Invoices.
- Select the recurring invoice you want to view.
- Click the Next Invoice tab in the right side of the page.

Record Payment
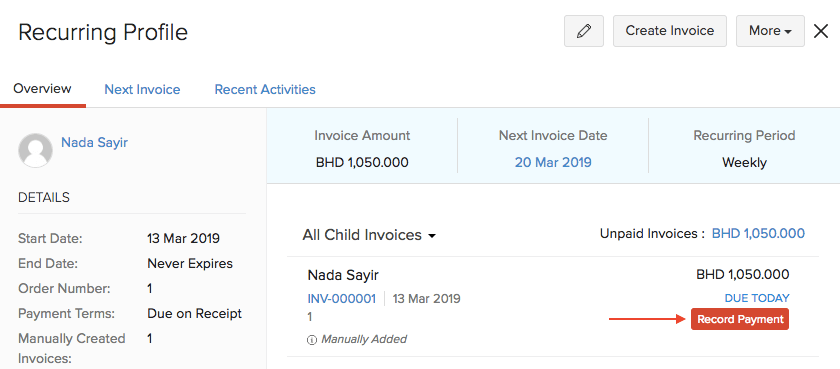
Once an invoice is generated, you can record payment for it directly from the recurring invoice details section. Here’s how:
- Go to Sales > Recurring Invoices.
- Select the recurring invoice for which you want to record the payment.
- Click Record Payment for the necessary invoice under all the child invoices.

Alternatively, you can select any invoice in the same page, after which you’ll be redirected to the Invoices module from where you can record the payment.
Create Invoice Manually
You can choose to create an invoice from the existing recurring invoice manually. This will be in cases when you want to generate the same invoice with different details. For example, a different date.
Scenario: Patricia wants to create an invoice for the same customer with the same details but on a date which doesn’t fall on any of the scheduled dates of the recurring invoice. In this case, she can manually create an invoice from the child invoice.
To create an invoice manually:
- Go to Sales > Recurring Invoices.
- Select the recurring invoice for which you want to create a manual invoice.
- Select the Create Invoice button in the top right corner of the page.
- Click OK to confirm.
- Fill in the details in the New Invoice page and save it.

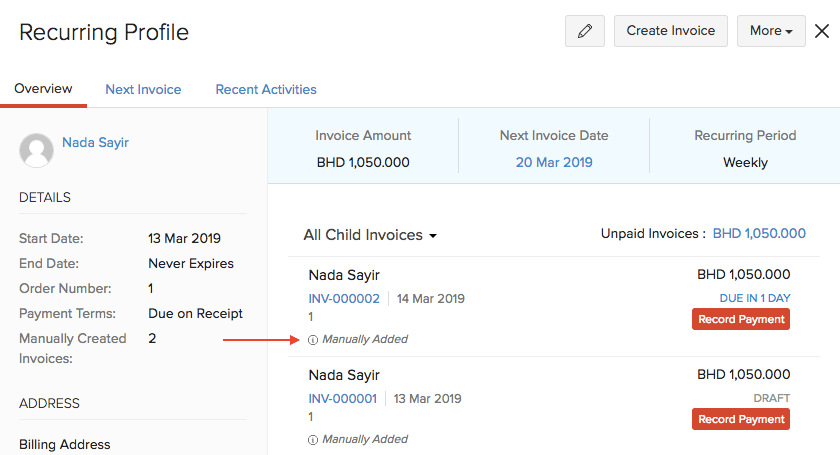
The manual invoice will appear under the All Child Invoices section in the recurring invoice.

Stop Recurring Invoice
Scenario: Patricia has set up a recurring invoice for a customer, starting on 1st February 2024, with invoices being sent automatically every month. However, she will be unavailable to process orders during May and June. To accommodate this, Patricia can manually pause the recurring invoice for these two months and resume it once she returns, ensuring no invoices are sent while she’s away.
You can choose to stop a recurring invoice from further generating more invoices. Here’s how:
- Go to Sales > Recurring Invoices.
- Select the recurring invoice which you want to stop.
- Click More > Stop.

After a recurring invoice has been stopped, you can resume it later if needed. Here’s how you can do it:
- Go to Sales > Recurring Invoices.
- Select the recurring invoice which you want to resume.
- Click More > Resume.

Next >
Manage Recurring Invoices
Related


 Yes
Yes