 Inventory
Migration Methodology!
This guide aims to help you bring in your existing data and save you the time and effort that may be used to record them and avoid double entries. You may have used some other order management platform before or you may have them in an excel sheet. No matter the method, we will help you smoothen the transition from your old system to Zoho Inventory.
Lets take a look at what you need and how to go about this.
Page Layout:
Prerequisites
To import your existing data into Zoho Inventory:
- The file must have the data and fields in the same pattern as the sample files to facilitate smoother mapping.
- The file that is to be imported must be either in .csv(comma separated value) or .tsv(tab separated value) format.
Overview of Modules
Let’s see an overview of the modules that you can import and export:
- Contacts - Access: Contacts tab in the LHS -> Menu icon -> Import/Export Contacts option.
- Contact persons - Access: Contacts tab in the LHS -> Menu icon -> Import/Export Contact persons option.
- Items - Access: Item Groups tab in the LHS -> Menu icon -> Import/Export Items option.
- Sales orders - Access: Sales Orders tab in the LHS -> Menu icon -> Import/Export Sales Orders option.
- Invoices - Access: Invoices tab in the LHS -> Menu icon -> Import/Export Invoices option.
- Invoice Payments - Access: Invoices tab in the LHS -> Menu icon -> Import/Export Payments option.
- Purchase orders - Access: Purchase Orders tab in the LHS -> Menu icon -> Import/Export Purchase Orders option.
- Bills - Access: Bills tab in the LHS -> Menu icon -> Import/Export Bills option.
- Exchange Rates - Access: Settings icon(gear wheel) -> Currencies option -> other gear icon beside the +New Currency button -> Import/Export Exchange Rates.
- Price Lists - Access: Settings icon(gear icon) -> Price Lists option -> other gear icon beside the +New Price List button -> Import/Export Price Lists.
Note: LHS - Left Hand Sidebar The method is simple and similar for all modules.
Getting your files ready
-
If you have been using another software to manage your stock before, most popular stock management and accounting platforms have the option to export your data in .csv, .xls or .tsv formats in their respective modules. You can simply export your data from there and import them into your Zoho Inventory account.
-
To get though the import process without any hurdles, we suggest that you download our sample file from the import page of the respective module and prepare your excel files in the same format. Save it as a CSV file and then import the same file into Zoho Inventory.
-
To learn more, click on this Link
Importing Data
The import sequence for any module has 3 main steps: File selection and configuration -> Mapping fields -> Previewing the data before import
Note: Here we have taken the contacts module as the sample for the screen shots. The import mechanisms are very similar for all modules.
General Steps:
- Navigate to the page containing the module(e.g.:contacts, items, bills etc) that you wish to import.
- Click on the Menu icon on the top right corner. In case of exchange rates and price lists its the Other gear icon on the right beside their +New buttons on the top.
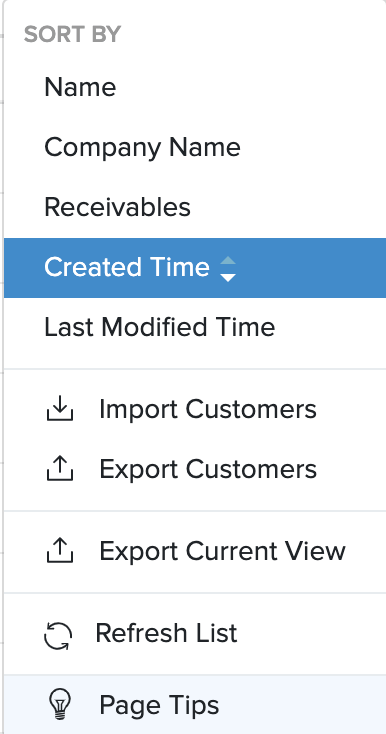
- Select the Import option for that module from the drop down.
- The import page opens up.
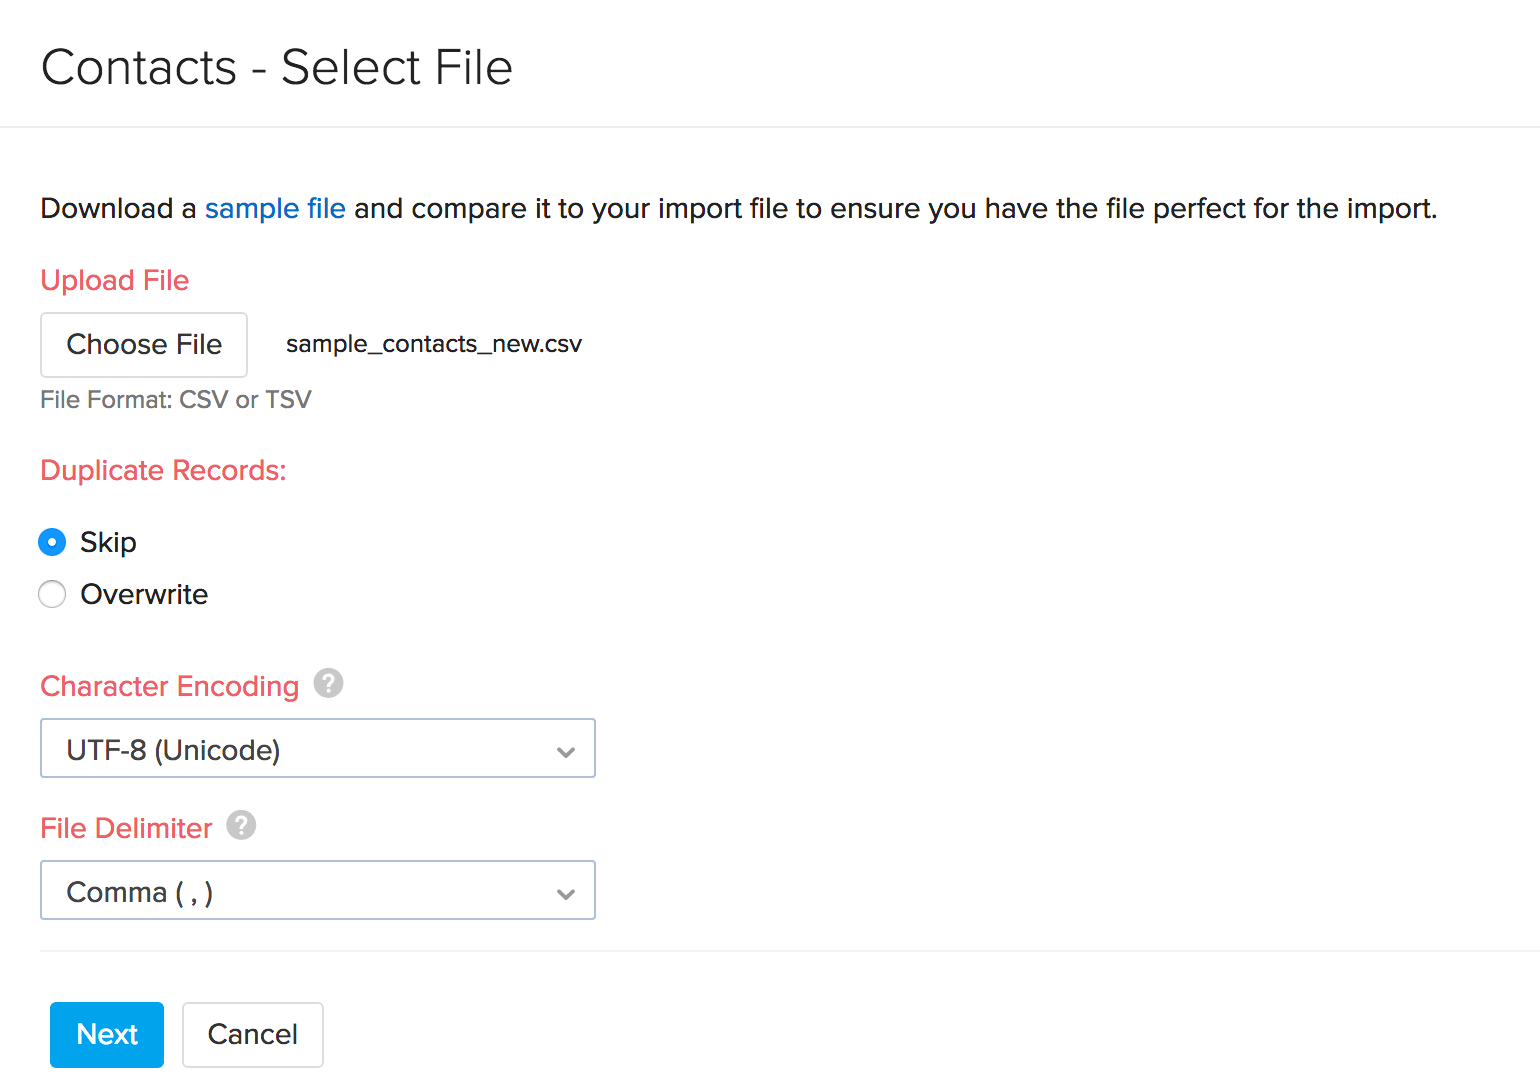
- Choose the file to be imported.( Note: it should be in .csv or .tsv formats)
- Select the required character encoding. By default it will be UTF-8 (Unicode).
- Choose your file delimiter as applicable. (comma or semicolon)
- In the items module, we have an additional option called Duplicate Records. This option gives you the ability to overwrite existing files whenever you need to simply update existing items. This option can also be skipped, if you don’t have a need of it.
- In some modules like sales orders and purchase order, you have the option to auto generate their numbers. Use the feature as applicable
- Click on the Next button.
- The mapping fields page opens up
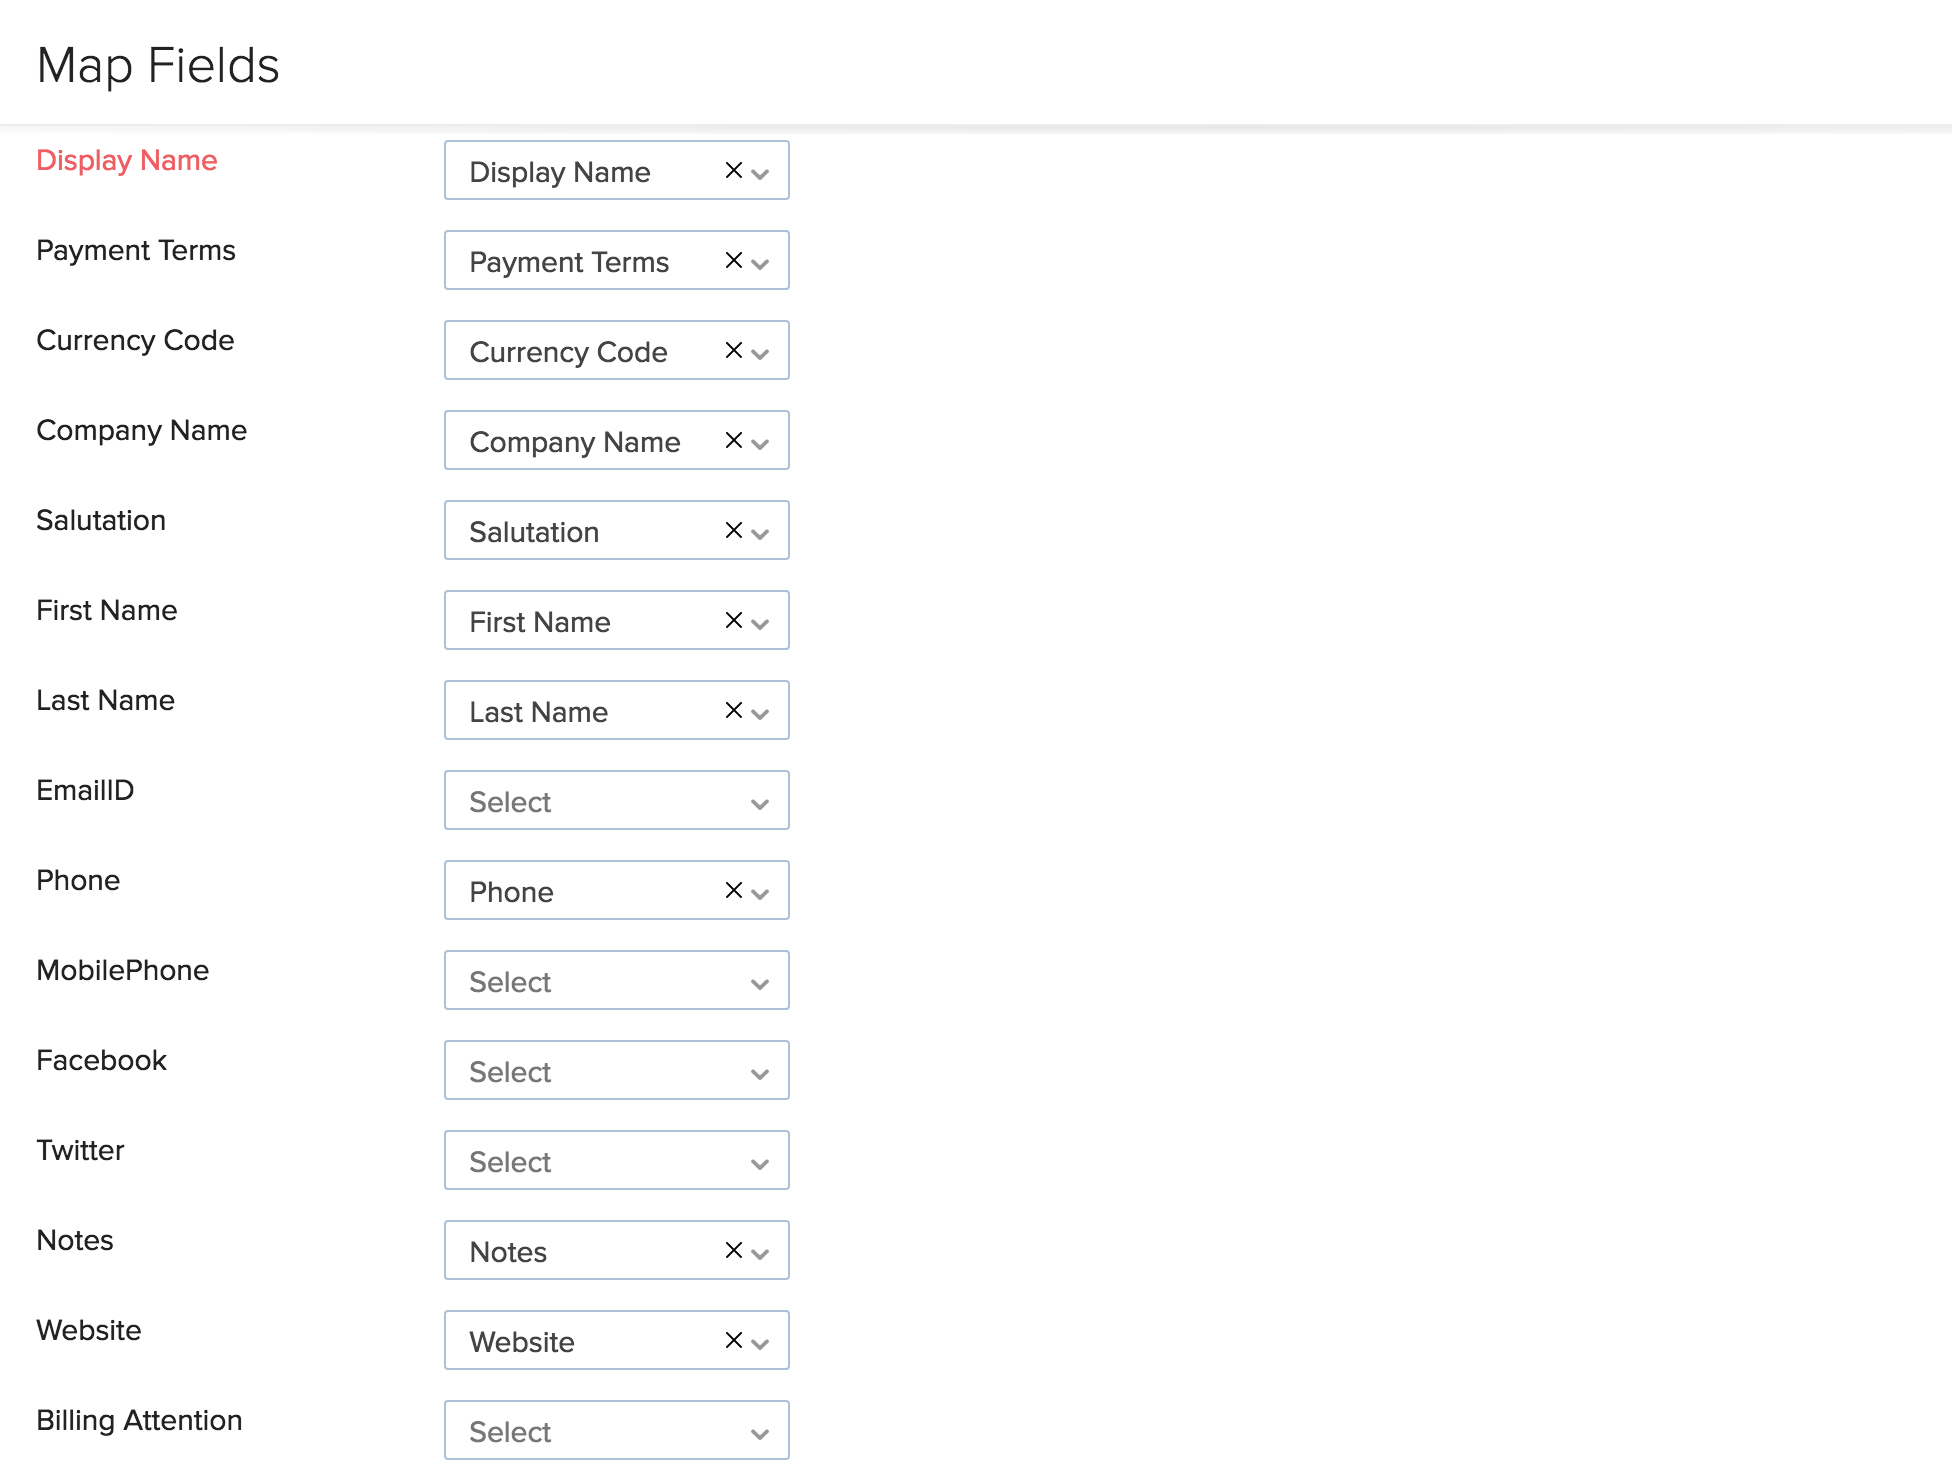
- Zoho Inventory automatically maps and matches similar fields together. Yet if you have unmapped fields, you can manually match them.
- Check the box near the option Save these selections for use during future imports, to automate your mapping process.
- Click on the Next button
- The import preview page, opens up.
- Here you can get an overview of the no of records ready, no of skipped records and unmapped fields.
- You can still make changes if you require by clicking on the Previous button.
- To proceed to importing, click on the Import button.

- The files get imported into their respective modules and are just a click away.
Exporting Data
The export sequence has only 1 step.
Note: Here we have taken the contacts module as the sample for the screen shots. The export mechanisms are the same for all modules.
General Steps:
- Navigate to the page containing the module, you wish to export.
- Click on the Menu icon on the right top corner. In case of exchange rates and price lists its the Other gear icon on the right beside their +New buttons on the top.
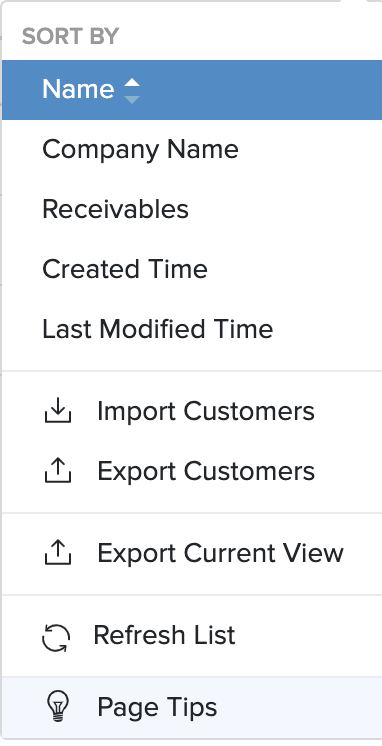
- Select the export option in the drop down.
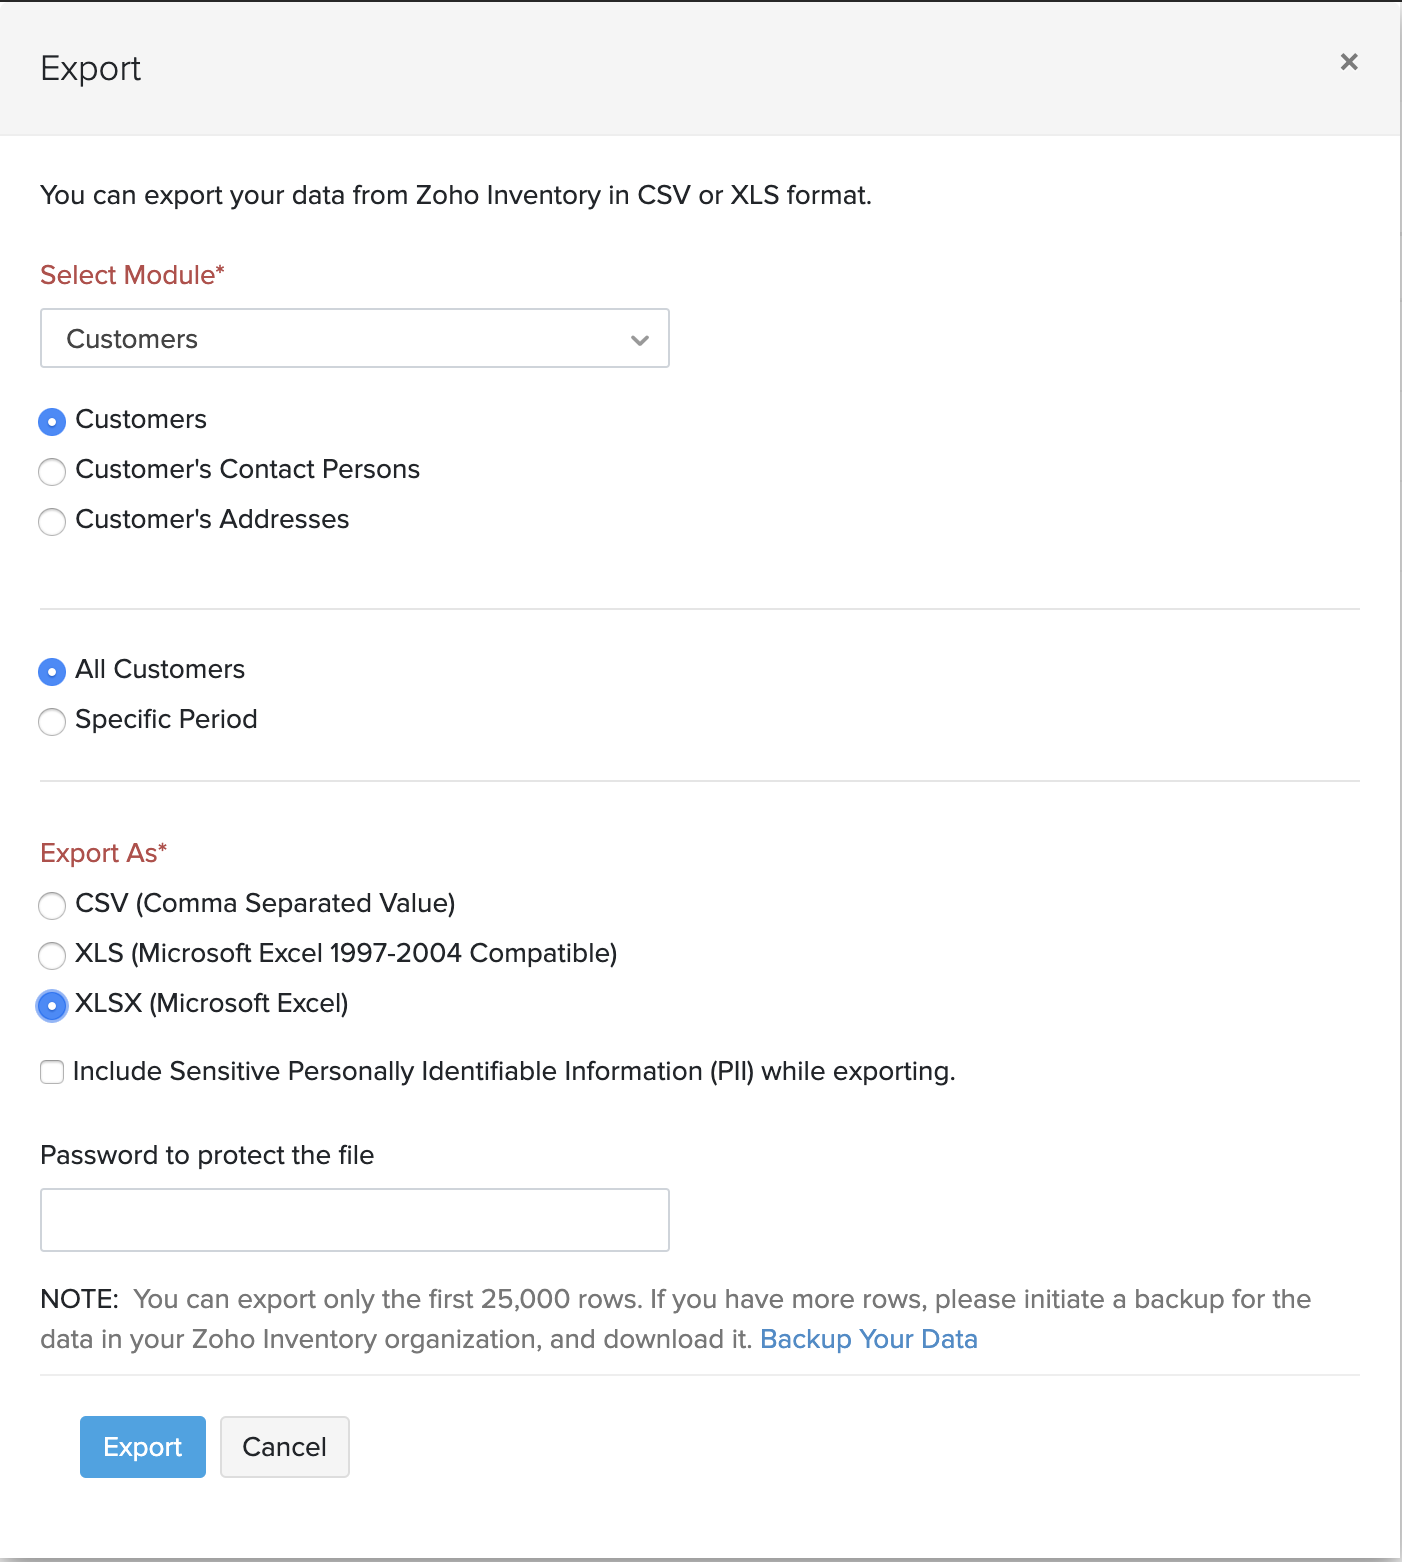
- The export pop up appears.
- The entity field by default will be the module you have chosen. You can also change this if required.
- Select the format in which you wish to export your files. You can export in .csv or .xls formats.
- Click on the Export button.
- Your files will be downloaded to the default download location in your device.
