
Trips
Preferences
Admins can configure preferences regarding trip submission, trip notifications, trips’ custom status, and other preferences.
To set up trip preferences:
- Click Admin View on the left sidebar.
- Go to Settings on the left sidebar.
(OR)
Click Settings in the top right corner of the page. - Go to Modules under Customization.
- Click Trips.
- Under the Preferences tab, you can configure the following:
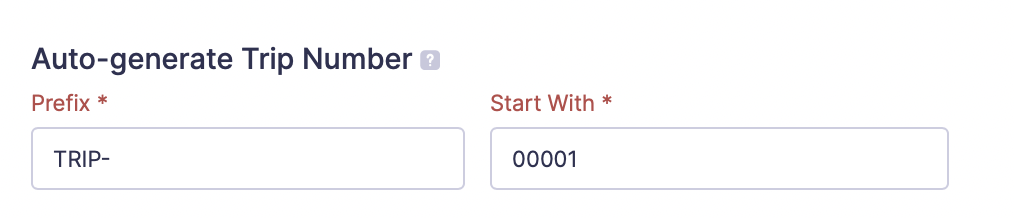
Auto-Generate Trip Number
You can provide your own prefix or the auto-generated prefix, and specify a Start With number or use the auto-generated number.
General Preferences
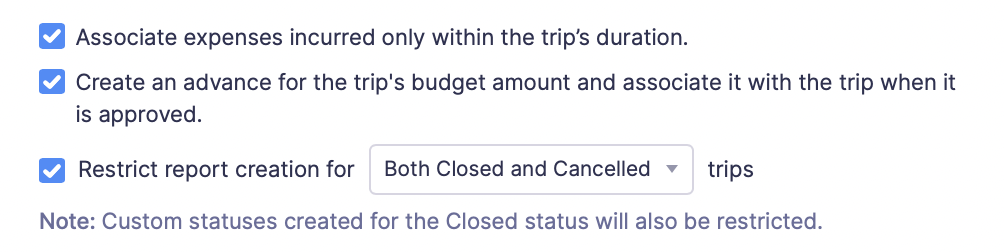
Check the Associate expenses incurred only within the trip’s duration box to ensure that only the expenses that are within the trip’s duration are associated with the trip’s expense reports.
Check the Create an advance for the trip’s budget amount and associate it with the trip when it is approved box if you want to automatically create an advance for the trip’s budget amount whenever a trip is approved.
Check the Restrict report creation for trips box and select if you want to restrict report creation for canceled trips, closed trips, or for both from the dropdown.
Note: Custom statuses created for the Closed status will also be restricted if you restrict report creation for the trips in Closed status.
Travel Profile
If you want your users to add a travel profile before creating and submitting trips, you can make it mandatory for all users by checking the Mandate travel profile for users to create trips box.

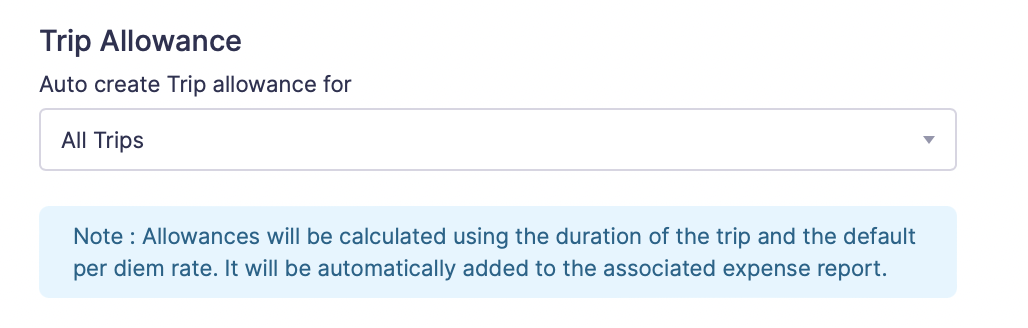
Trip Allowance
An organization might provide its employees with a fixed allowance per day for their daily expenses. You can choose to create these per diem allowances as trip allowances automatically for your users.
Under the Auto create Trip allowance for dropdown, select for which trip you would like to auto-create the allowance. Once you’ve selected your preference, the allowance will be automatically added to the associated report as a reimbursable expense. The trip allowance will be calculated based on the duration of the trip and the default per diem rate.
Custom Status
If the trips in your organization include intermediate statuses for the default status Approved, Closed, and Rejected, you can add them by creating custom statuses.
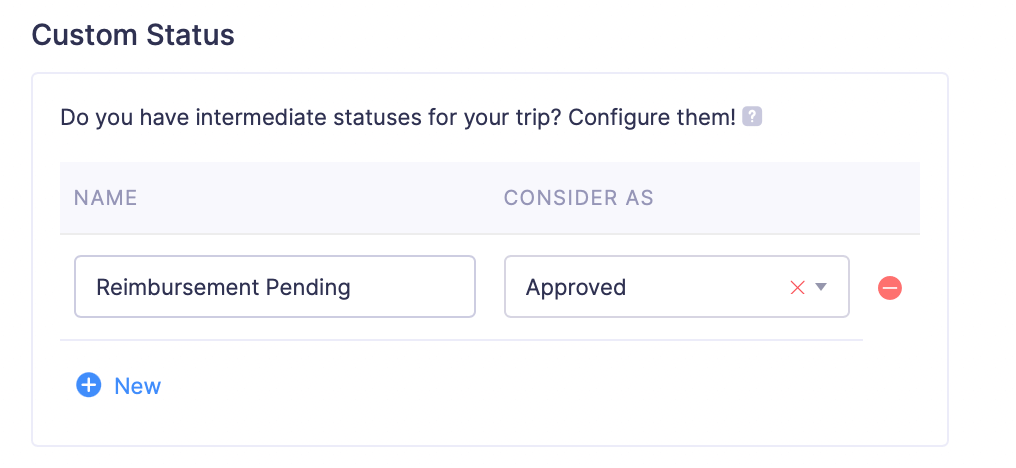
Click + New to add more custom status and click - to delete a custom status.
Apply Custom Status to Trips
To change the status of the trips:
Note: Changing the status of the trip will only change the status name. The trips will still be considered as Approved, Rejected, or Closed based on your configuration.
- Go to Admin View and click Trips on the left sidebar to view all the trips that are submitted across the organization.
(OR)
Go to My View and click Approvals on the left sidebar and click Trips to view the list of trips that are submitted to you for approval. - Select the Approved, Rejected, or Closed trip for which you would like to change the status.
- Click the Change Status dropdown at the top right corner and select the custom status.
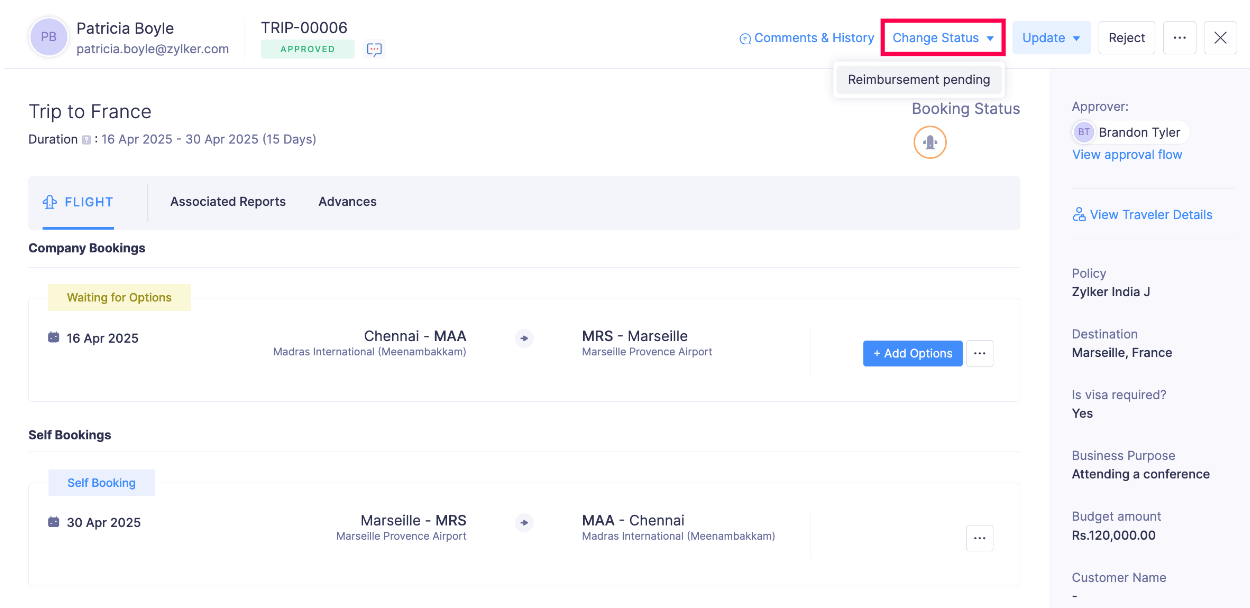
- Confirm your action by clicking Confirm in the Change Trip Status pop-up.
The trip will be marked with the new custom status and will be considered as Approved, Rejected, or Closed as per your custom status.
Revert Custom Status
Here’s how you can revert the custom status to its corresponding status in Zoho Expense:
- Go to Admin View and click Trips on the left sidebar to view all the trips that are submitted across the organization.
(OR)
Go to My View and click Approvals on the left sidebar and click Trips to view the list of trips that are submitted to you for approval. - Select the trip for which you want to revert the custom status.
- Click the Change Status dropdown at the top right corner and select Revert Status to “Status Name”.
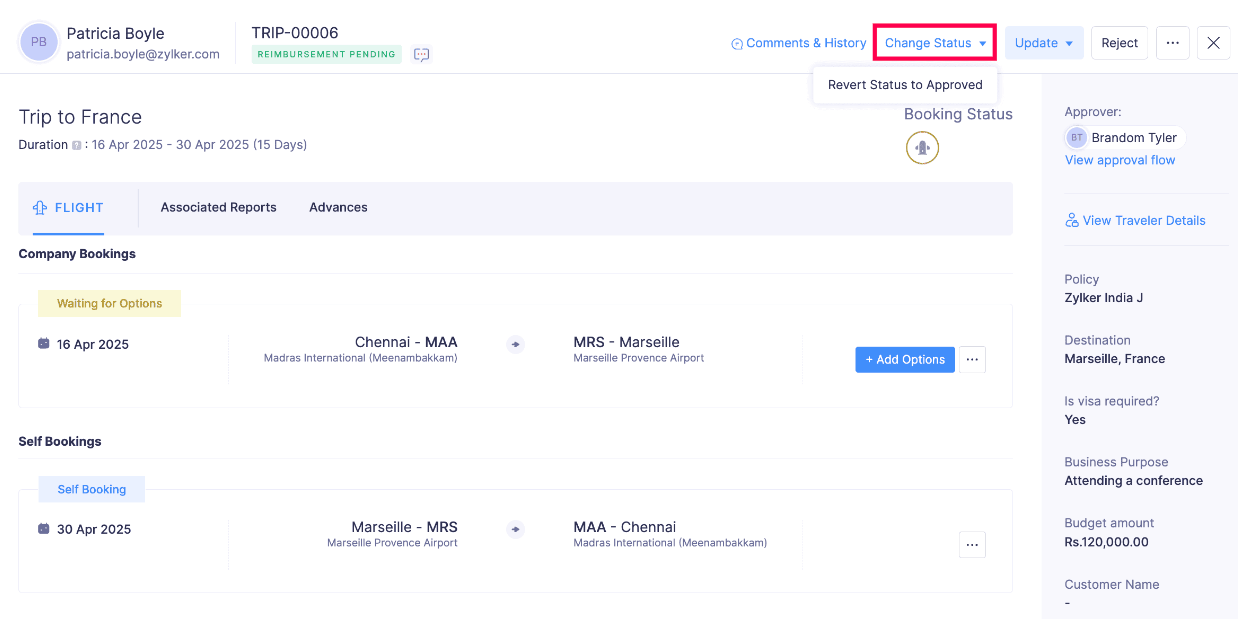
The trip’s custom status will be reverted to the status you’ve configured.
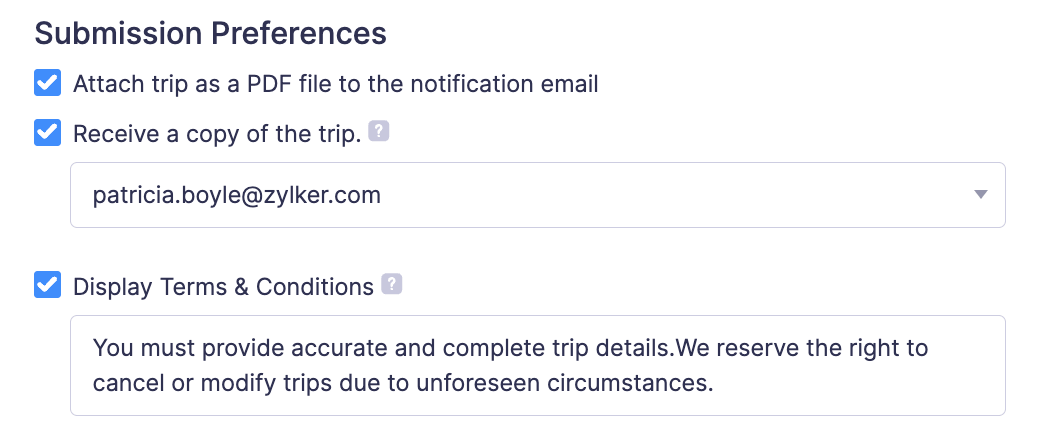
Submission Preferences
Under this section, you can configure the following preferences:
- Attach trip as a PDF file to the notification email: A copy of the trip will be sent as a PDF file along with the notification email.
- Receive a copy of the trip: You can add the email addresses to which you would like to receive a copy of the trip, whenever a trip is submitted.
- Display Terms & Conditions: You can enter the terms and conditions that have to be shown to the users while creating a trip.
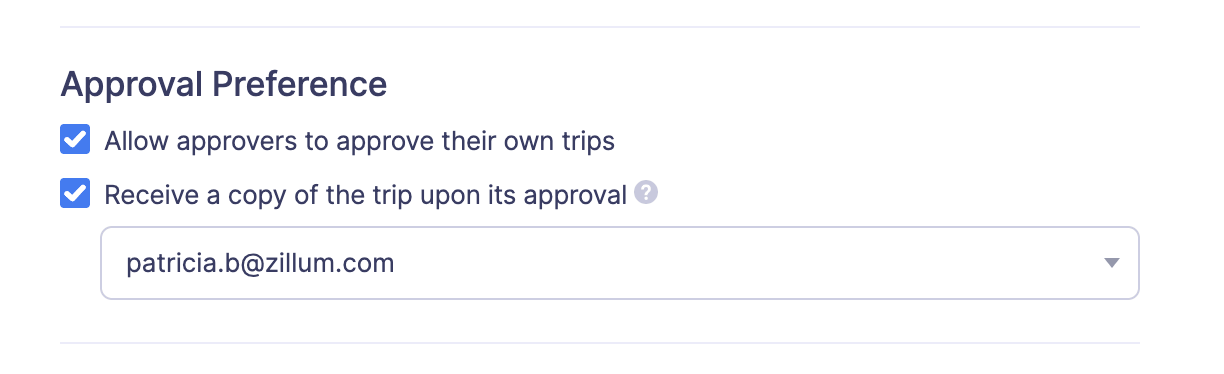
Approval Preferences
- Allow approvers to approve their own trips: You can allow the approvers to approve their own trips that were created and submitted by them.
- Receive a copy of the trip upon its approval: You can add the email addresses to which you would like to send a copy of the trip, whenever a trip is approved.
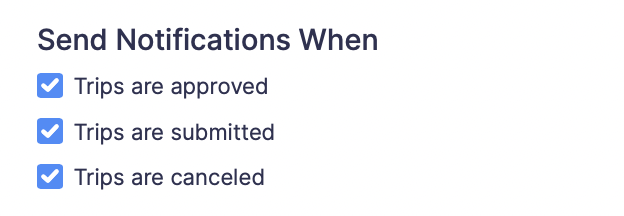
Send Notifications When
You can choose when to send notifications to the users. You can notify users when the trips are Approved, Submitted, and Canceled.
| Notifications | Description |
|---|---|
| Trips are approved | Mark this checkbox to notify users when a trip is approved. |
| Trips are submitted | Mark this checkbox to notify users when a trip is submitted for approval. |
| Trips are canceled | Mark this checkbox to notify users when a trip is canceled. |
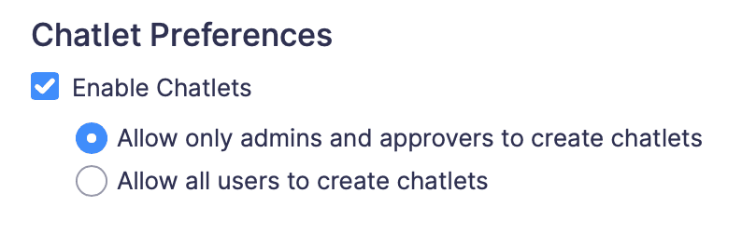
Chatlet Preferences
Chatlet enables you to initiate discussions with other users in Zoho Expense. This feature is powered by Zoho Cliq, an application that makes collaboration and communication easy for teams.
Note: Chatlet feature is available only for the Premium plan in Zoho Expense.
Choose the users for whom you want to enable Chatlet.
- Click Save.
Fields
When creating a trip in Zoho Expense, you may be prompted to enter data in several fields. These fields might not be required or sufficient for your organization. In order to make your expense reporting experience more efficient, Zoho Expense provides you with the ability to customise existing fields or add more fields based on your organization’s needs.
You can add more fields by creating custom fields to receive additional information and choose the input fields your users would view. You can also choose to make these fields mandatory and add them to the report PDF.
Approvals
You can set up either hierarchical approval or custom approval based on the approval process for trips in your organization.
Page Layouts
Customize the trip request form by creating page layouts to determine the fields shown when users create new trips. Create unique layouts with relevant fields for every travel type and policy.
Links and Buttons
In Zoho Expense, there are default buttons that are used to execute pre-defined functions. If you want to create a new button apart from the default buttons provided in Zoho Expense, you can create a new custom button and define a set of custom actions that can be executed when you click the custom button.
Custom links are external links that you can configure in Zoho Expense, which when clicked, will take you to external websites or resources in a new tab. You can also add placeholders in these links to redirect users to a specific record or page.
 Yes
No
Yes
No
Thank you for your feedback!