Inbound Shipment
Note: This feature is only available in the US, UK, and CA editions of Zoho Inventory.
Note: This feature is still in beta. Try it out and send your feedback to support@zohoinventory.com
An Inbound Shipment is Amazon’s term for sending your items from your warehouse to an Amazon Fulfillment Center, where it will be stored and delivered to your customer by Amazon.
You can create an Inbound Shipment after creating a Purchase Order or a Transfer Order.
To create an inbound shipment:
- Create a new Purchase Order or Transfer Order for the FBA items that you want to send to Amazon’s warehouse.
Insight: For shipping items that are not marked as FBA, you can change their status in the Items module and ship them.
Note: Ensure that the warehouse you are sending the items to is marked as an FBA Warehouse
- Click Create Inbound Shipment in the transaction details screen..
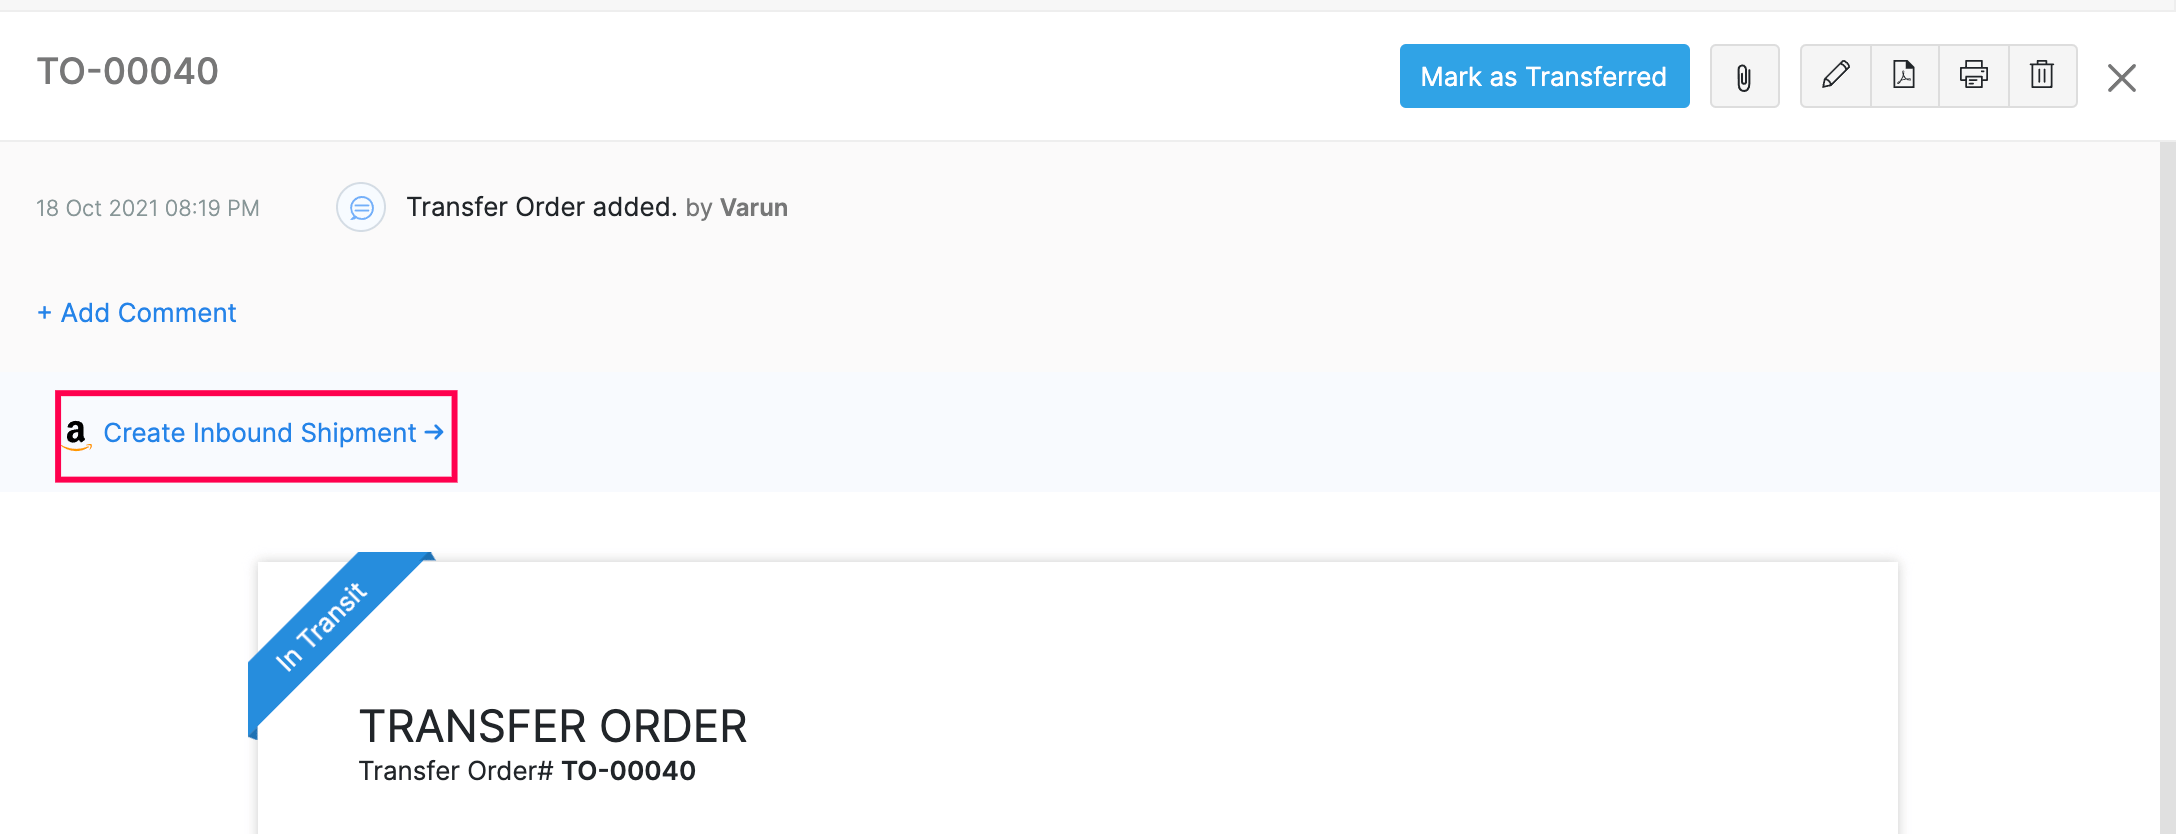
After you click Create Inbound Shipment, you will be taken to the FBA Plan Creation screen. Here, review the details and click Save and Next.
Shipment Creation
Note: Case Packing is not supported when you create an inbound shipment using Zoho Inventory. However, you can do this in your Amazon Seller Central account.
Note: The number of boxes you can send in a single shipment has been limited to 200 for Amazon partnered shipping carriers and 500 for non-partnered shipping carriers.
After the previous step, Amazon will analyze the items you are selling, find the best location to sell them, and create plans for you to ship them. Now, you have to box your items to prepare them for shipping.To box your items:
- Click Configure Boxes next to the plan’s details.
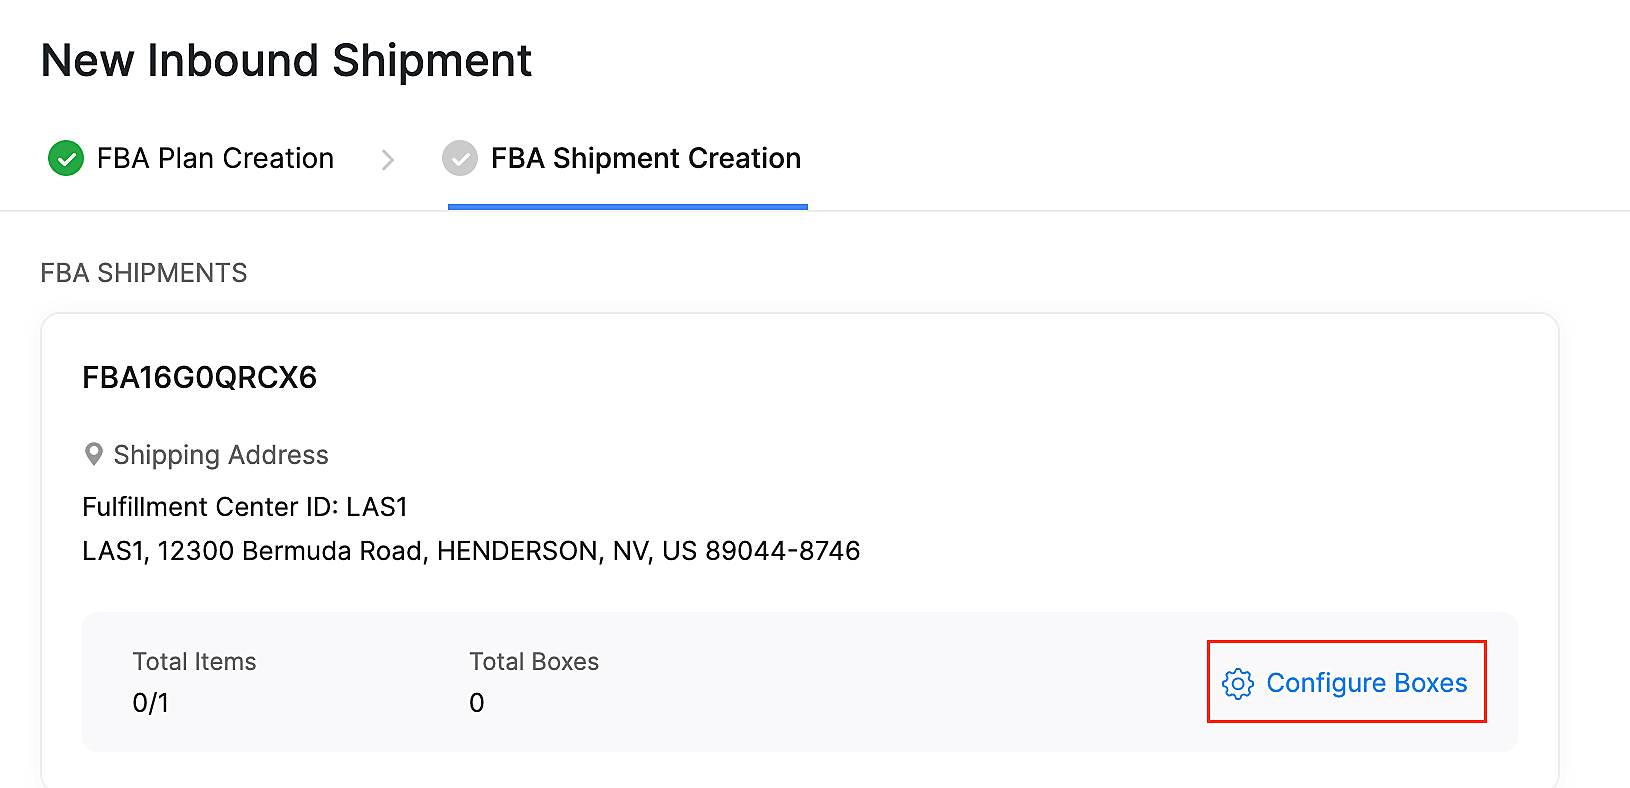
Click + New Box in the popup that appears**.**
Select the items that you want to include in the box, and enter the quantity of those items. You can configure multiple boxes for the same plan if required.
Click Save.
If you have multiple plans, you have to configure the box details for each of them by clicking the Configure Boxes button next to each plan.
After you configure the box details for all the plans, click Create Shipment**.** Zoho Inventory will create an Inbound Shipment with your plan details..
Note: This process can sometimes takes a few minutes to complete.
Send Box Details to Amazon
After you configure the box details for your plans in the previous step, they will be stored locally in Zoho Inventory. To send information about the boxes to Amazon, click Push Box Details.

Zoho Inventory will now send your box details to Amazon. Please wait for a few minutes for this process to complete and click Refresh Status. Once completed, you will be taken to the next step.
Note: You must package your items and label them by downloading the labels from Amazon Seller Central or printing them manually.
Configure Transport Details
Once you’ve pushed the box details to Amazon, you must choose whether you want to send your package using an Amazon partnered shipping carrier or ship it on your own with the help of a third-party shipping carrier.
For shipments sent via third-party carriers:
Note: For shipments sent via third-party carriers, you have to make the Fulfillment Center Appointment (FC Appointment) yourself.
- Click Configure Transport Details.
- Click the shipment for which you want to choose a shipping carrier.
- Set the Carrier Type as Non-Partnered, and choose your Carrier Name from the list.
- Enter the tracking number which you got from your shipping carrier in the Tracking# field for all the boxes.
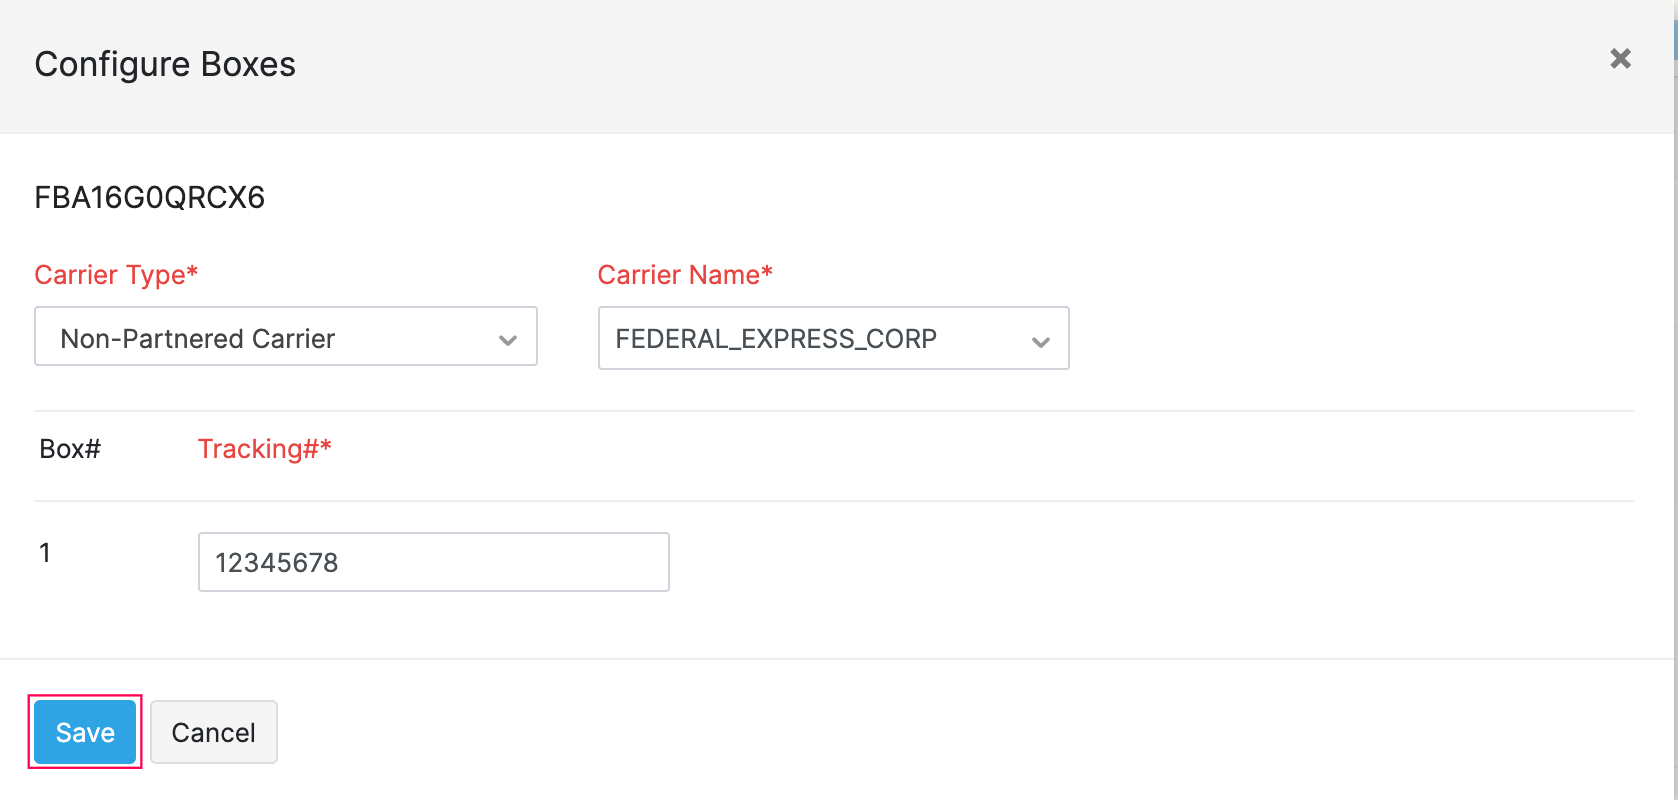
- Click Save.
- Click Proceed after configuring the transport details for all your shipments.
For packages sent via Amazon partnered shipping carriers:
Click Configure Transport Details.
Click the shipment for which you want to choose a shipping carrier.
Set the Carrier Type as Partnered, and choose your Carrier Name from the list.
Enter the necessary information and click Save.
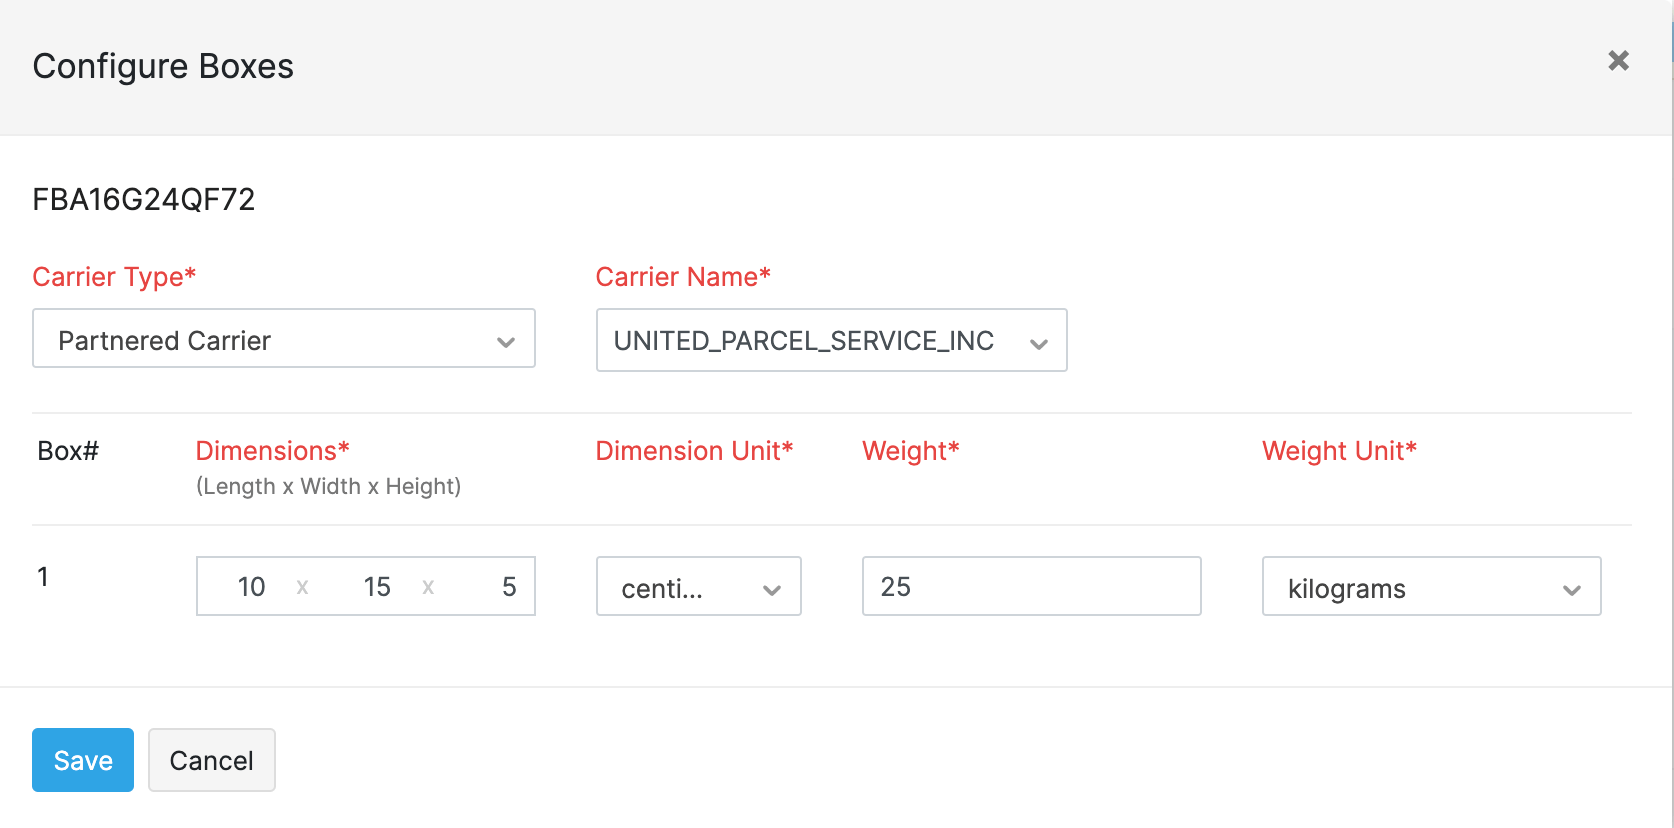
- Click Proceed after configuring the transport details for all your shipments.
Estimate Shipping Fee
Note: Continue to Print Shipment Labels for shipments sent via non-partnered shipping carriers.
To fetch and confirm the estimated shipping fee:
- Click Estimate Shipping Fee in the top right corner of the screen. (Amazon will estimate the shipping cost from your warehouse to Amazon’s Fulfillment Center.)

.
- Click Fetch Estimated Fee in the top right corner of the screen, to fetch the estimated fee from Amazon.

- The estimated shipping fee will be shown in the inbound shipment details screen.
- Click Confirm Estimated Fee.

In the popup that appears, verify the details, accept the terms and conditions, and click Confirm.
Print Shipment Labels
Once you confirm the estimated shipping fee, Amazon will generate the FBA Labels and the Shipment Labels, which you should print and attach with your shipment.
To print these labels:
- Click Print Shipment Labels in the top right corner of your screen.

- Verify the details and click the Print icon to print the shipment labels.
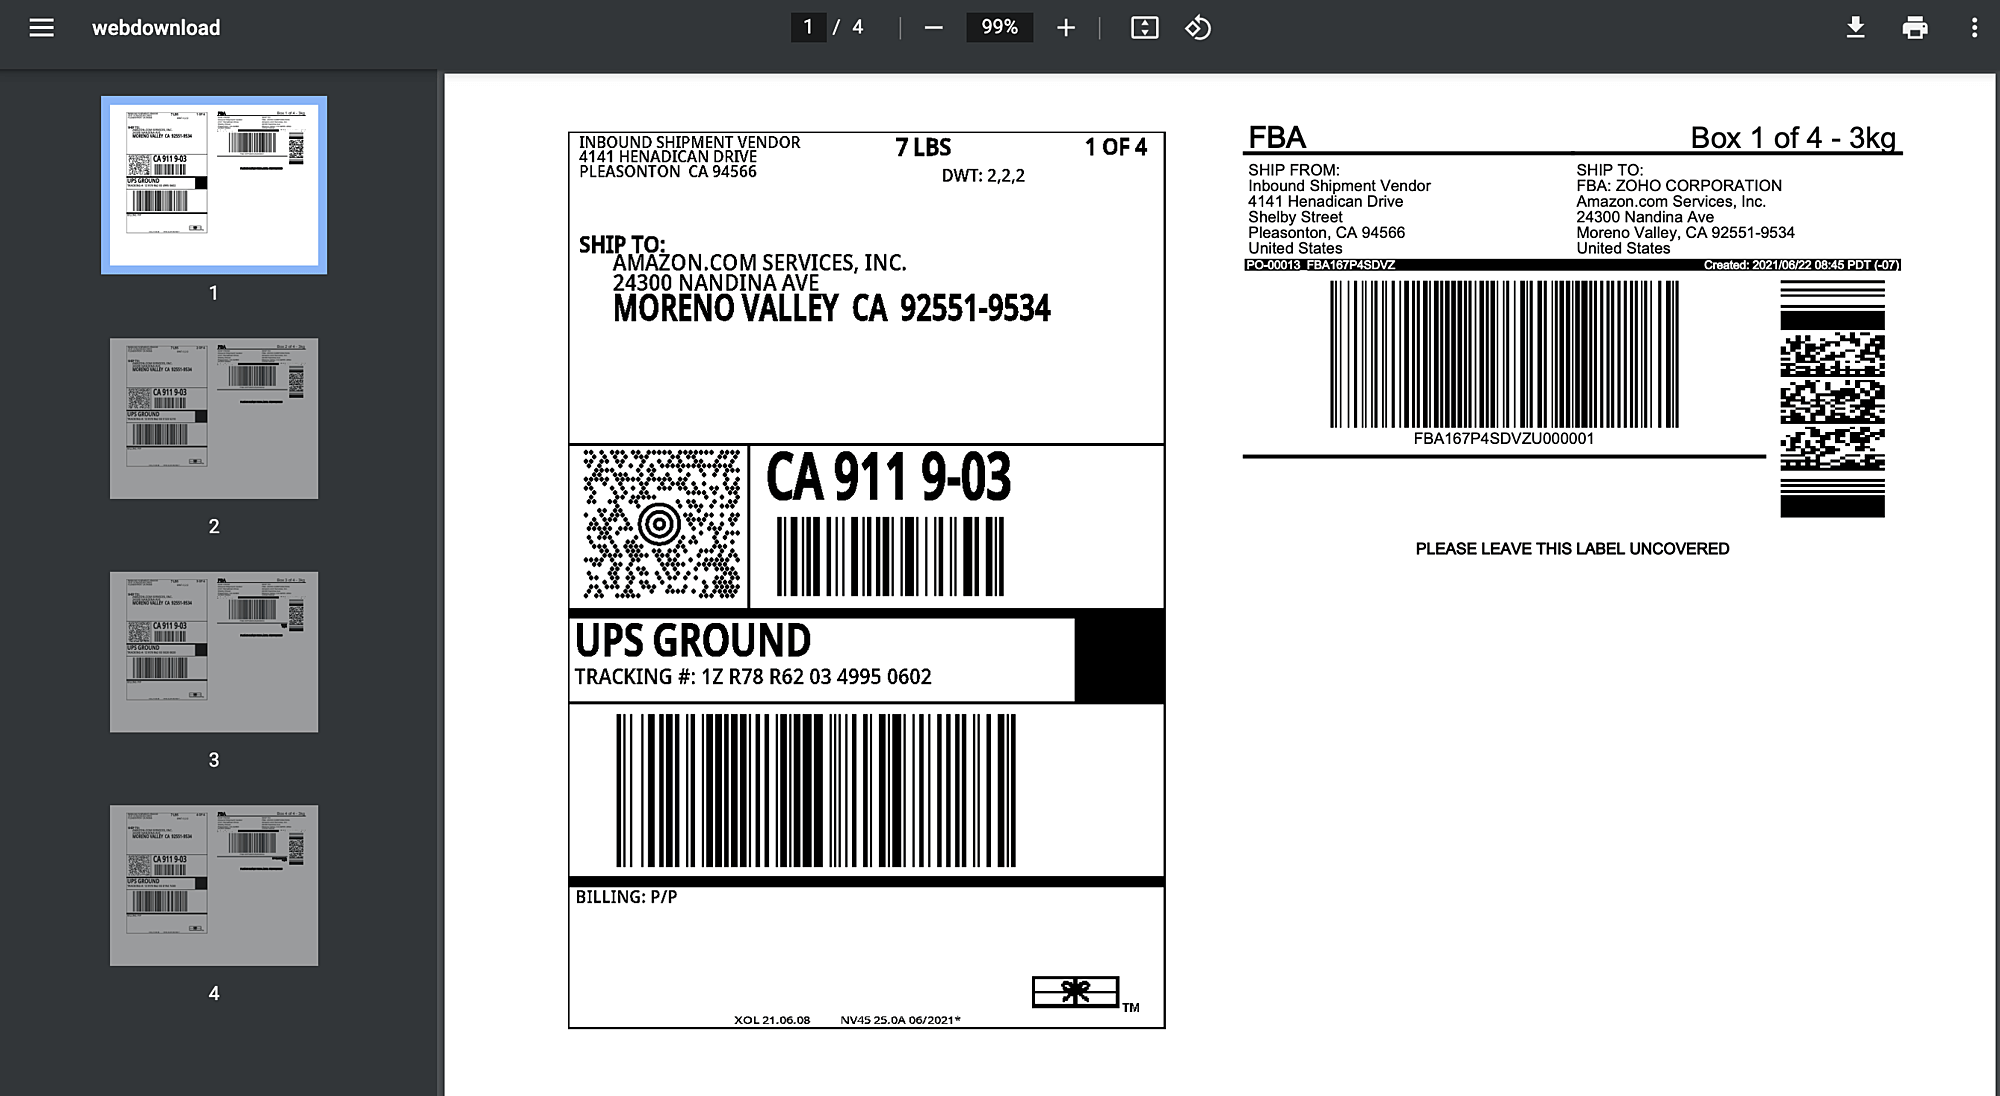
Insight: For non-partnered shipping carriers, you have to fetch the shipment label from your carrier and print it.
Mark As Shipped
Once the package has been picked up by your preferred carrier, you should change the status of the inbound shipment to Shipped. To do so:
- Click Mark As Shipped in the top right corner of your screen.

Fetch Shipment Status
After you mark the shipment as Shipped, Zoho Inventory will check the status of your shipment once every 12 hours.
You can also fetch the status and the tracking number (for Amazon partnered shipping carriers) manually by clicking Fetch Shipment Status in the top right corner of your screen.

| Status | Description |
|---|---|
| Working | The carrier has picked up the package from your facility. |
| In-Transit | An appointment has been made for delivering an item to an Amazon Fulfillment Center. |
| Delivered | The carrier has delivered the package to an Amazon fulfillment Center. |
Once the shipment has been delivered, Zoho Inventory will mark the transaction as Transferred for Transfer Orders or create a Purchase Receive for Purchase Orders automatically.
Note: Currently, Zoho Inventory does not handle returns and cancellations of inbound shipments. However, you can manage them in your Amazon Seller Central account.
Delete Inbound Shipment
Note: Deleting an inbound shipment in Zoho Inventory will only remove the inbound shipment in Zoho Inventory. To delete an inbound shipment completely, go to your Amazon Seller Central and delete it.
To delete an inbound shipment in Zoho Inventory:
- Open the transaction details page of the transaction for which you want to delete the inbound shipment.
- Click View Inbound Shipment.
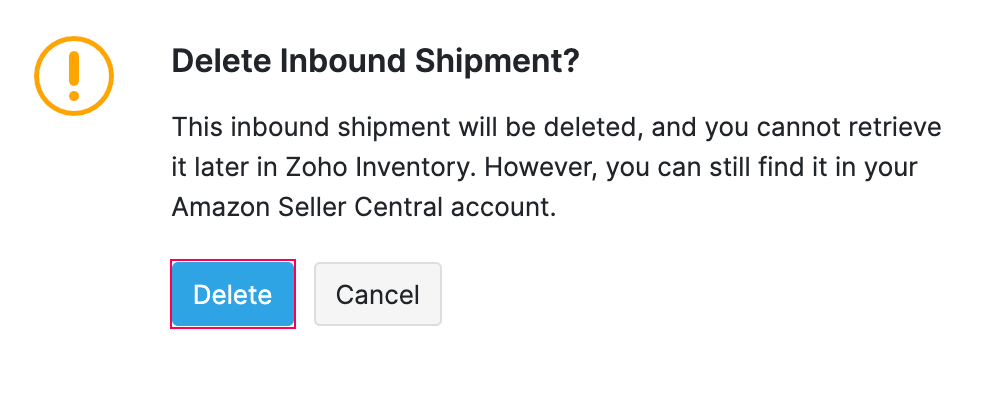
- Click the bin icon in the top right corner of your screen.
- Click Delete in the popup that appears..
Note: Check the Comments & History section if you are facing any errors


