Users & Roles
You can collaborate with your employees and accountants in Zoho Billing, by inviting them as users, and providing role based access. Since Zoho Billing is an online application, multiple users can access it and work from any location.
User
A user is someone who has access to your Zoho Billing organization. An organization in Zoho Billing can have multiple users.
Role
A role refers to the level of accessibility that a user can have in an organization.
IN THIS PAGE…
Adding Users
When you create a Zoho Billing account, you become the default admin of your organization. Once you are an admin, you can add multiple users with different roles to your organization. Here’s how you can do it:
-
Navigate to Settings > Users & Roles > Users.
-
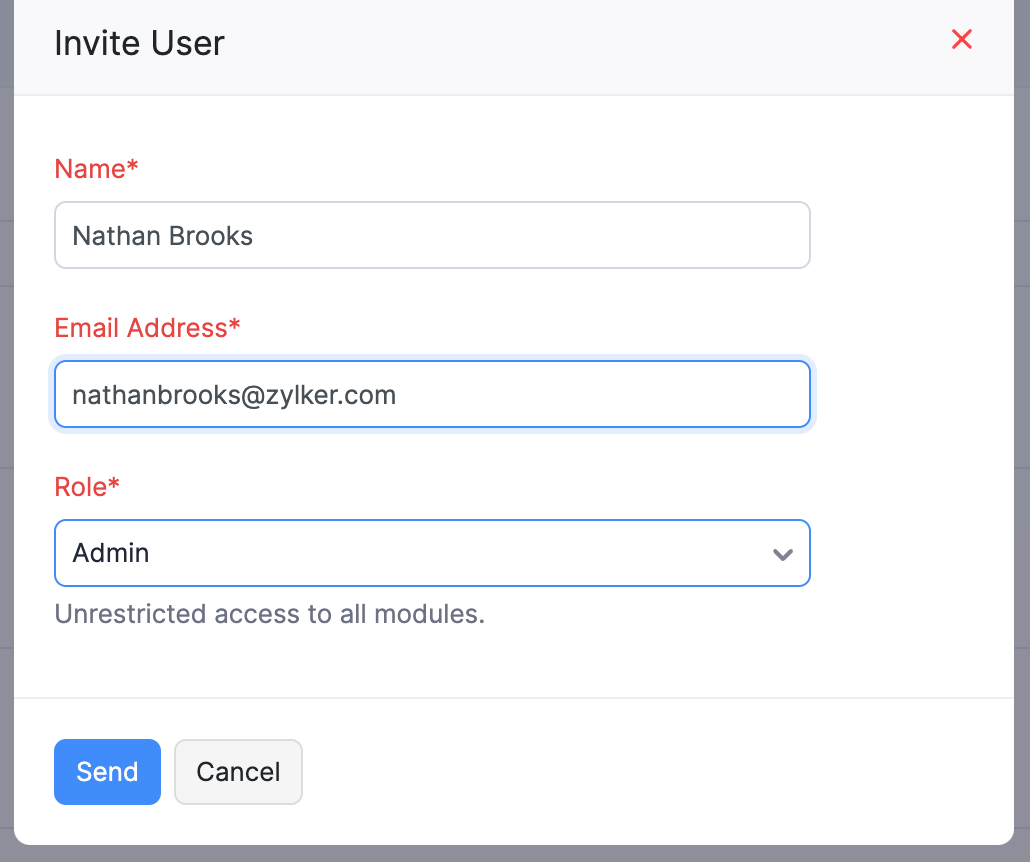
Click Invite User.
-
Enter Email address and Name of the user.
-
Select a Role.
-
Click Send to send the email invitation.

After doing so, an email will be sent to the new user, from where they have to verify the link and set up a login password to access your Zoho Billing organization.
Note:
Only users with Admin access can add new users.
Editing Users
After you have added a new user, you can edit their data if required. Here’s how:
- Navigate to Settings > Users & Roles > Users.
- Select the user whose details you want to change.
- Click Edit.
- Make the required changes.
- Click Save.
Note:
Only users with Admin access can edit user information.
Custom Roles
Apart from the standard roles (such as Admin, Staff, etc.) in Zoho Billing, you can add additional roles with different levels of access. These roles are called Custom Roles.
To add a custom role:
- Navigate to Settings > Users & Roles > Roles.
- Click New Role in the top right corner of the page.
- Select the modules and the level of access you want to provide for the role.
- Click More Permissions for additional access options.
- Click Save.
Mark User as Inactive
Sometimes, you might want to restrict a user from accessing your organization. In such a case, you can mark a user as inactive. You can make the user active again if you wish.
To mark a user as inactive:
-
Navigate to Settings > Users & Roles > Users.
-
Select the user you want to mark as inactive.
-
Click Mark as Inactive.

Mark User as Active
You can make an inactive user active again. Here’s how:
- Navigate to Settings > Users & Roles > Users.
- Select the inactive user you want to mark as active.
- Click Mark as Active.
Deleting Users
To delete a user, kindly follow these steps:
-
Navigate to Settings > Users & Roles > Users.
-
Select a user.
-
Click More > Delete.
-
Click Delete to confirm.

Please Note:
- Only an Admin can delete users.
- An admin cannot delete his or her own account.
- At any given point in time, there has to be one admin.
 Thank you for your feedback!