Customers & Vendors Details Page
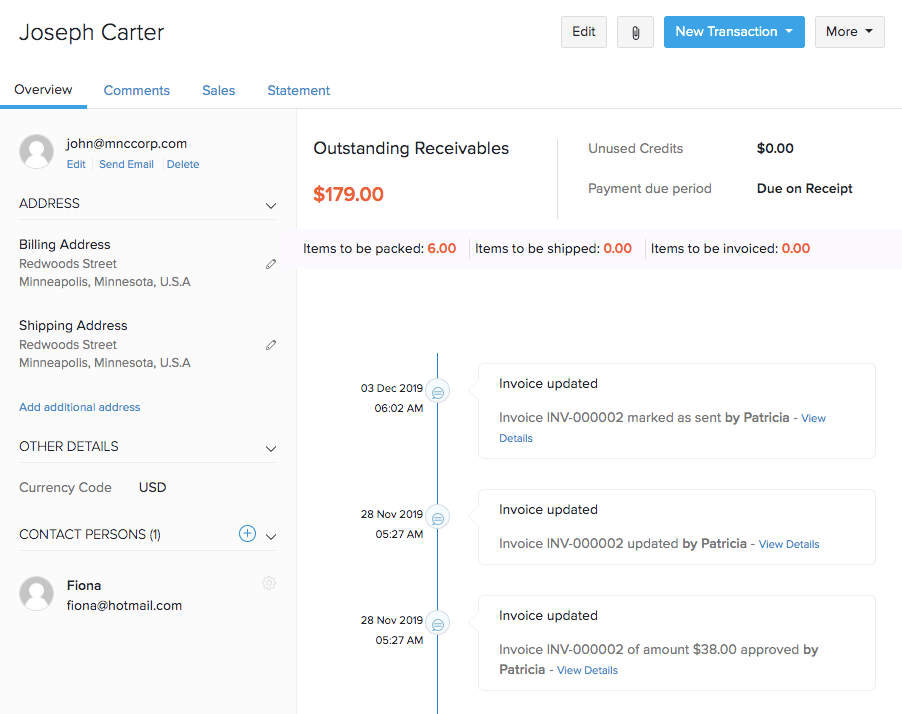
This page includes the essential details of a customer/vendor such as the name, email, phone number, address, contact persons, transaction synopsis and recent activities. It is the first page that you will see after you have created a customer or a vendor This page also provides actionable buttons and quick links for creating transactions, recording payments, sending emails and statements.
The Left Side
The first block of the Overview page displays the basic details of the primary contact such as the name, email address and phone number.
The Address section shows the billing, shipping and the additional addresses associated with the contact. Learn how you can manage addresses for a customer or a vendor.
The Other Details section displays the Currency Code, Payment Terms and tax related details of the contact.
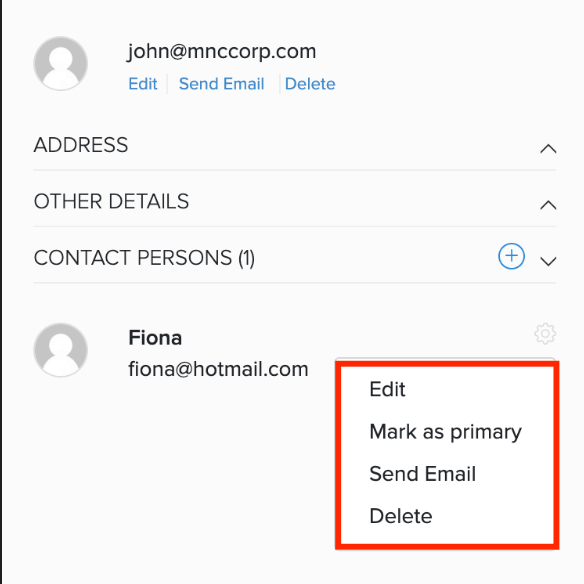
The Contact Persons section is where you add alternate contact persons who you can get in touch with if the primary contact is unreachable.
The Right Side
For a customer, you can find the Receivables section where details regarding the customer’s impending payment, credits available, and sales related details are displayed.
In the case of a vendor, you can find the Payables section which displays the amount you owe them and your purchase related details with that vendor.
Below the Receivables/Payables section, the recent shipments sent to a customer or the purchase orders raised in case of a vendor along with its status will be shown. Click the view details to view the details of the shipment/purchase order.
Lastly, you can find the recent activities section with the most recent activity shown first.
Contact Persons
A contact person or an alternate contact is someone who is associated with the primary contact and can be reached in case of business related queries.
To add a contact person for a customer or a vendor:
- Go to the Customers or Vendors module in the sidebar.
- Click to open a preferred contact.
- Go to the Contact Persons section at the bottom of the Overview page.
- Click the + button.
- Enter the relevant information about the contact person.
- Click Save.
Recent Activity
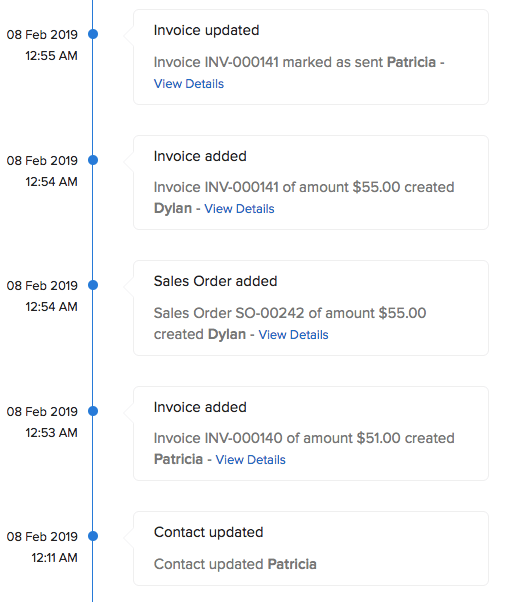
The recent activities for a customer or a vendor is displayed in a timeline fashion, showing the most recent activity first along with the name of the user responsible for the action.
These activities include contact created, contact update, invoice created, payment made and more.
Under each activity, you can click the View Details link to get into the details of that activity.
Comments
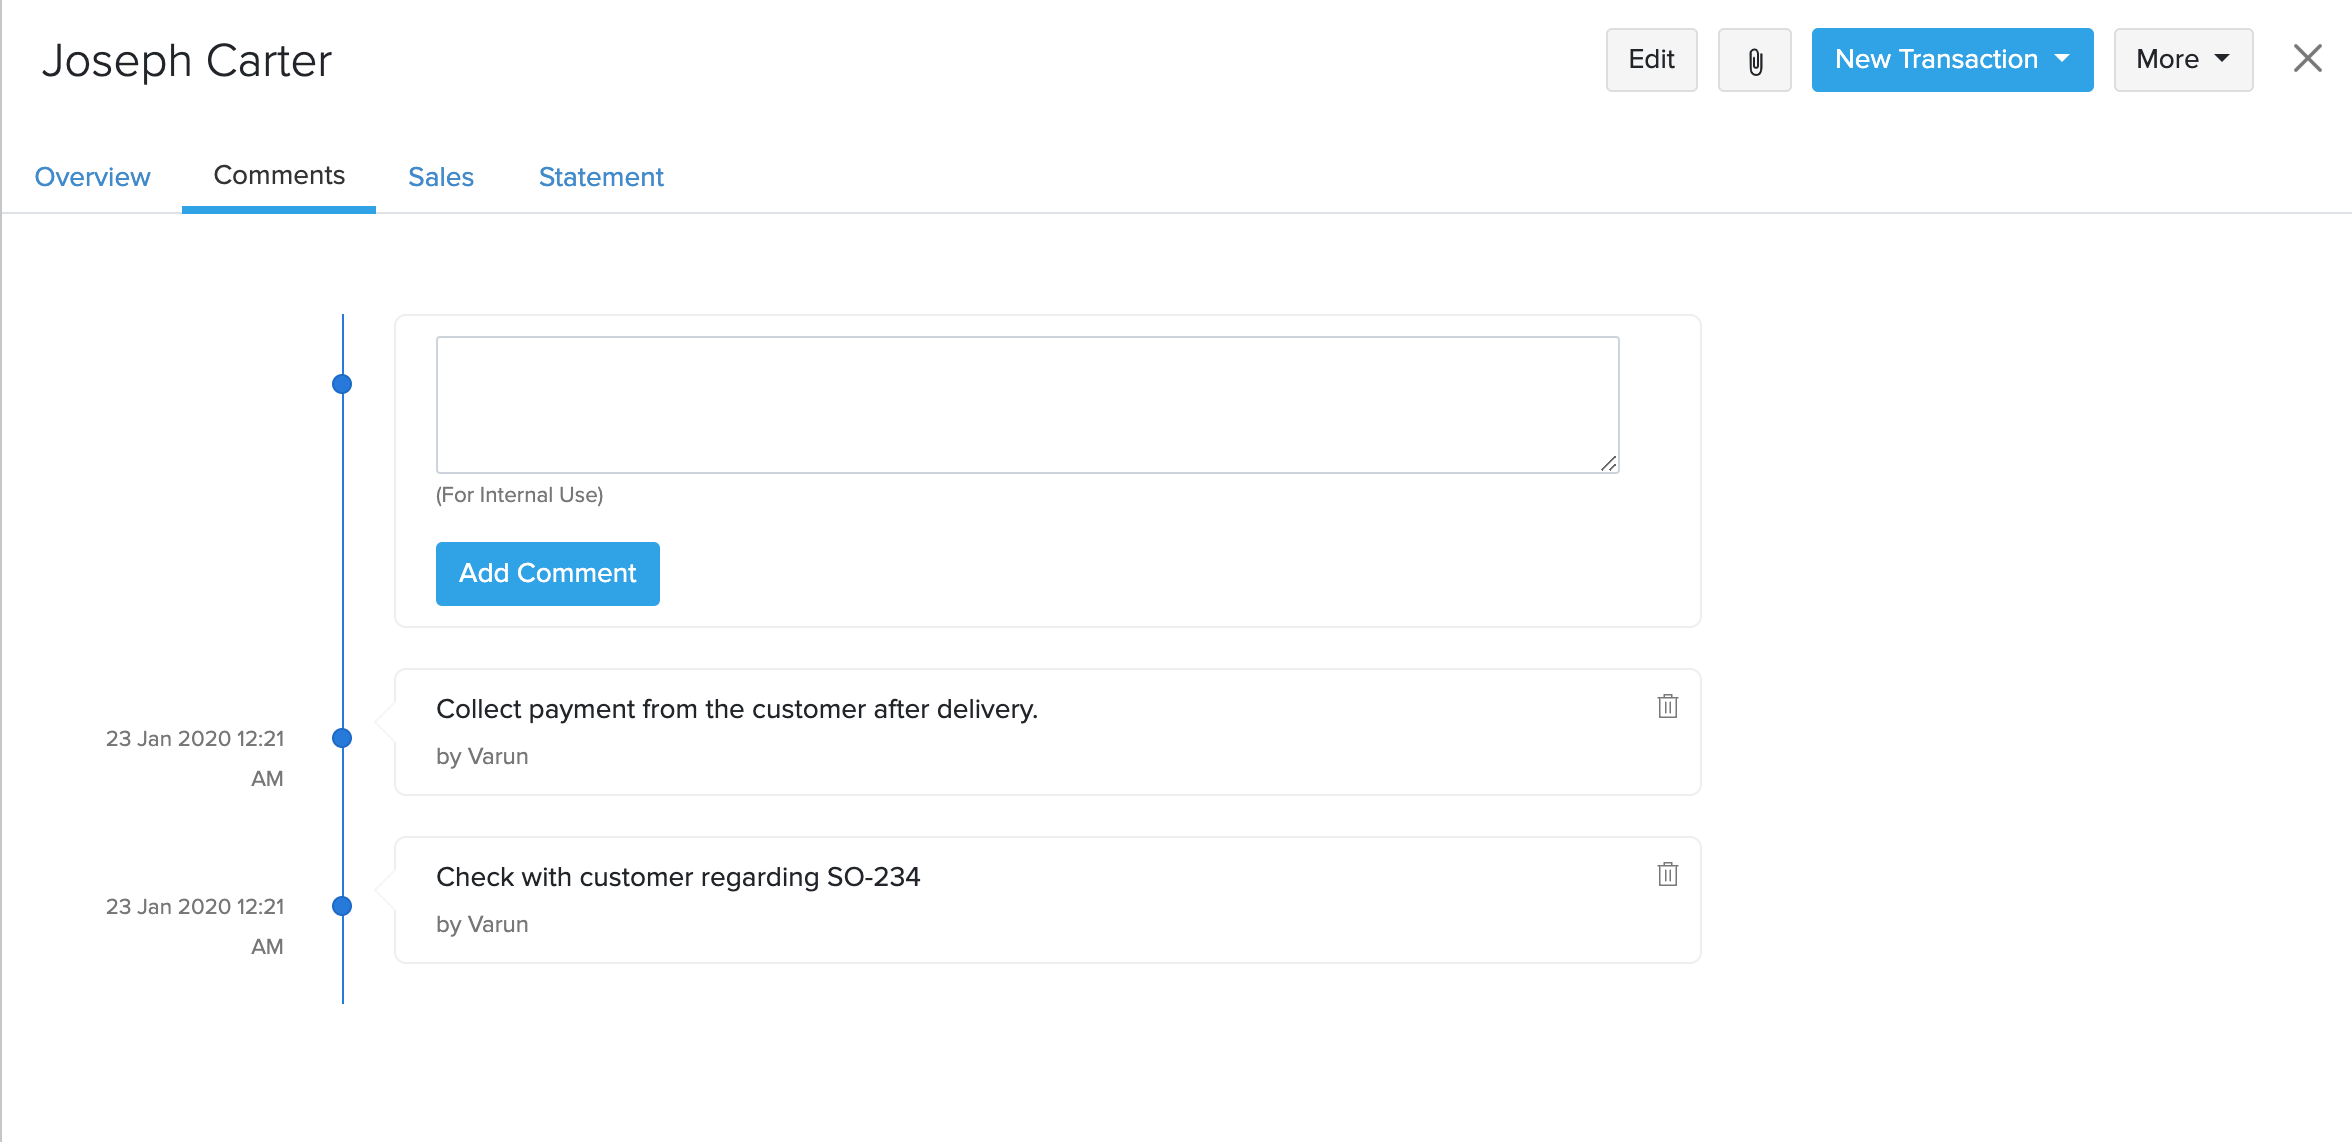
This section allows you and the users of your organization to add internal comments about a customer or a vendor. A comment can be viewed by all users in your organization.
Transactions
The list of all transactions created for a customer or a vendor can be viewed here.
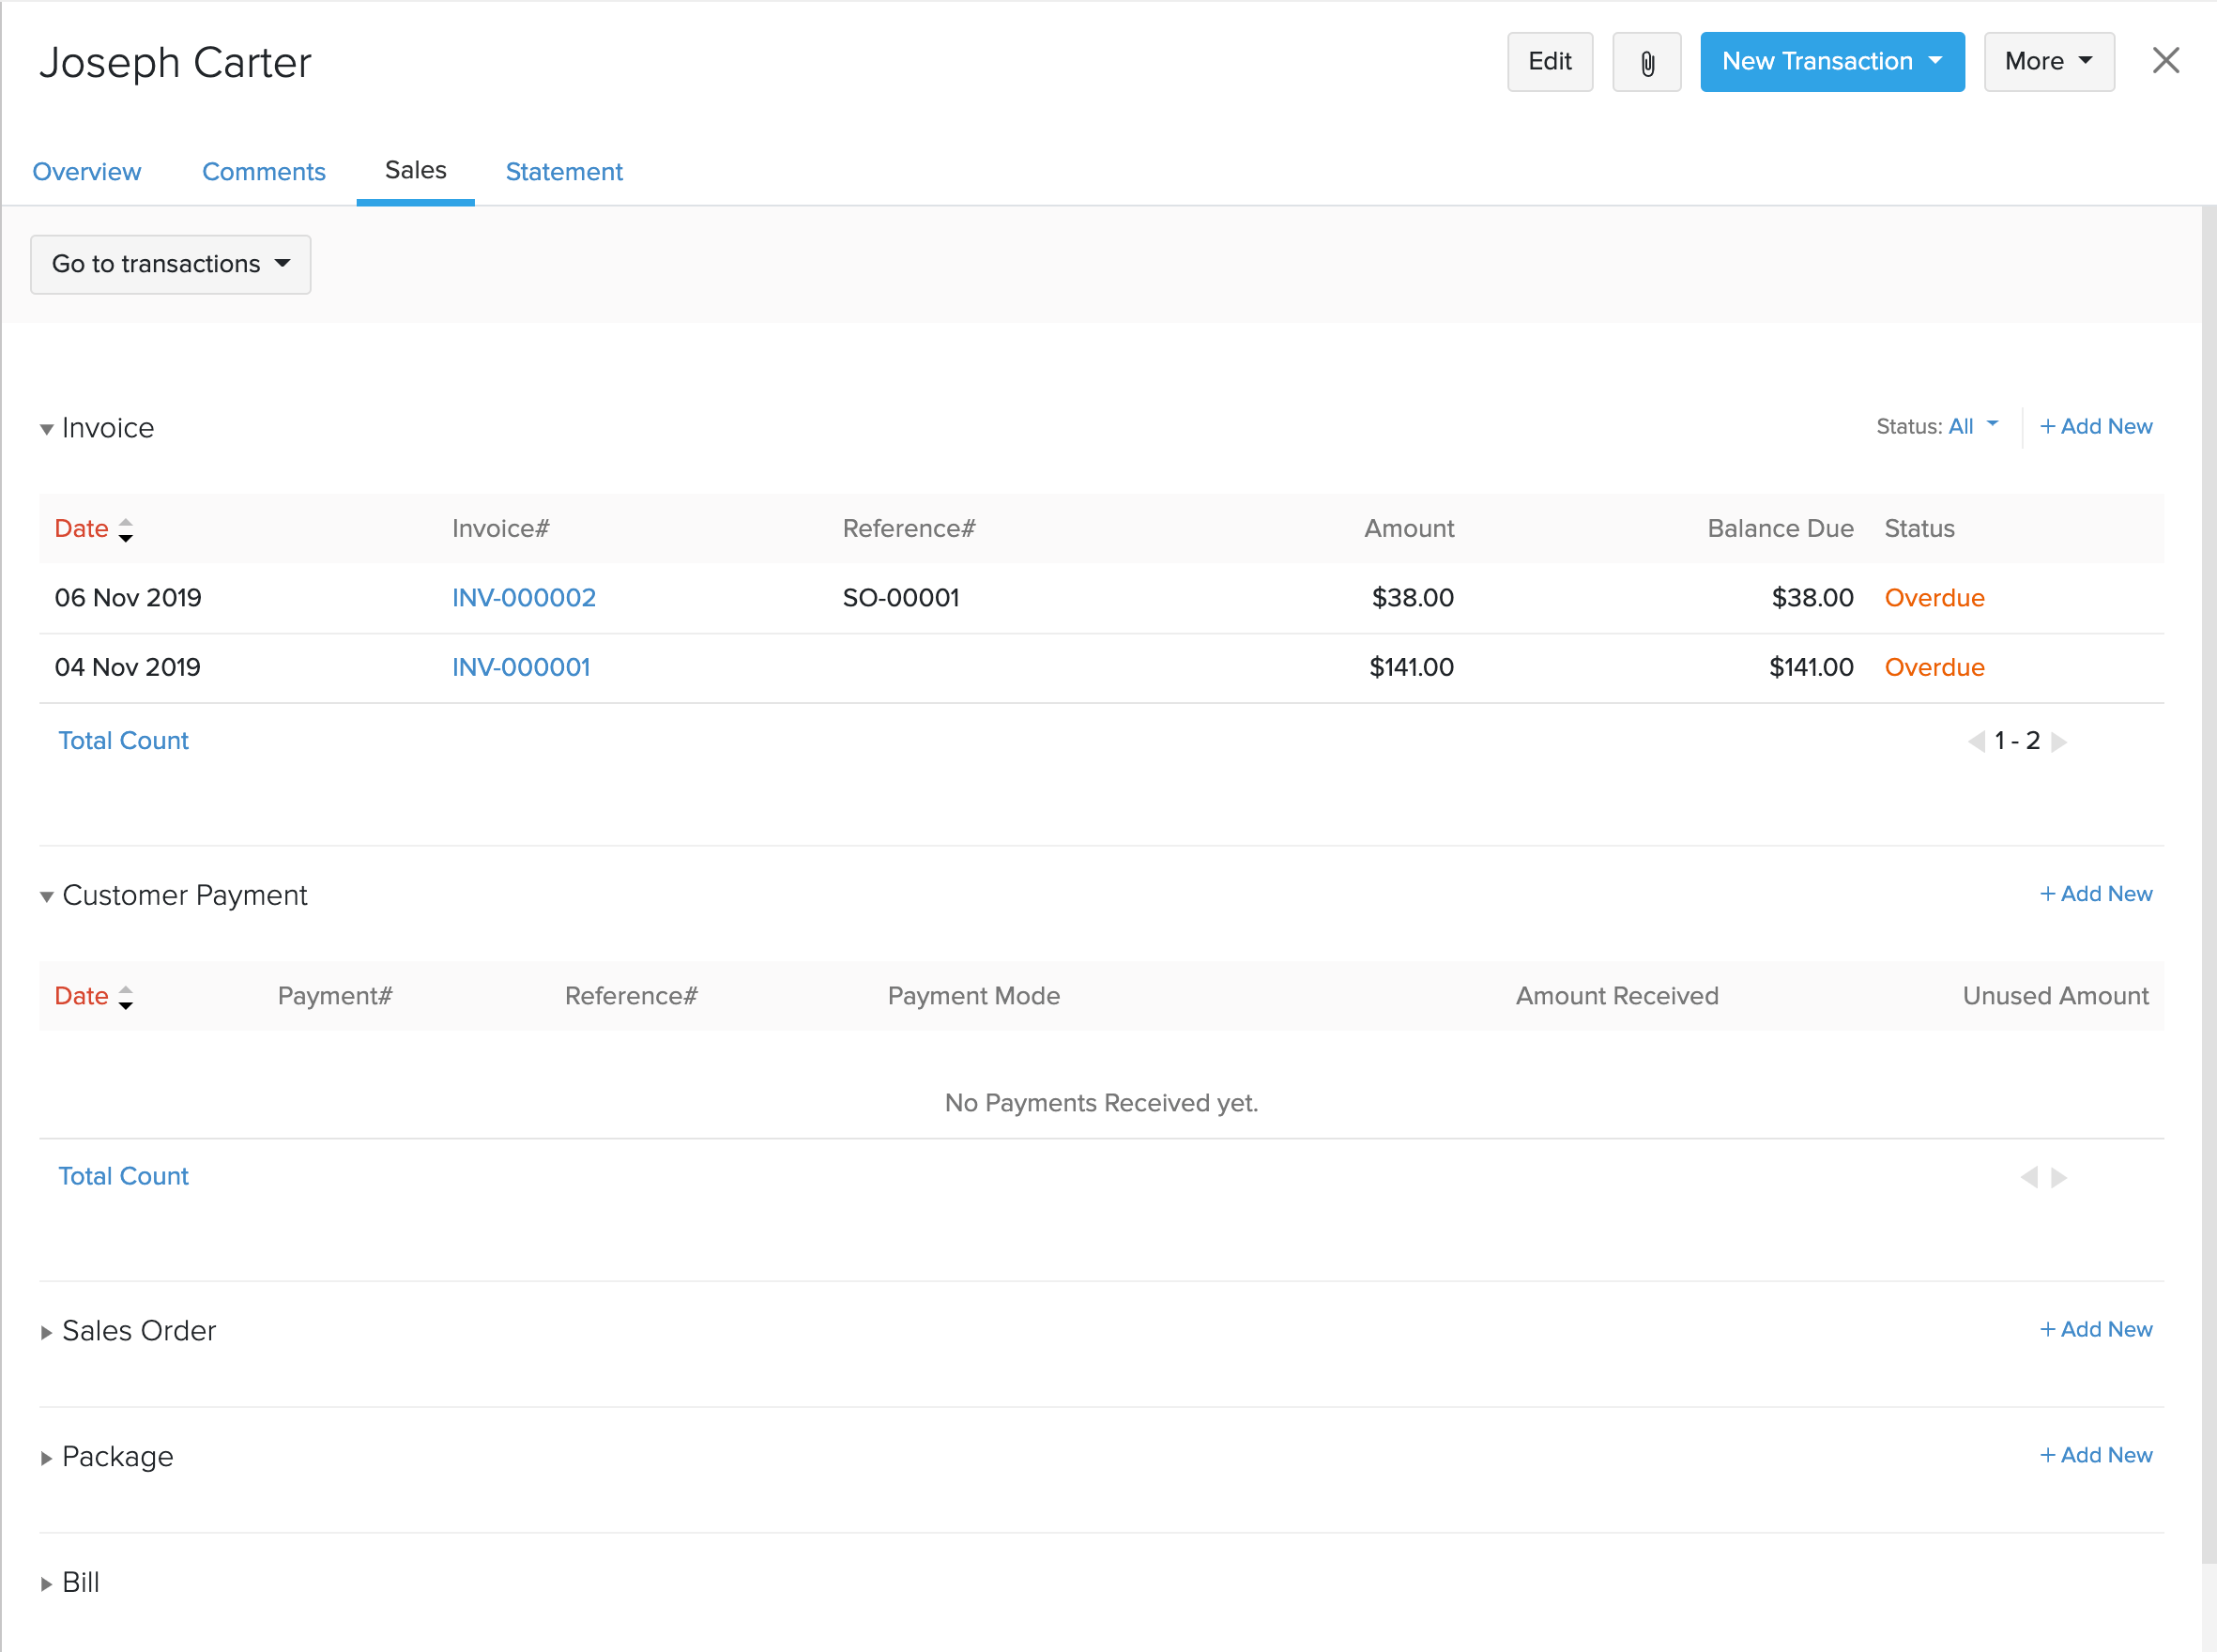
- You can also click the transaction number to view its details.
Statement
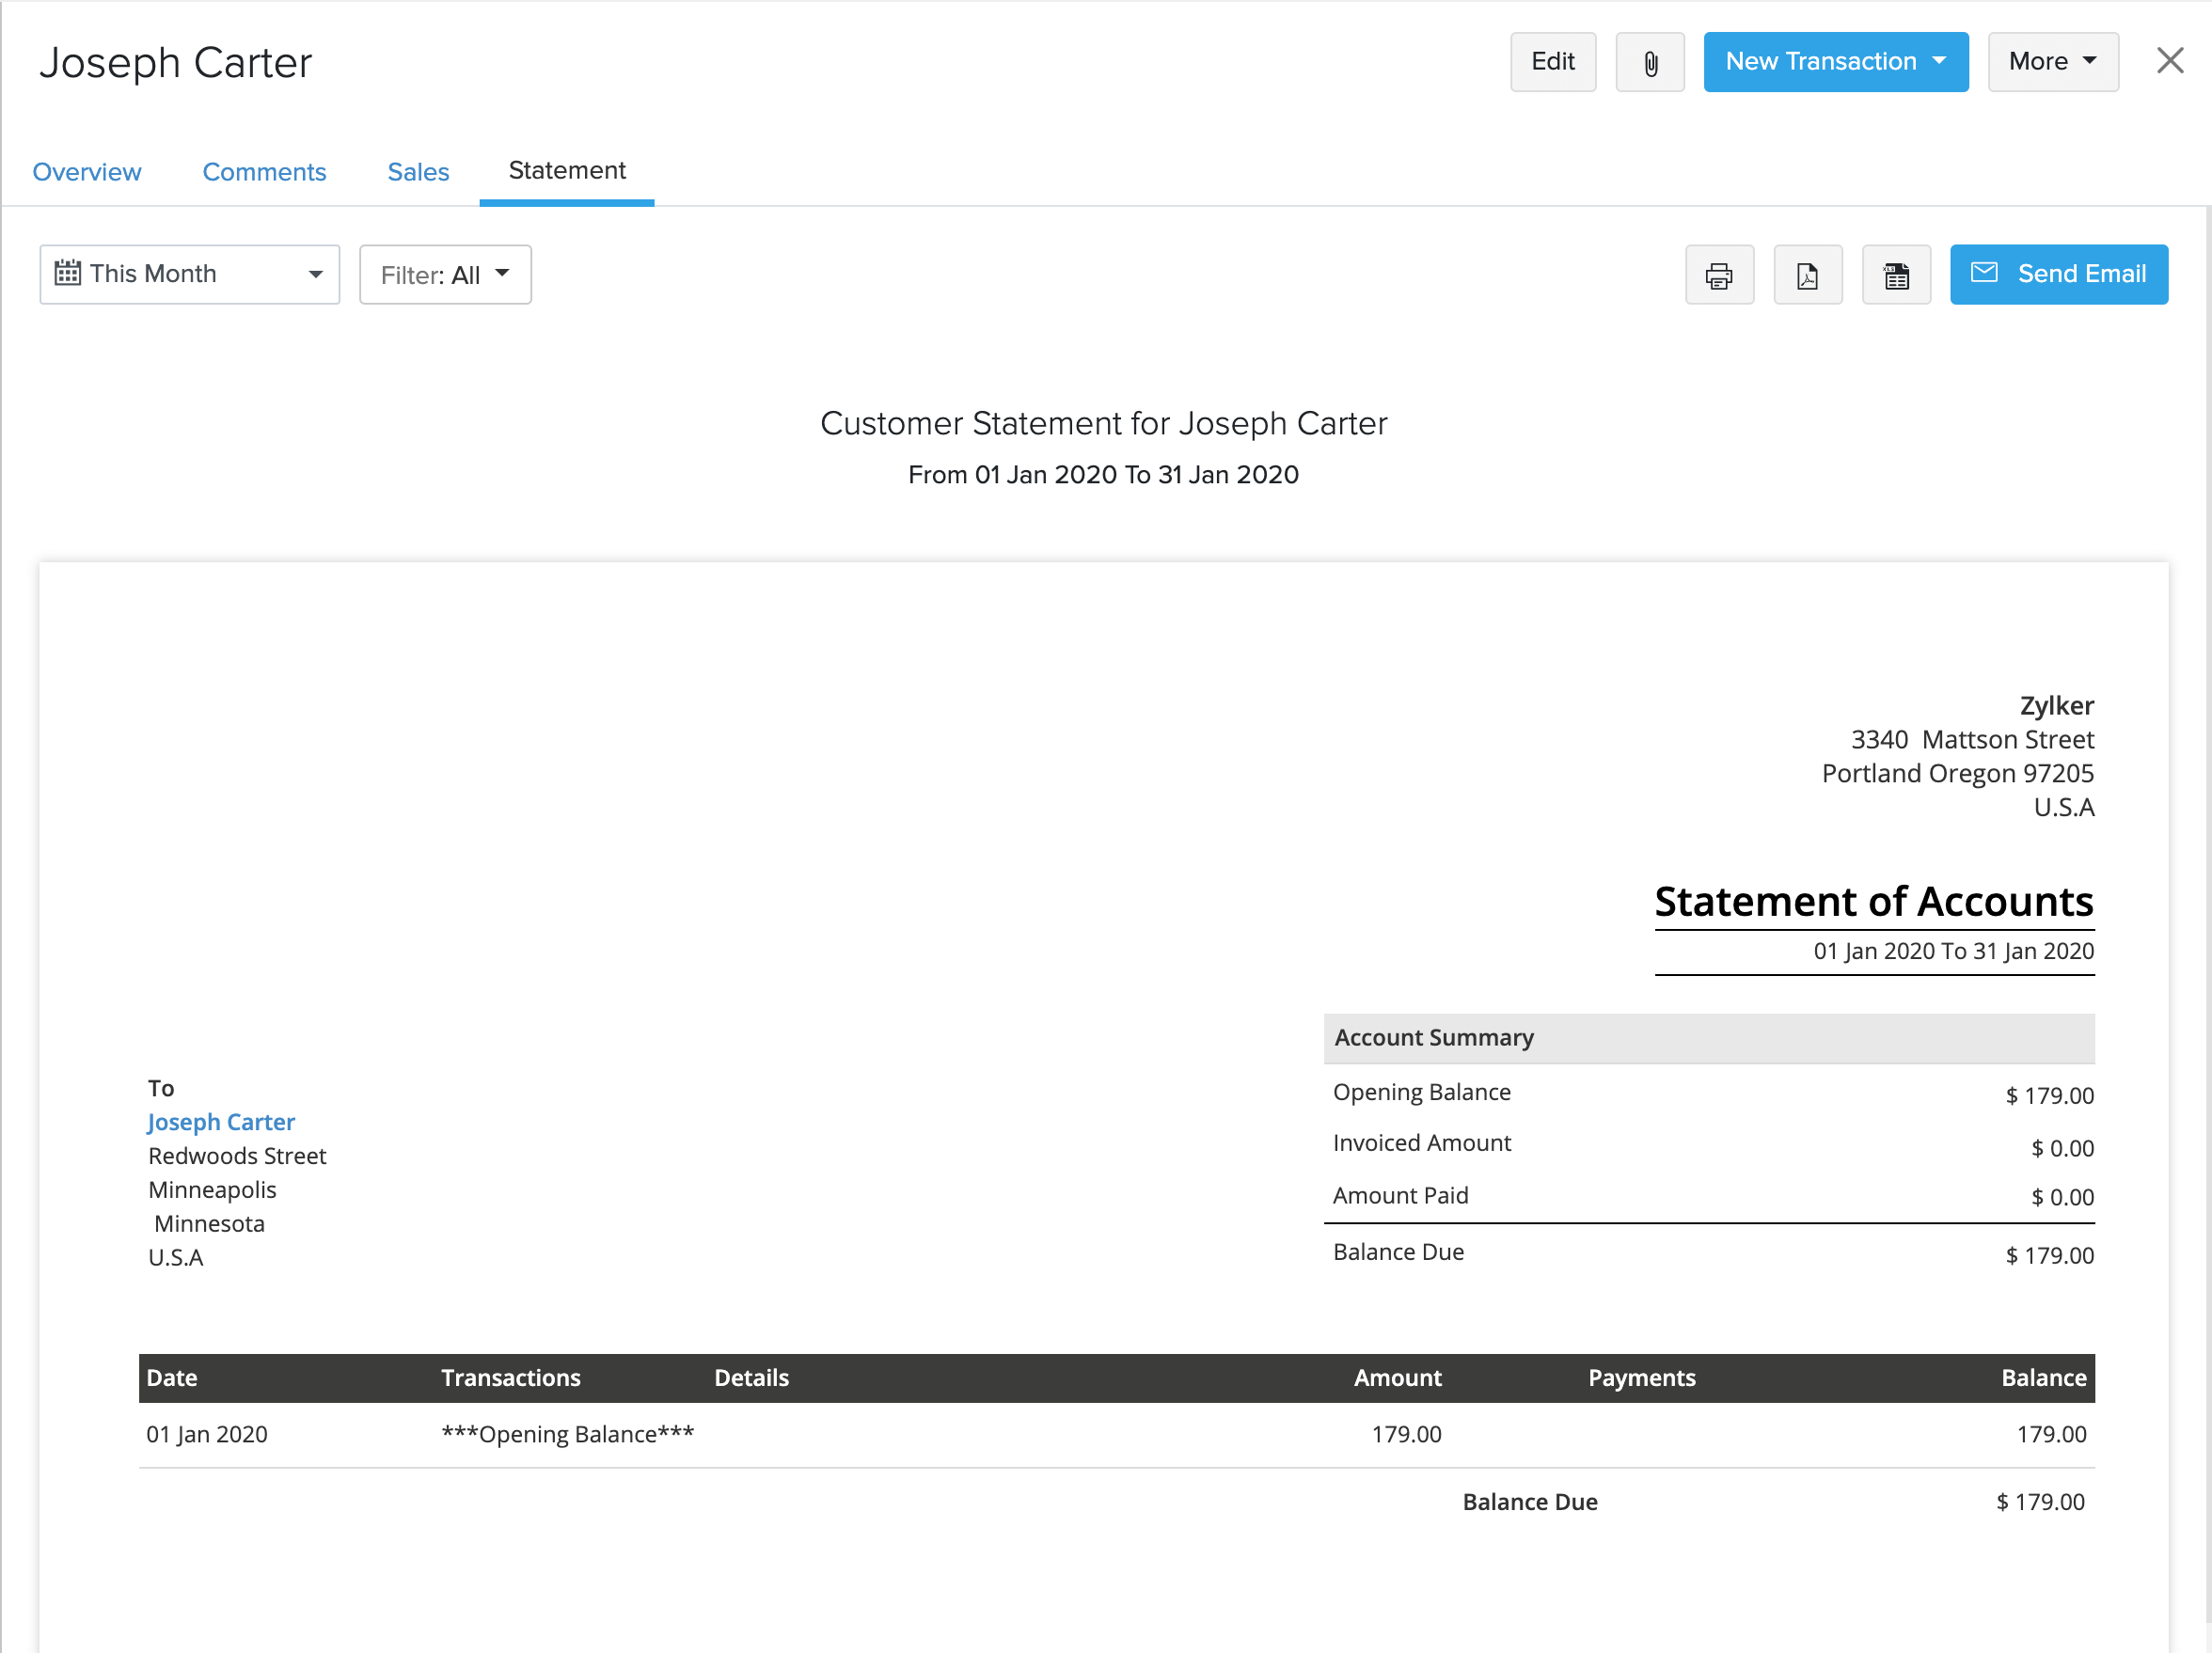
You can generate the transaction statement of a customer or a vendor for the given period. Here, you’ll learn about:
To view the statement for a contact:
- Go to the Customers or Vendors module in the sidebar.
- Click to open a contact of your preference.
- Click the Statement tab.
Customer Statement
The Account Summary for a customer contact shows the:
- Opening Balance: Total amount carried from the previous period of unpaid invoices.
- Invoiced Amount: Total amount from the invoices (paid and unpaid) created during this period.
- Amount Paid: Total payment amount recorded for the invoices during this period.
Balance Due = Opening Balance + (Invoiced Amount - Amount Paid)
Vendor Statement
The Account Summary for a vendor contact shows the:
- Opening Balance: Total amount carried from the previous period of unpaid bills.
- Billed Amount: Total amount of the bills (paid and unpaid) created during this period.
- Amount Paid: Total payment amount recorded for the bills during this period.
Balance Due = Opening Balance + (Billed Amount - Amount Paid)
Insight: The balance due will be carried forward to the next period as the opening balance.
Email Statement
To email a statement:
- Navigate to the Customers or Vendors module.
- Click to open a preferred customer.
- Click the Statement tab.
- Select the period for which you want to generate the statement.
- Click the respective icons at the top right corner of the page to download a PDF, take a print or to email the statement to the customer or vendor.
Pro Tip: Check the Attach unpaid invoices list option to send all the unpaid invoices along with the email.
