
Authorize.Net
Authorize.Net provides online payment processing and payment management services for businesses. Integrating Authorize.Net with Zoho Billing helps you receive payments through credit cards or bank accounts of your customers easily for the invoices sent to them.
In this page…
Set up Authorize.Net
You can integrate Authorize.Net with Zoho Billing to allow your customers to make payments. Here’s how:
-
Go to Settings > Online Payments.
-
Go to Authorize.net under the Customer Payments tab.
-
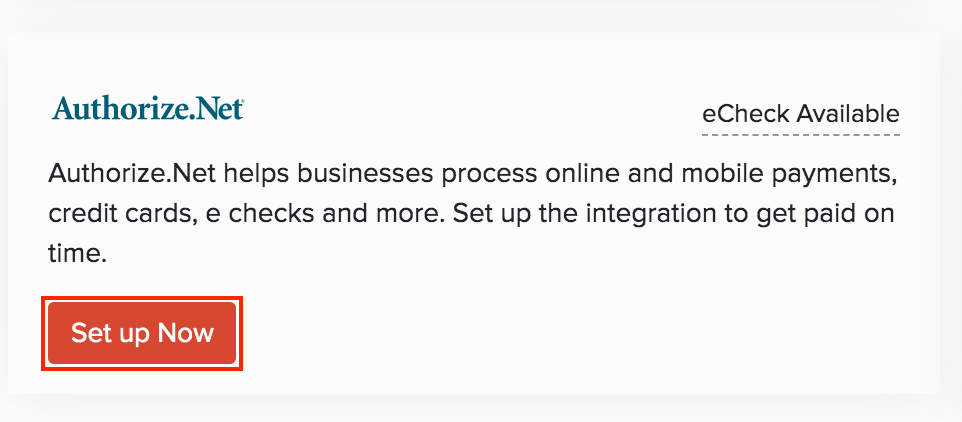
Click Set up Now.
-
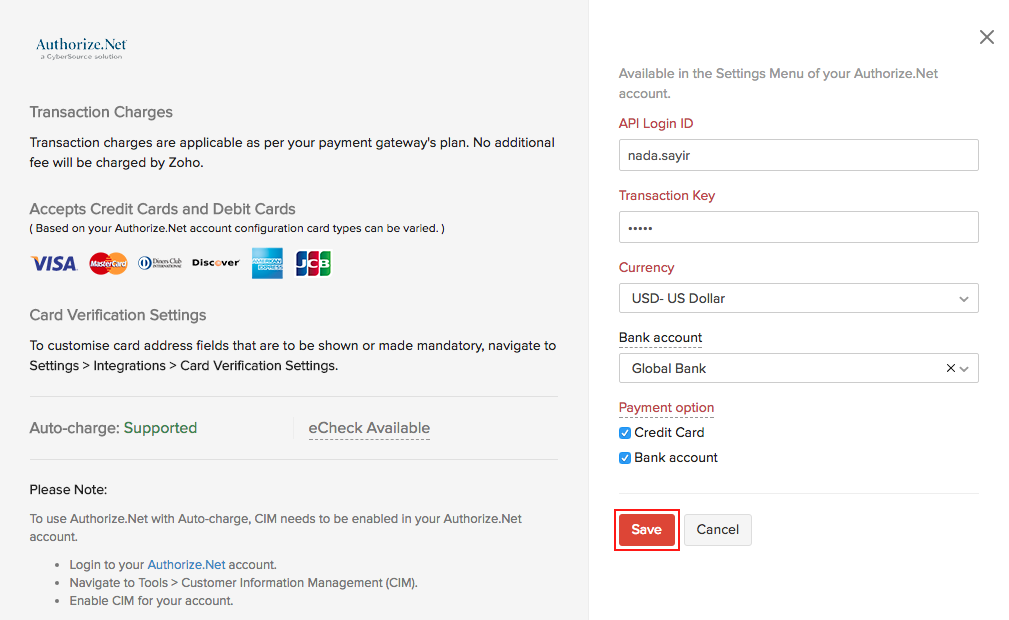
Enter the required details:
| Field | Description |
|---|---|
| API Login ID | Enter the API Login ID. |
| Transaction Key | Enter the Transaction Key. |
| Currency | Enter the currency of in which your customers can pay you. Currently, Authorize.Net supports transactions only in US Dollars (USD), Canadian Dollars (CAD), and Australian Dollars (AUD). |
| Bank Account | Select the Bank Account to which the amount should be credited. |
| Payment Options | Select if the customers can pay you using their Credit Card or Bank Account. |
-
Click Save.
Receive Payments
Once you’ve set up the integration, your customers can directly pay through Authorize.Net for the invoices sent to them. Here’s how:
-
Go to the Invoices module.
-
Create a new invoice or edit an existing invoice for which you want to receive payment.
-
Enter the necessary details.
-
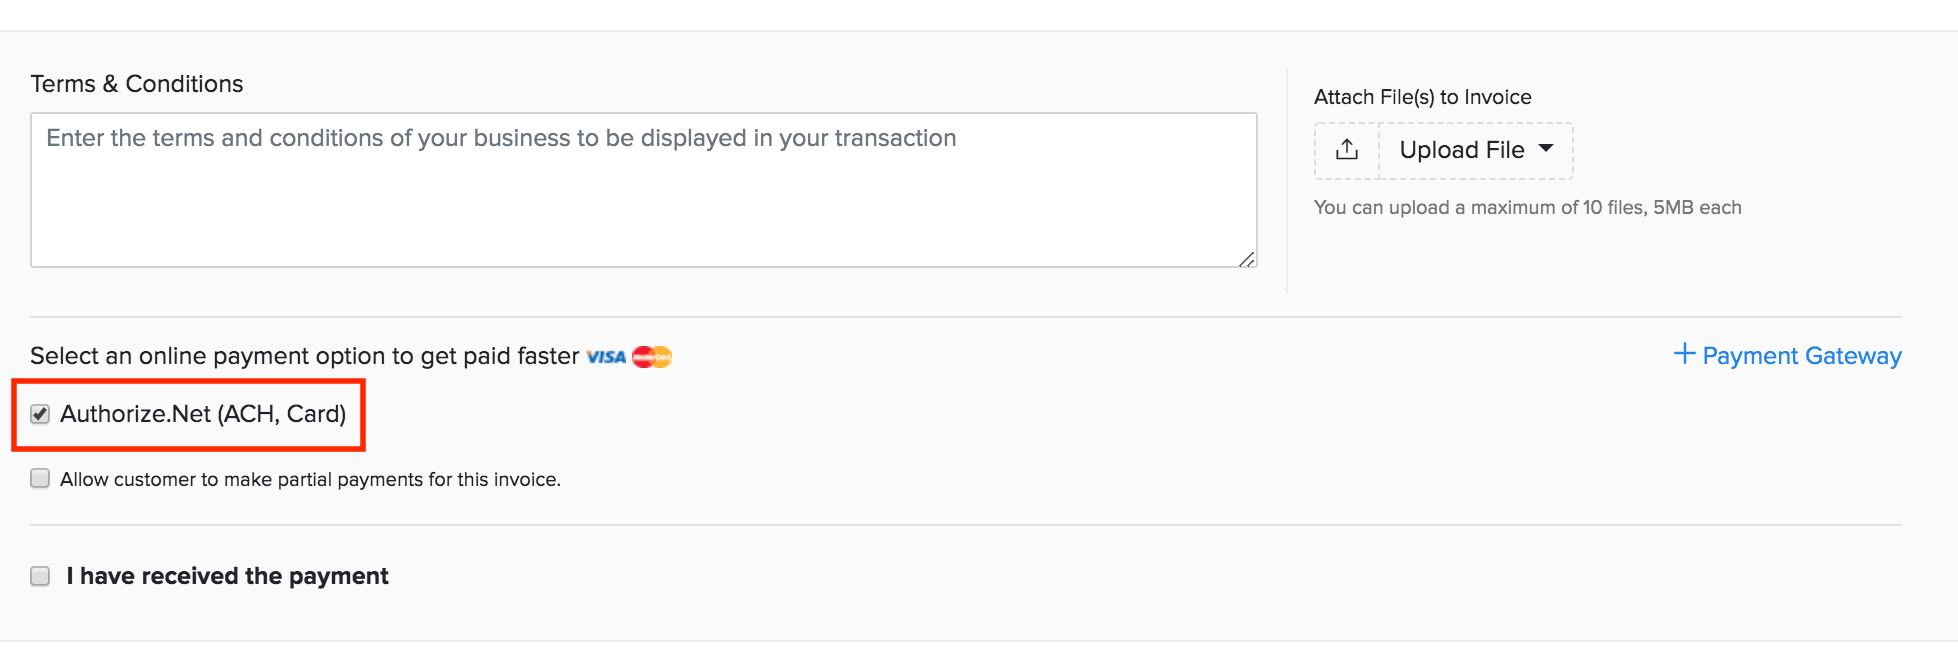
Check Authorize.Net under the payment options.
-
Click Save and Send.
Once you’ve enabled payment options, your customer can make payments from their customer portal or from the invoice link shared with them via email. Here’s what your customer will have to do:
-
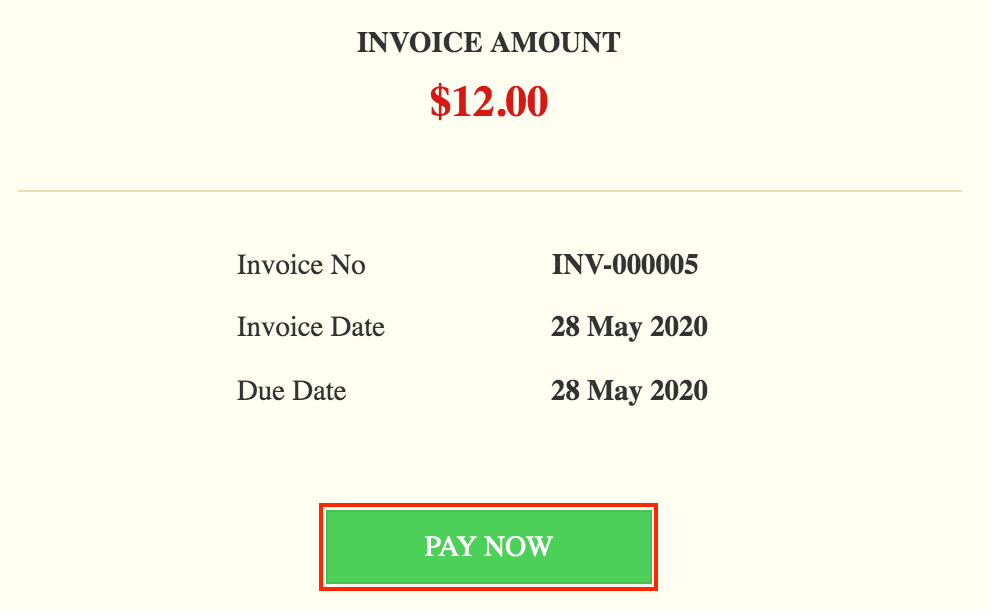
View the invoice from their email or customer portal.
-
Click the Pay Now button and they will be redirected to the payment page.
-
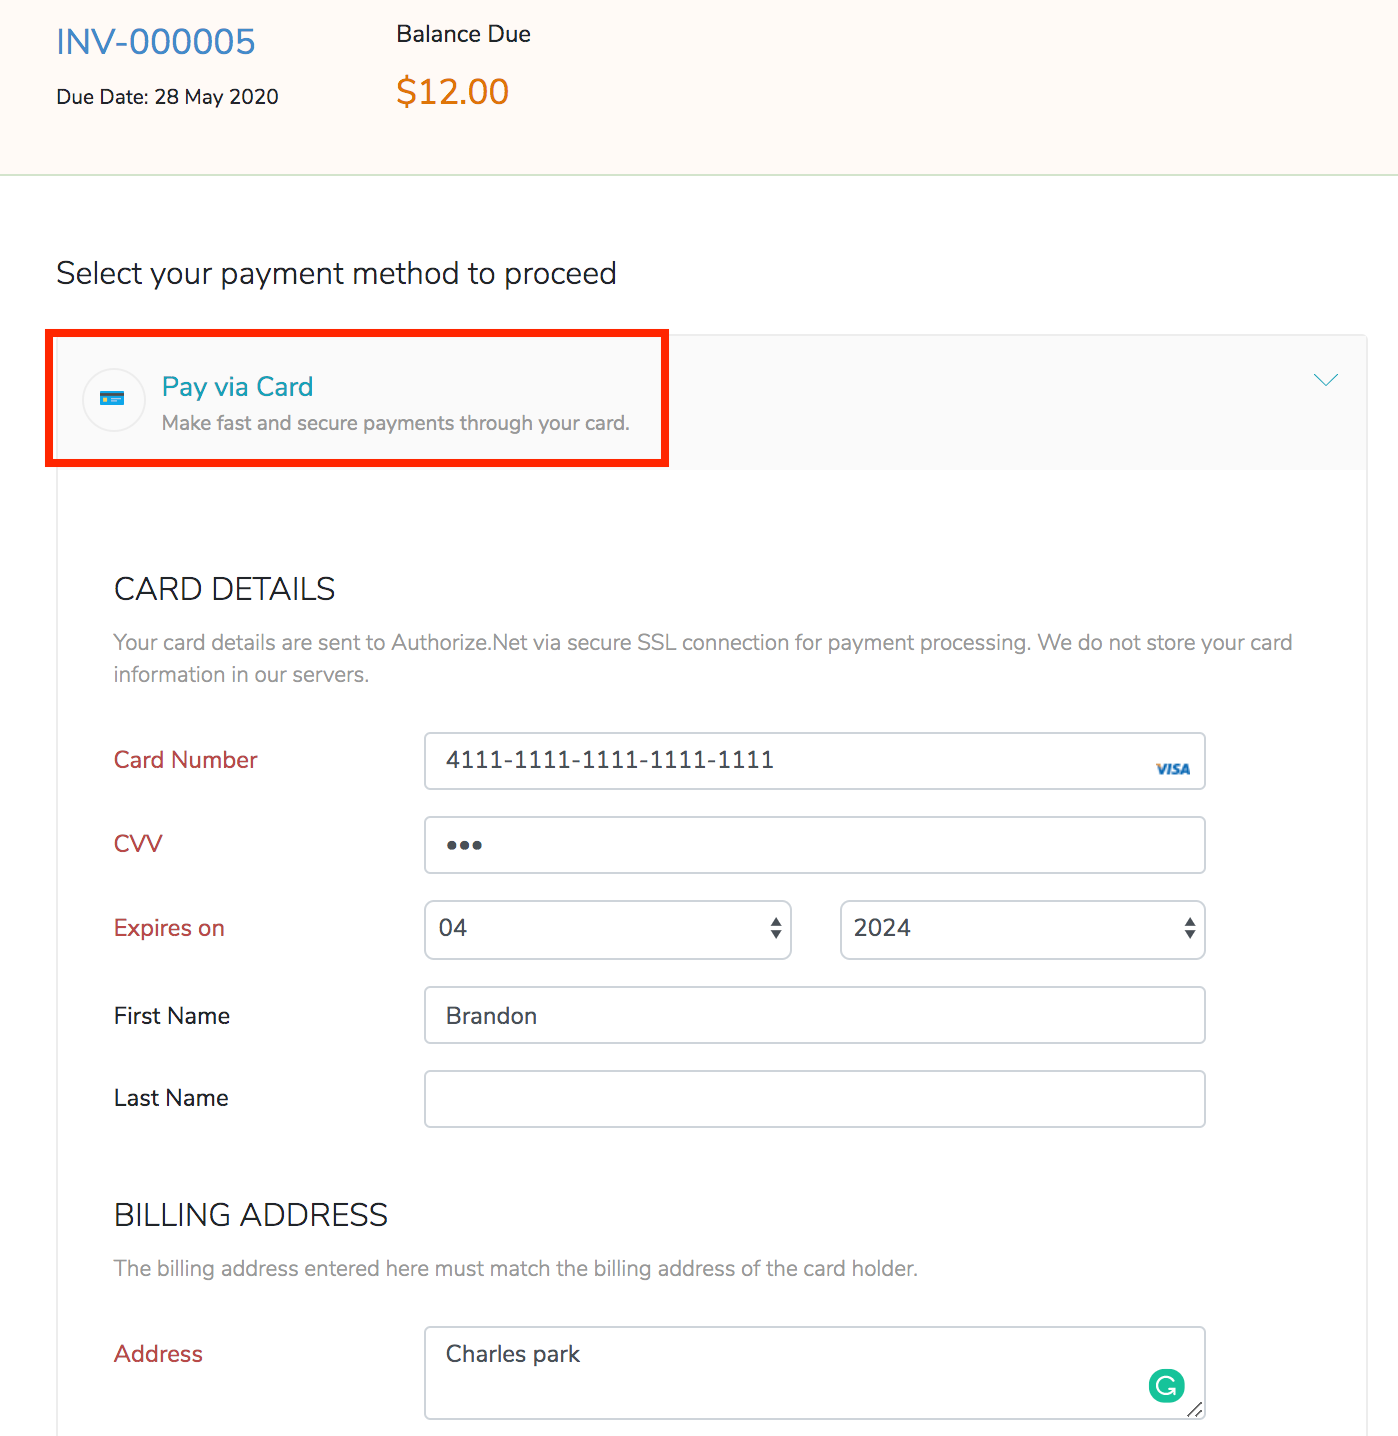
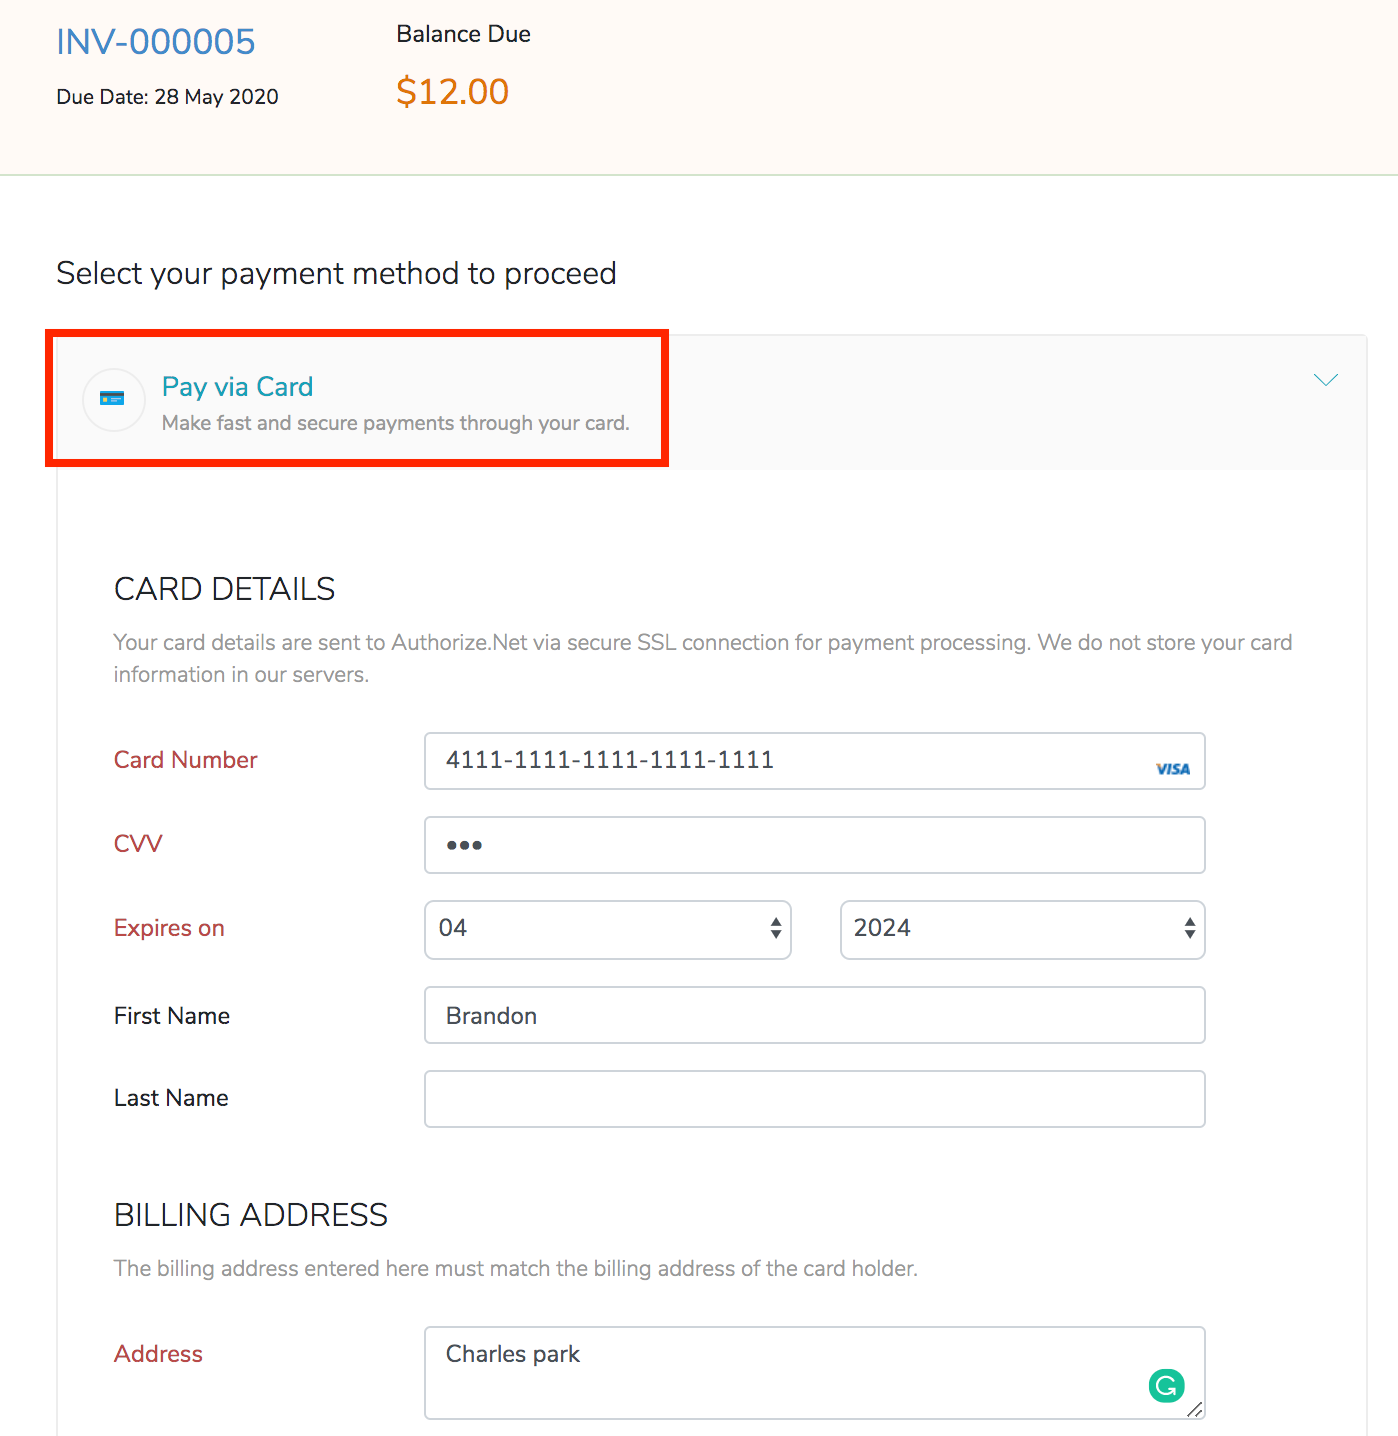
Select Pay via Card or the preferred payment option and enter thecredentials.
-
Click Make Payment to complete the payment.
Auto-charge your Customers
If you bill your customers on a regular basis, you can enable the auto-charge option. Lets say, your customer purchases an item every month. In this case, you can create a recurring invoice and associate the card through which the customer wants to pay. By doing this, the customer will be auto-charged every month for his invoice.
Here’s what you need to activate auto-charge in Authorize.Net:
- An active Authorize.Net account.
- Your account should have been created with the Card Not Present option. Selecting this allows you to view the CIM (Customer Information Manager) feature in your account.
- Enable CIM and disable the ARB option in your Authorize.Net account. Once CIM is enabled, it will take 24-48 hours for a transaction to happen.
- Create a subscriptions in Zoho Billing.
- Add the customer’s card details and link it to the recurring invoice and enable auto-charge.
There are three ways to add a card:
1.Go to Sales > Customers and select the customer whose card details you want to add. Click More and select Add New Card and enter the details.
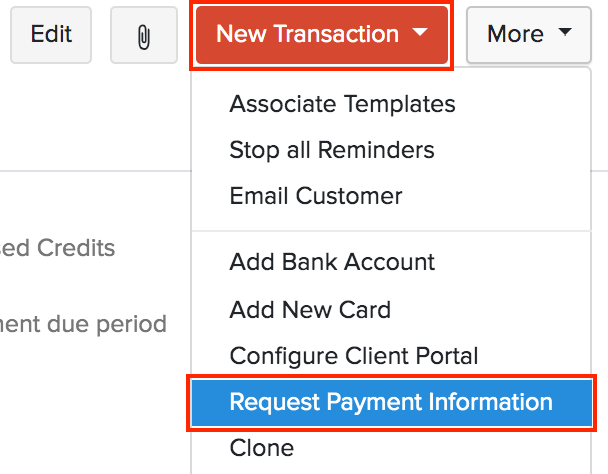
2.Go to Sales > Customers and select the customer whose card details you want to add. Click More and select Request Payment Information. The customer will receive an email through which they can enter the card details.
3.Customers can choose to save their card details while making online payment for an invoice by selecting the option Save this card for future transactions.
Once the card details are saved, you will have to link this card to the recurring invoice. Here’s how:
- Go to Sales > Recurring Invoice.
- Select the recurring invoice for which you wish to attach the card details.
- Click More and select Add Card and choose the saved card.
Edit/Delete the Integration
If you wish to edit the credentials of the integration, you can do it. Here’s how:
- Go to Settings > Online Payments.
- Go to Authorise.net under Customer Payments.
- Click the Edit Settings Button and edit the necessary details.
- Click Save.
If you no longer wish to use this Integration, you can delete it. Here’s how:
- Go to Settings > Online Payments.
- Go to Authorize.net under the Customer Payments tab.
- Click the Delete icon.
- Click OK to confirm.
 Thank you for your feedback!