Getting Started
Zoho Calendar, a free web application is an efficient workplace tool that helps you stay on track with your schedule, meetings and holidays. It helps you create events, add calendars, share your calendars, subscribe to external calendars and also synchronize with your mobile device calendar. You can also book meeting rooms from within your organization using the Resource Booking option in the Zoho Calendar application.
Manage Calendars/ Events - Create and manage various calendars and events, send invites to the attendees, and track RSVPs.
Subscribe - Add a friend's calendar, holiday calendar, or a public calendar to your Zoho Calendar by subscribing to it.
Share - Allows others to view your calendar by sharing it with public or private audiences.
Sync - Manage calendars from other accounts like Google Calendar or Microsoft Outlook on Zoho Calendar. Sync your Zoho Calendar with your mobile and access on-the-go.
Resource booking - You can check the availability of resources and meeting rooms in your organization and book them in advance.
Time Zone
The time zone in the Zoho Calendar is set by default based on your Zoho Account location. The event notifications are received based on the time zone set. If there is any event-time mismatch, you should check the time zone specified in the calendar and make the necessary changes. You can also change the time zone depending on the change in work location and create events accordingly.
Steps to Change Time Zone
- Log in to Zoho Calendar and navigate to Settings > Calendar > Time Zone.
- Click on the Change Primary Time zone and choose the time zone with respect to your nearest geographical location.
- Turn on 'Notify to update the time zone based on the current location' to receive a time zone update notification when you are in a different location.
- Click on the 'Enable secondary time zone' to add a secondary timezone to your calendar and Choose your Secondary time zone by clicking on the 'Change secondary time zone' based on the location required.

Note:
Changing the time zone in the Zoho Calendar will update the time zone in all your Zoho accounts.
For events created in the time zones which observe Daylight Savings Time, Zoho Calendar automatically adjusts the event's time based on the DST standards of that region.
Date and Time Format
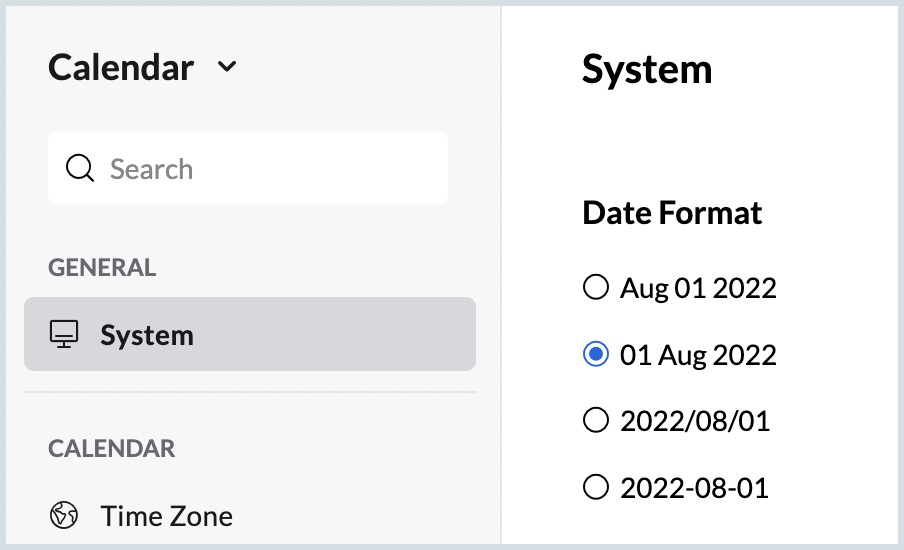
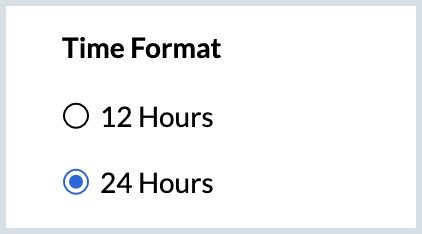
Zoho Calendar offers standard versions of the date/ time format for the users to choose from. The date formats listed include Mon/DD/YYYY, DD/Mon/YYYY, YYYY/MM/DD, and YYYY-MM-DD. Both 12-hour and 24-hour time format is also supported.
Steps to Choose the Date Format
- Log in to Zoho Calendar and navigate to Settings > General > System.
- Under Date format, choose the desired format
Steps to Choose the Time Format
- Log in to Zoho Calendar and navigate to Settings > Calendar > Calendar View.
- Using the Time format option, choose the 12 hours or 24 hours format.
Default view
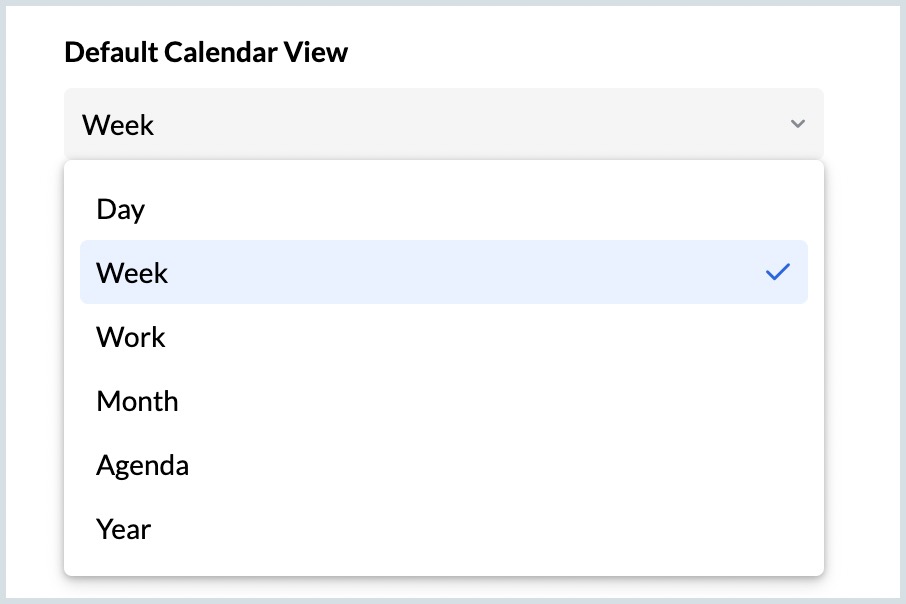
The default view option in Zoho Calendar helps you set the view of the calendar according to your requirement. Every time you log in to Zoho Calendar, the default view shows up. You can choose from Day, Week, Work, Month, Agenda, or Year view.
Steps to Choose the Default View
- Log in to Zoho Calendar and navigate to Settings > Calendar > Calendar View.
- Select your Default Calendar view from the drop-down.
Week Starts On
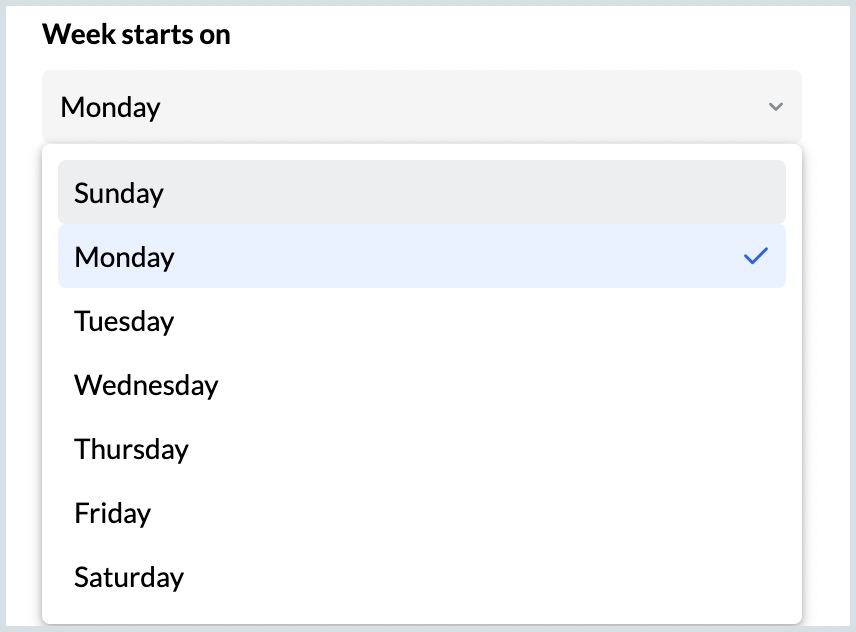
Weeks start on denotes the starting day of the week/ month view in your calendar. As different regions follow different traditions, you can customize the view accordingly.
Steps to Choose the Week Starts On Day
- Log in to Zoho Calendar and navigate to Settings > Calendar > Calendar View.
- Select your Week starts on. Example: Sunday.
Work Week and Work Hours
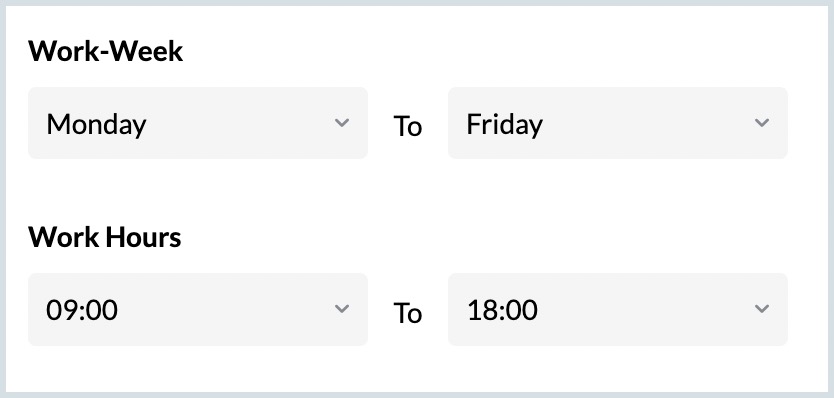
Depending on the work schedule in your organization and location, you can set your Work Week and Work Hours in your Zoho Calendar. For example; If you work from Monday to Friday and your work timings are 9 am to 6 pm, you can configure it in your Zoho Calendar. This helps you customize your calendar view.
Steps to Configure Work Week and Work Time
- Log in to Zoho Calendar and navigate to Settings > Calendar > Calendar View.
- Select the start day and end day of your work week from the drop-down in Work Week.
- Select the start time and end time of your work week from the drop-down in Working Hours.
Add Calendar
On logging into Zoho Calendar, a primary calendar is available to the user by default. In addition to this, calendars can be added by the user.
Steps to Add a Calendar
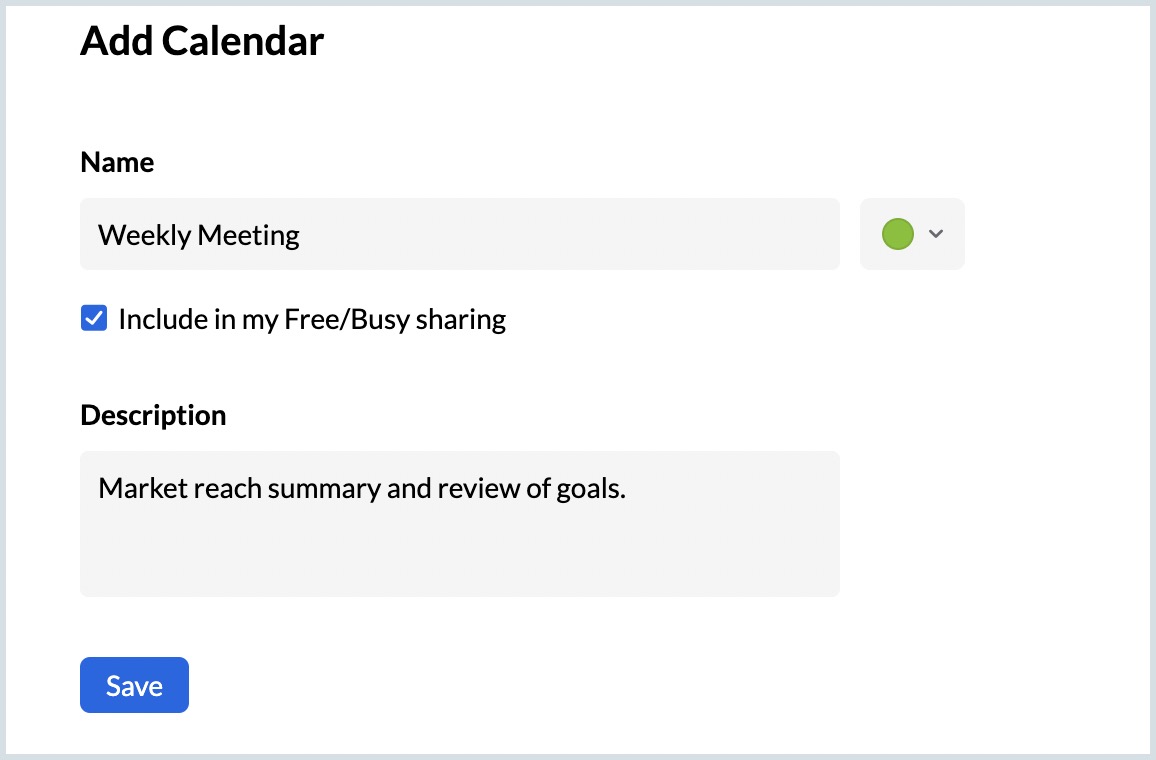
- Log in to Zoho Calendar and click on the Add Calendar icon next to My Calendars on the left pane and select Add Calendar.
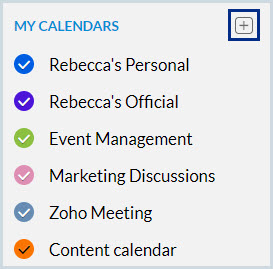
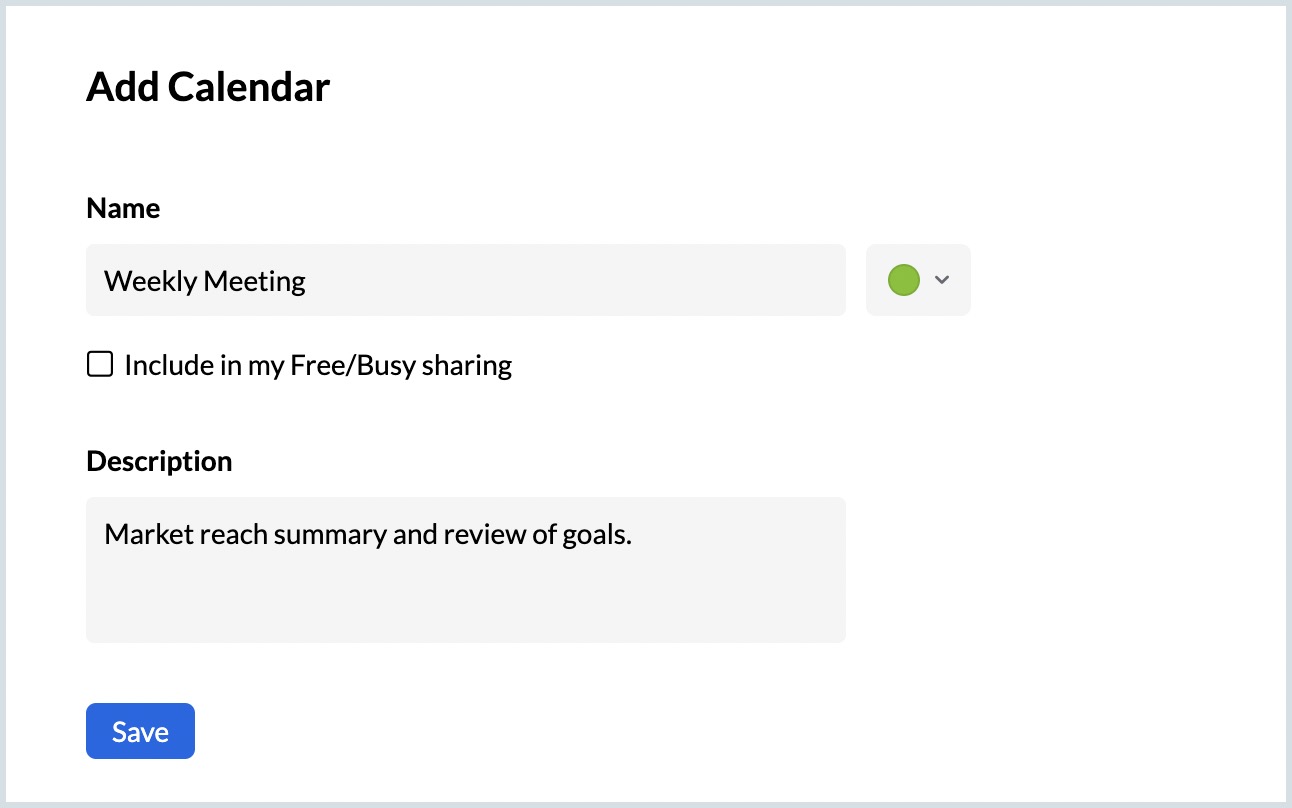
- Enter the calendar name and select the calendar color by clicking on the color icon next to the calendar name.
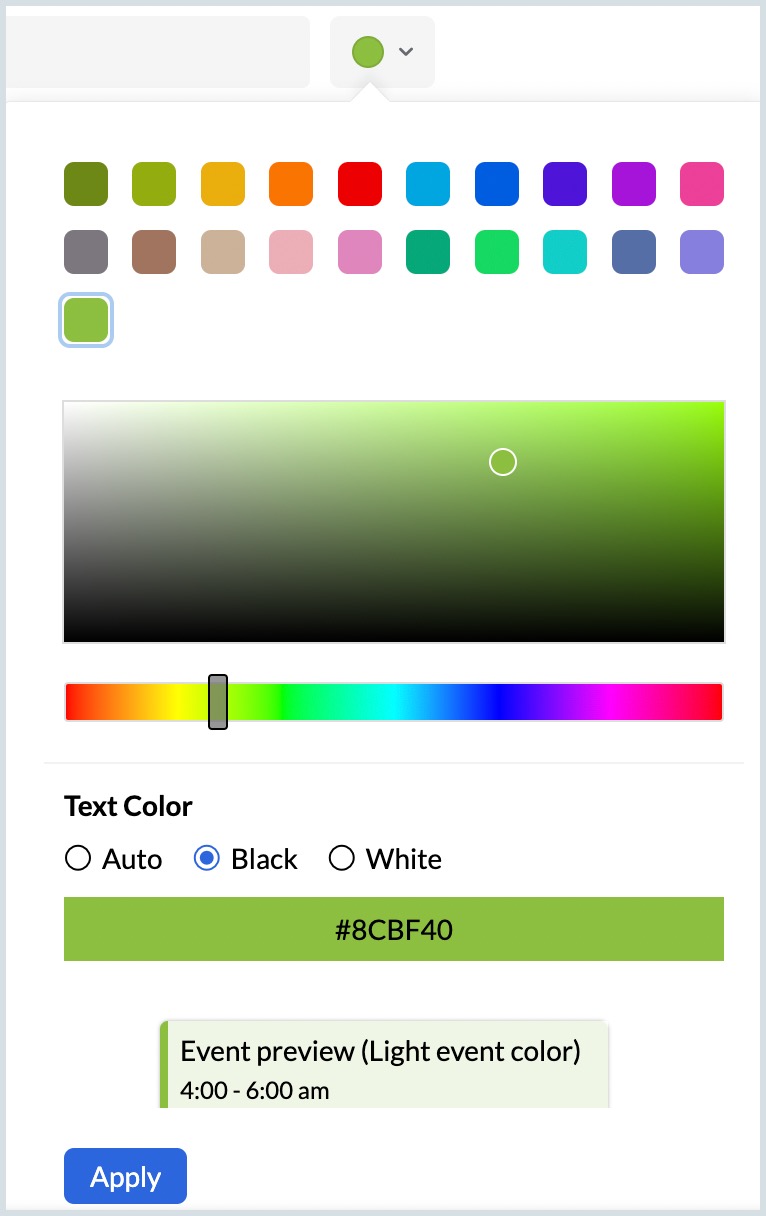
- You can also use the color picker bar to select a custom color for your calendar.
- Check the Include in my Free/Busy sharing checkbox if you want to add this calendar to your Free/Busy sharing.
- Use the Description box below the Calendar name to add a description to the calendar.
- Click Save to create the calendar.
Default Reminder
When you create a Zoho Calendar account, a primary calendar is added to your account as your default calendar. A default reminder of 5 minutes is set for this calendar and for other calendars you add to My Calendars and you will be notified by an email 5 minutes prior to the start of the events that are added to a particular calendar. You can add or delete the reminder based on your preference. Learn more.
Languages Supported
As we continue to grow, we now support 70 languages, Zoho Calendar is designed to suit the requirements of people worldwide and it supports 71 different languages. The list of the languages we support and the steps to change your display language are given below:
List of Supported Languages
| S. No. | Language in English | Language as displayed in Zoho Mail |
| 1 | Albanian | shqiptar |
| 2 | Arabic | عربى (RTL)* |
| 3 | Assamese | Assamese |
| 4 | Azerbaijani | Azərbaycan |
| 5 | Bahasa Indonesia | Bahasa Indonesia |
| 6 | Basque | Euskal |
| 7 | Bengali (India) | বাঙালি |
| 8 | Bodo (India) | बड़ो |
| 9 | Bulgarian | български |
| 10 | Burmese | ဗမာ |
| 11 | Catalan | Català |
| 12 | Chinese - Simplified | 中文 - 简体 |
| 13 | Chinese - Traditional | 中文 - 繁體 |
| 14 | Croatian | Hrvatski |
| 15 | Czech | český |
| 16 | Danish | Dansk |
| 17 | Dogri (India) | डोगरी |
| 18 | Dutch | Nederlands |
| 19 | English | English |
| 20 | Estonian | Eestlane |
| 21 | Farsi | فارسی |
| 22 | Filipino | Pilipino |
| 23 | Finnish | Suomalainen |
| 24 | French | Le français |
| 25 | German | Deutsch |
| 26 | Greek | Ελληνικά |
| 27 | Gujarati | ગુજરાતી |
| 28 | Hebrew | עברית |
| 29 | Hindi | हिन्दी |
| 30 | Hungarian | Magyar |
| 31 | Italian | Italiano |
| 32 | Japanese | 日本語 |
| 33 | Javanese | Basa Jawa |
| 34 | Kannada | ಕನ್ನಡ |
| 35 | Kashmiri (India) | کشمیری |
| 36 | Khmer | ខ្មែរ |
| 37 | Konkani | कोंकणी |
| 38 | Korean | 한국어 |
| 39 | Lao | ລາວ |
| 40 | Latvian | Latvietis |
| 41 | Lithuanian | Lietuvių |
| 42 | Macedonian | Македонски |
| 43 | Maithili | मैथिली |
| 44 | Malay | Melayu |
| 45 | Malayalam | മലയാളം |
| 46 | Manipuri | ꯃꯅꯤꯄꯨꯔꯤꯗꯥ ꯂꯩꯕꯥ꯫ |
| 47 | Marathi | मराठी |
| 48 | Nepali | नेपाली |
| 49 | Norwegian | Norsk |
| 50 | Oriya | ଓଡିଆ |
| 51 | Polish | Polski |
| 52 | Portugues - Brazilian | Português - Brazilian |
| 53 | Portugues - Portugal | Português - Portugal |
| 54 | Punjabi | ਪੰਜਾਬੀ |
| 55 | Romanian | Română |
| 56 | Russian | русский |
| 56 | Sanskrit | संस्कृत |
| 57 | Santali (India) | ᱥᱟᱱᱛᱟᱲᱤ |
| 58 | Serbian | Српски |
| 59 | Sindhi | سِنڌِي |
| 60 | Sinhala | සිංහල |
| 61 | Slovenian | Slovenščina |
| 62 | Spanish | Español |
| 63 | Swedish | Svenska |
| 64 | Tamil | தமிழ் |
| 65 | Telugu | తెలుగు |
| 66 | Thai | ไทย |
| 67 | Turkish | Türkçe |
| 68 | Ukrainian | український |
| 69 | Urdu | اردو |
| 70 | Vietnamese | Tiếng Việt |
Steps to Change the Display Language
- Log in to Zoho Calendar and navigate to Settings > General > System.
- In the Display Language section, you can choose any one of the 69 languages available using the dropdown menu. You can also use the search bar to find the language of your choice.
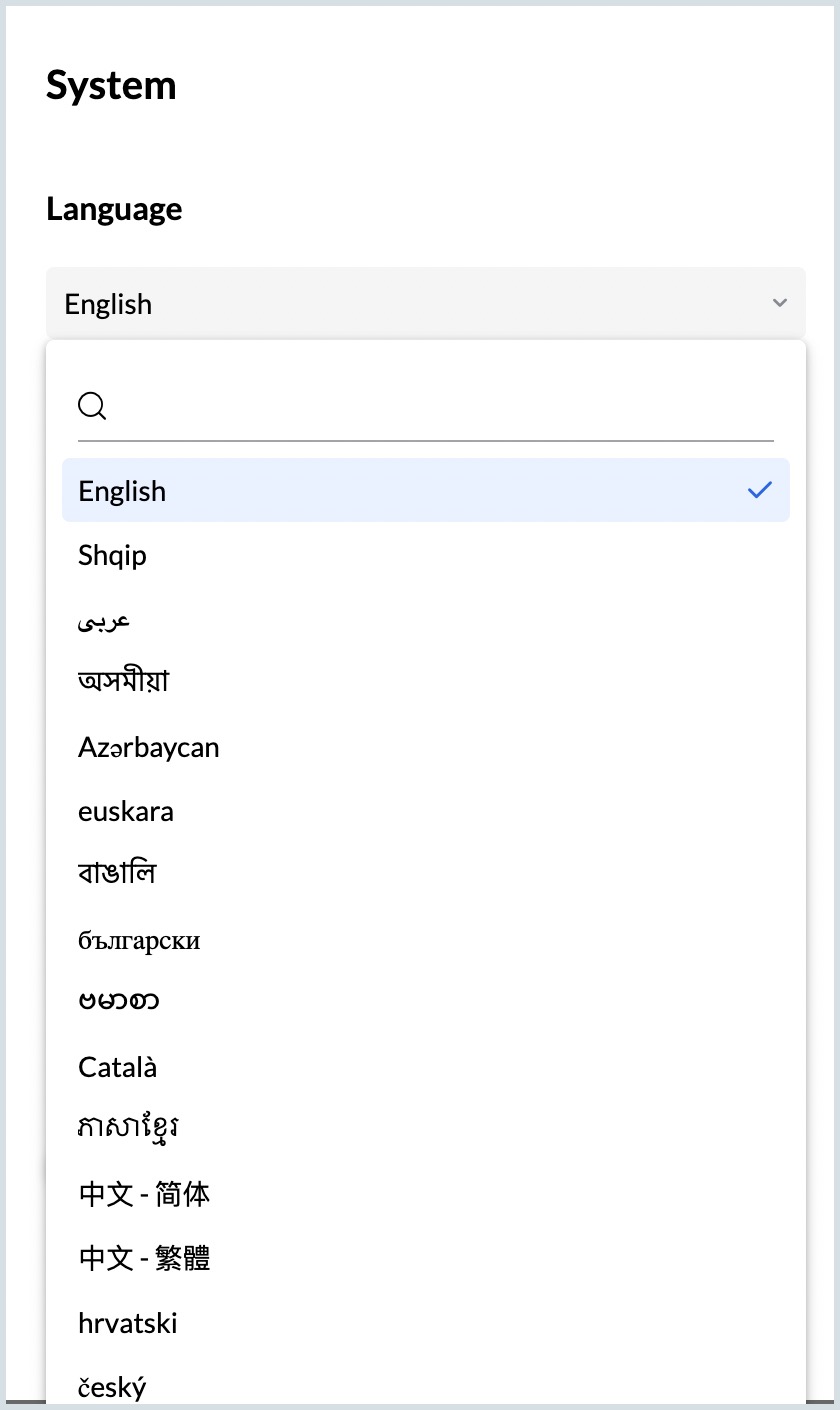
- Once done, refresh your browser to see the change in effect.
You can also choose to switch back to English before refreshing the page to apply the language change.


