Basic Functions in Vendor Credits
Create Vendor Credit
You can create a vendor credit in Zoho Books. Here’s how:
- Go to Purchases > Vendor Credits.
- Click the + New button in the top right corner of the page.
- Fill in the required details.
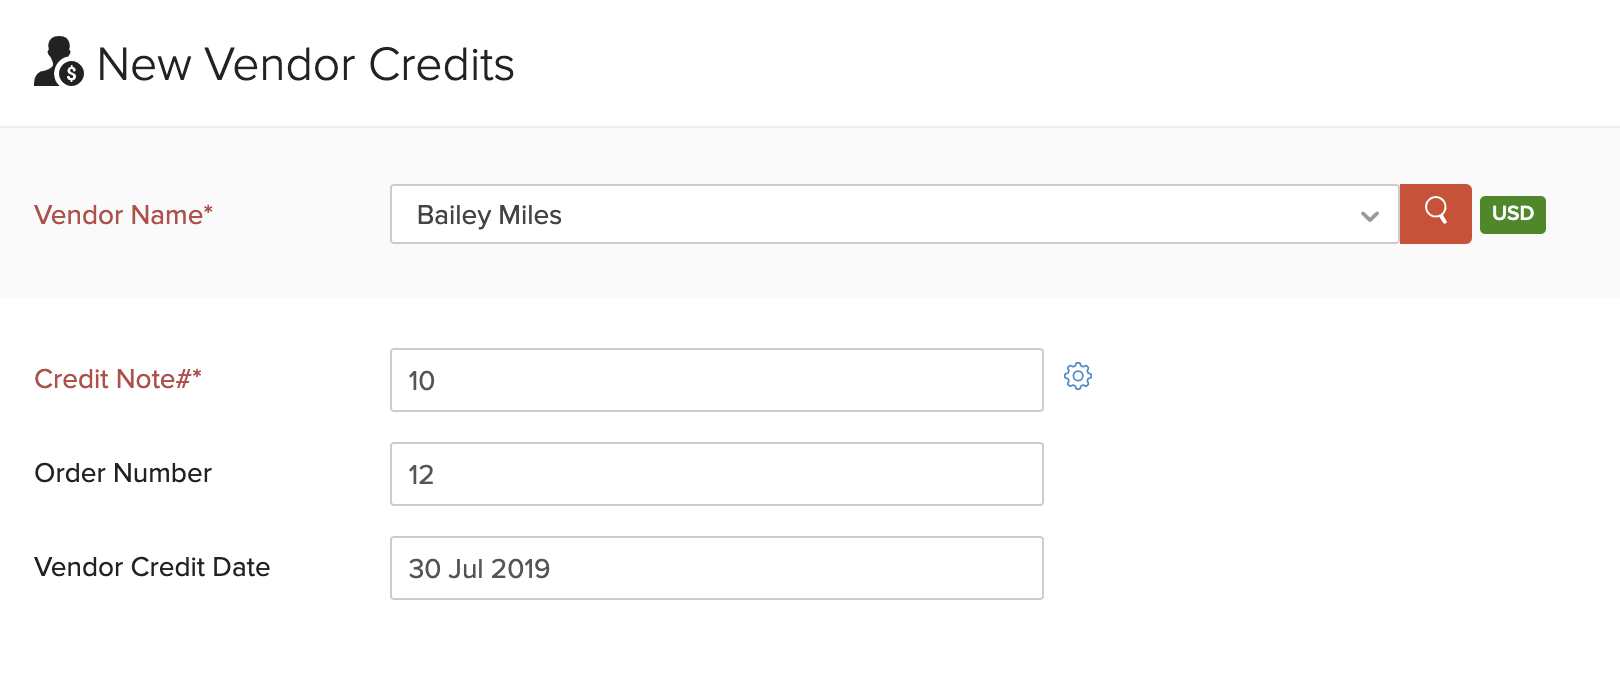
| Field | Description |
|---|---|
| Vendor Name | Select the vendor for whom you are creating the vendor credit. |
| Credit Note# | Enter the corresponding credit note number for the vendor credit. |
| Order Number | Enter an optional order number. |
| Vendor Credit Date | Select the date on which you created the vendor credit. |
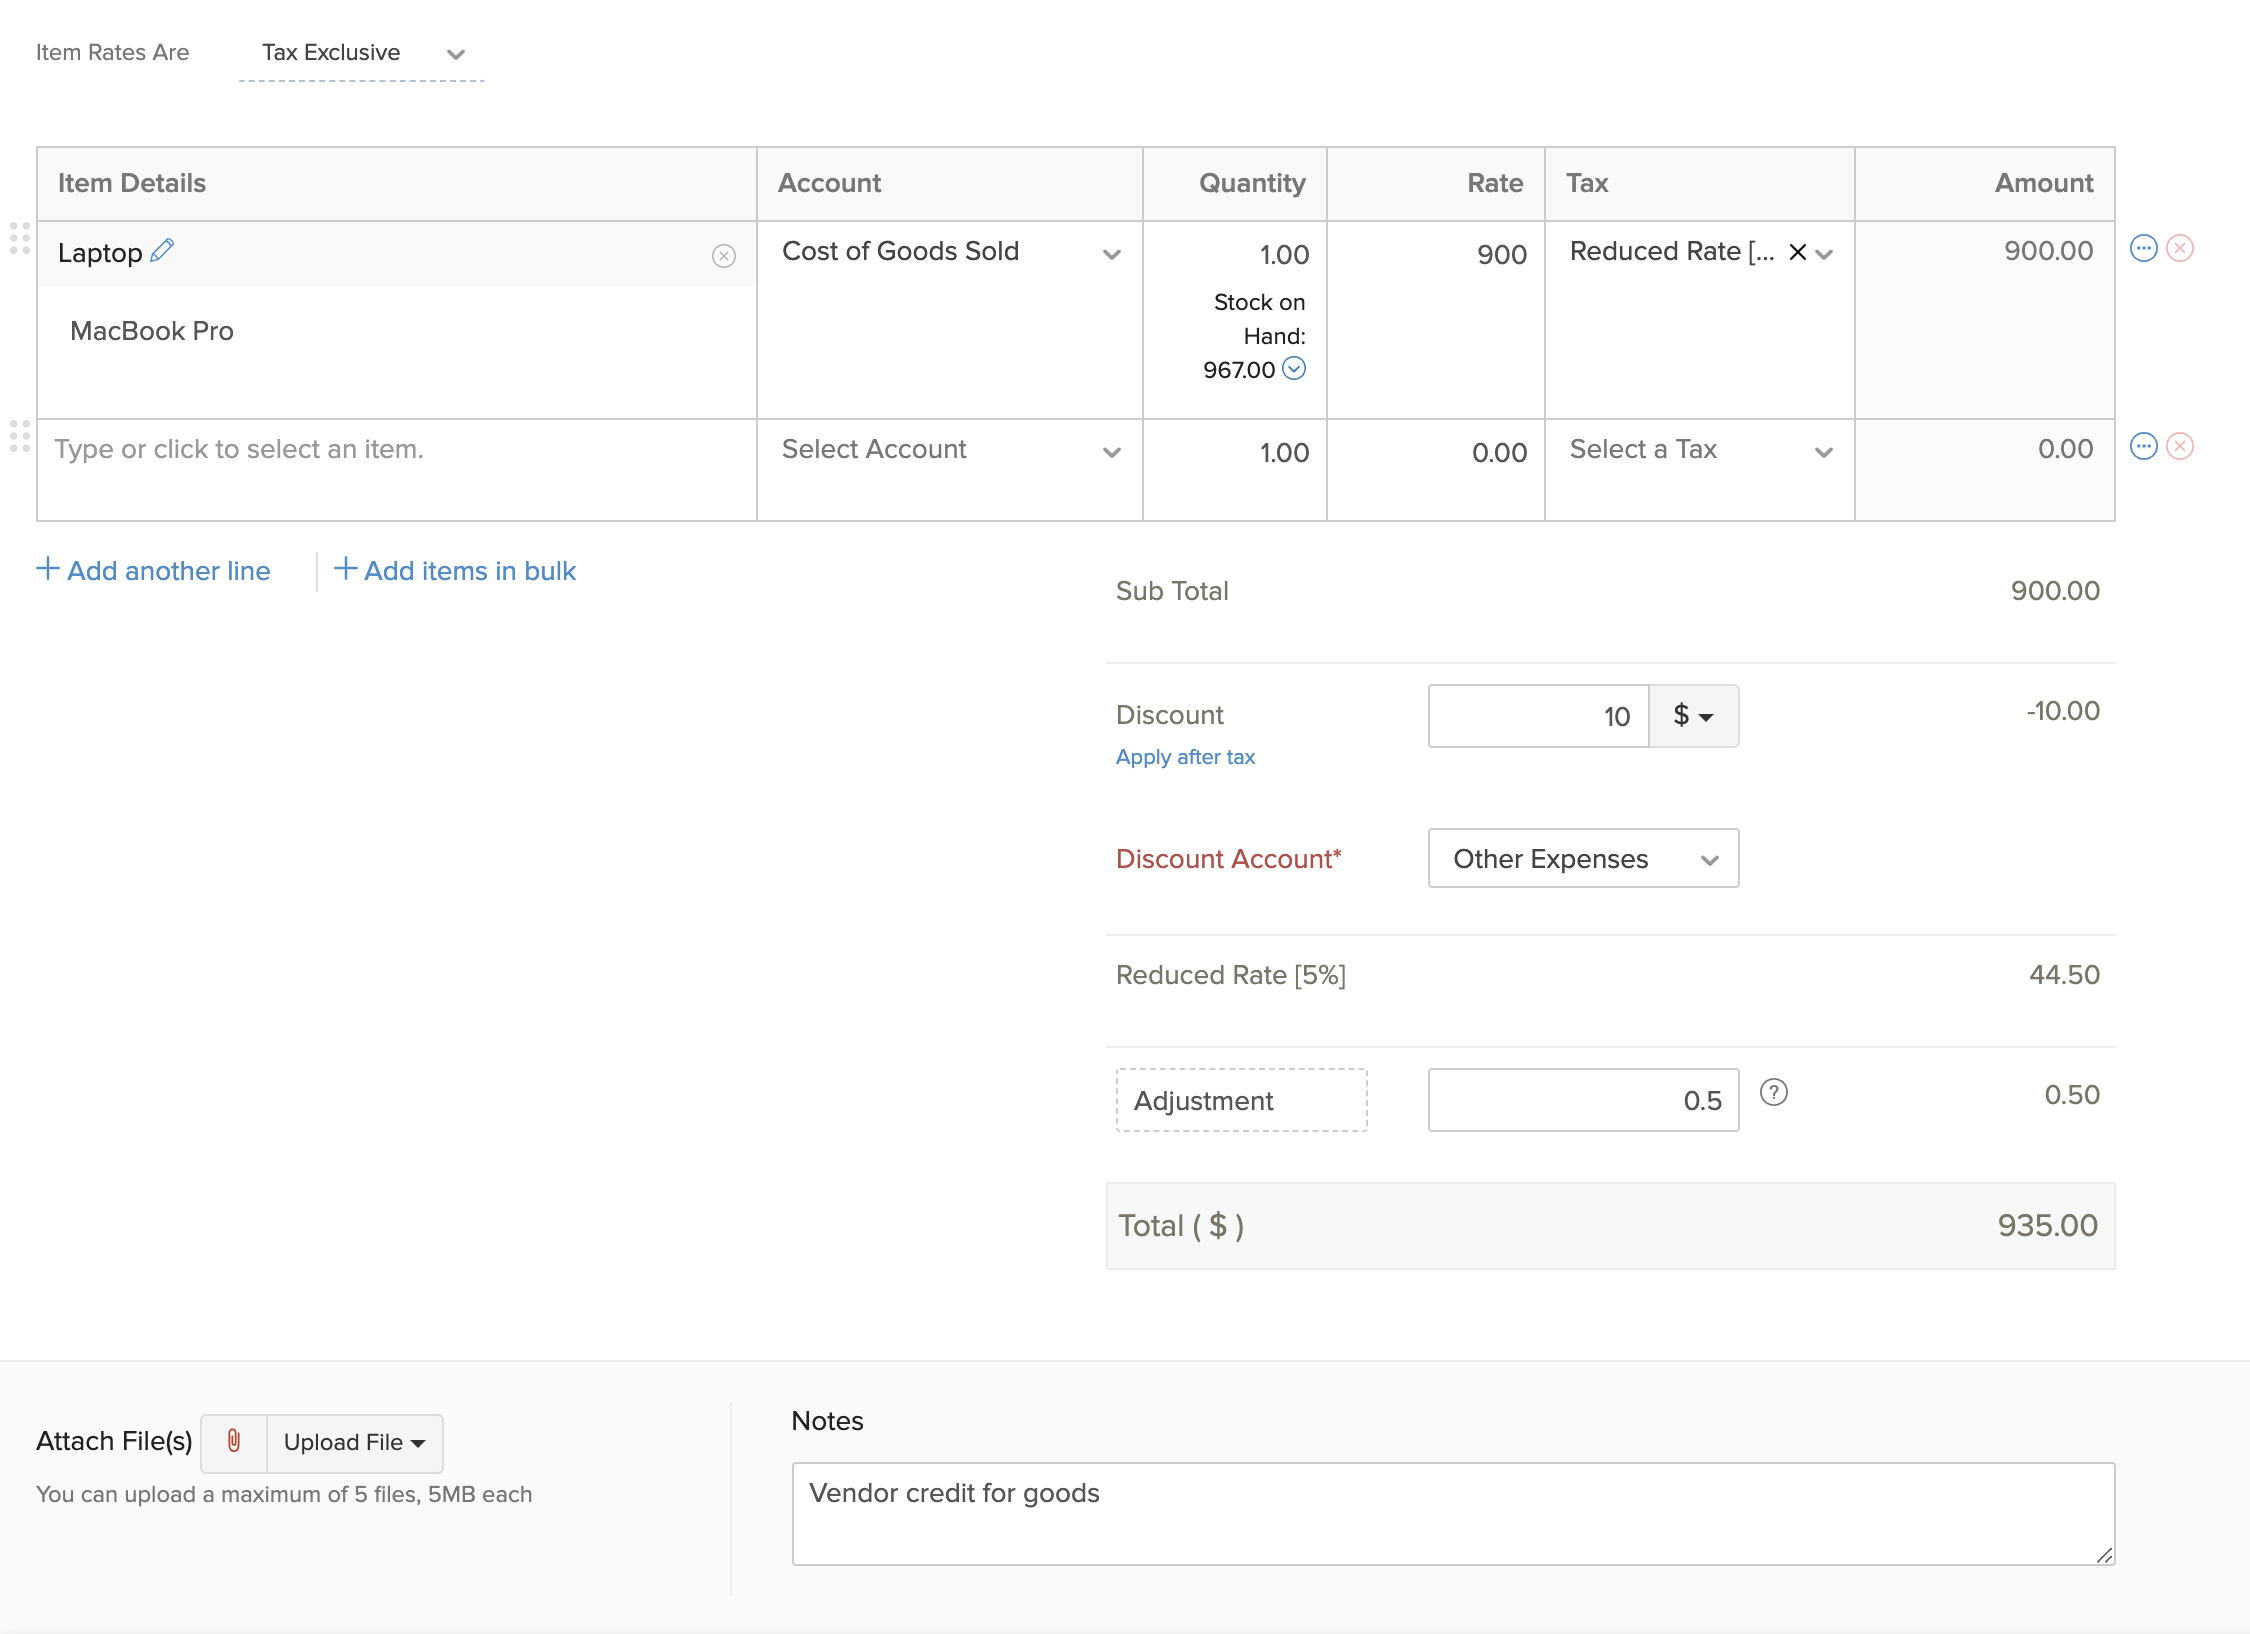
- Enter the Item Details.
- You can add Discounts and Adjustments for your vendor credit. If you add a discount, choose the Discount Account which tracks it.
View Vendor Credits
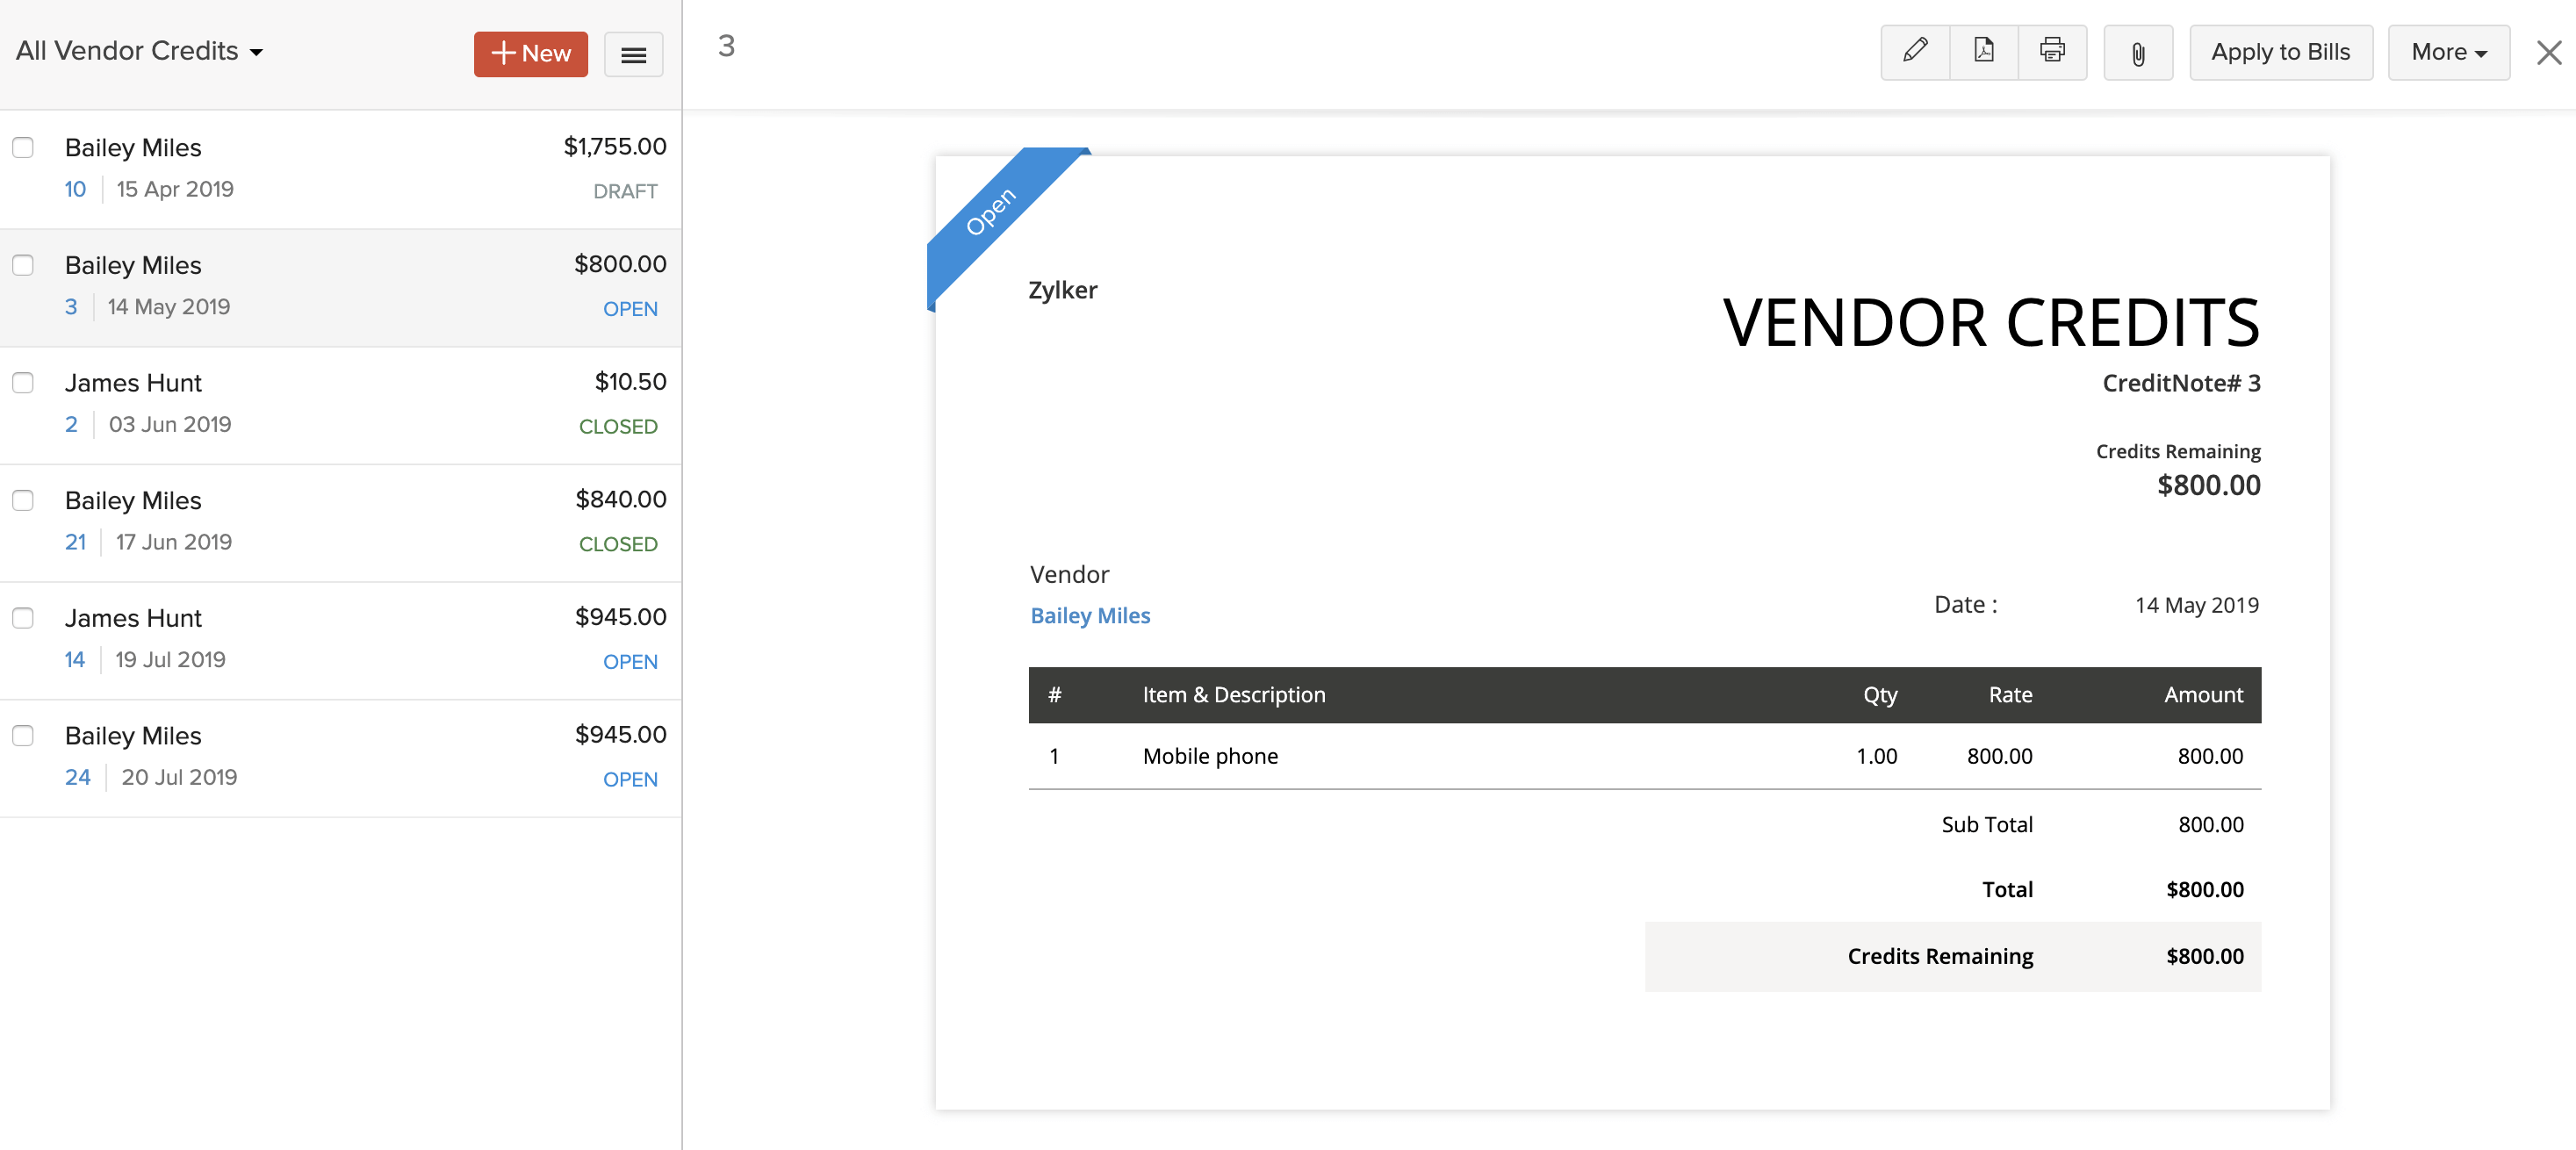
If you have already recorded vendor credits in Zoho Books, you can view them in the Vendor Credits module. Here’s how:
- Go to Purchases > Vendor Credits.
- Select the vendor credit you wish to view.
Add Items in Bulk
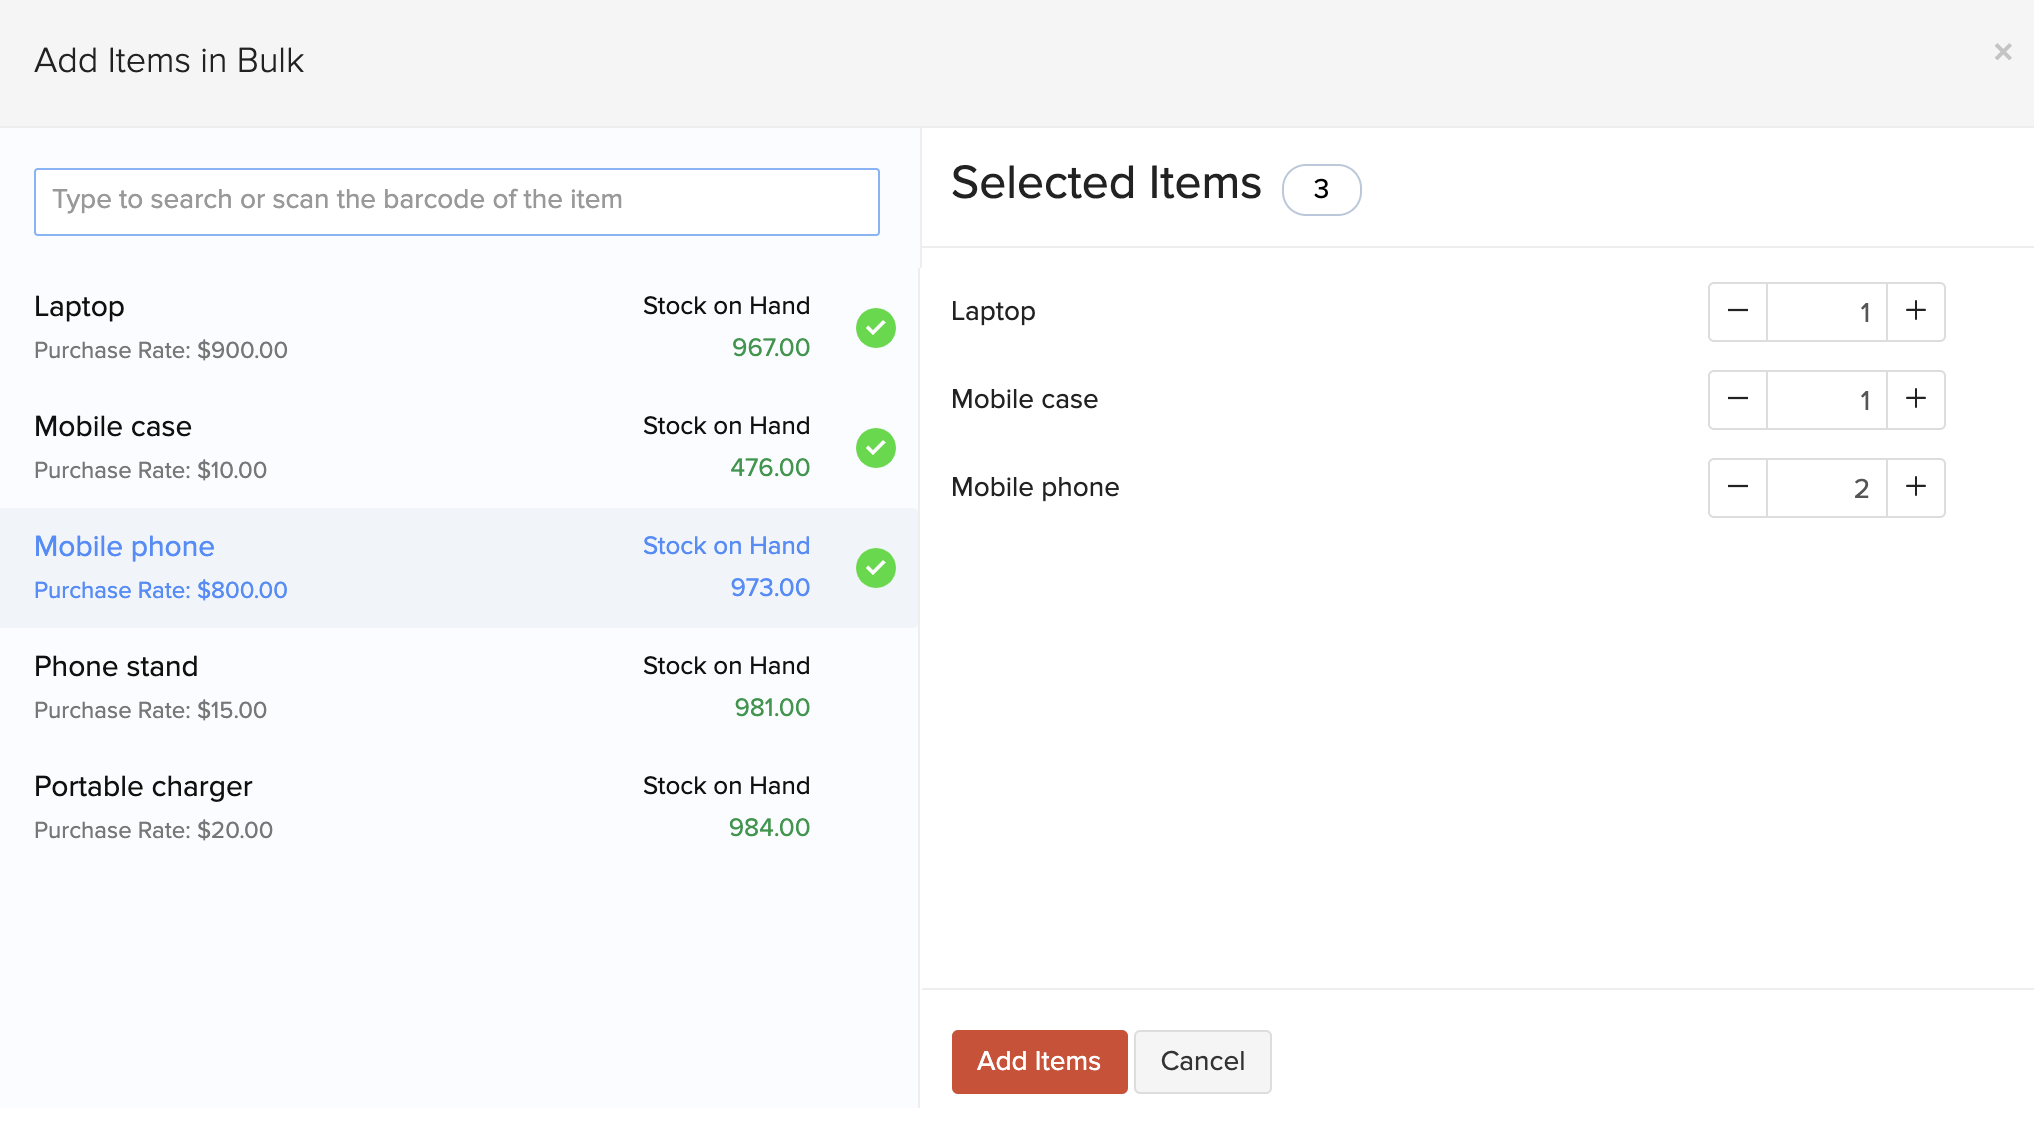
You can add multiple items and update their quantities in bulk. Here’s how:
- Click + Add items in bulk below the item details.
- Select the items and enter their quantities.
- Click Add Items.
- After entering the required details, click Save.
View Journal
To view the journal created for the vendor credits:
- Go to Purchases > Vendor Credits.
- Select the vendor credit whose journal you want to view.
- Click More > View Journal or scroll down and click Display Journal at the bottom of the page.

Import Vendor Credits
If you already have a list of all the vendor credits, you can import them into Zoho Books in the CSV, TSV or XLS format.
To know the format of the import file, i.e. the columns and data to be included in the import file, you can download the sample import file which we’ll be looking at in the steps below.
- Go to Purchases > Vendor Credits.
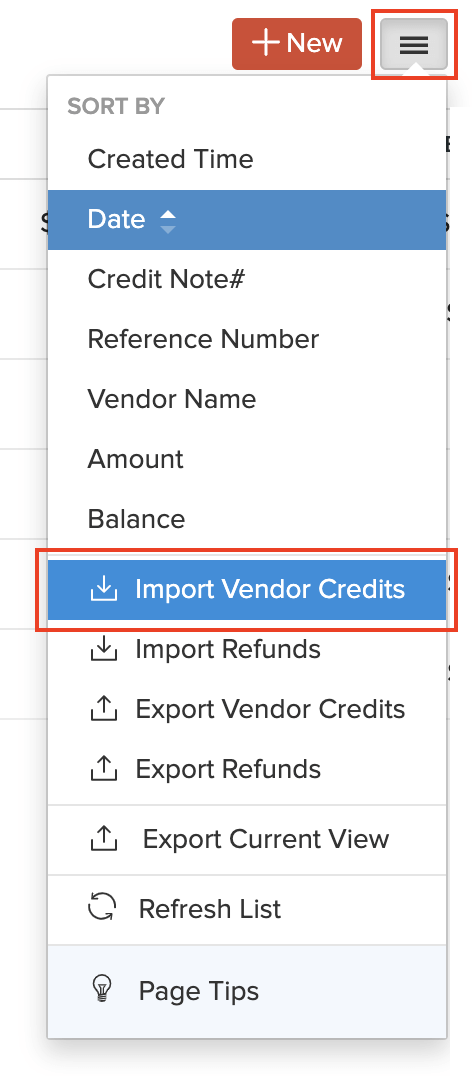
- Click the More icon in the top right corner of the page.
- Select Import Vendor Credits.
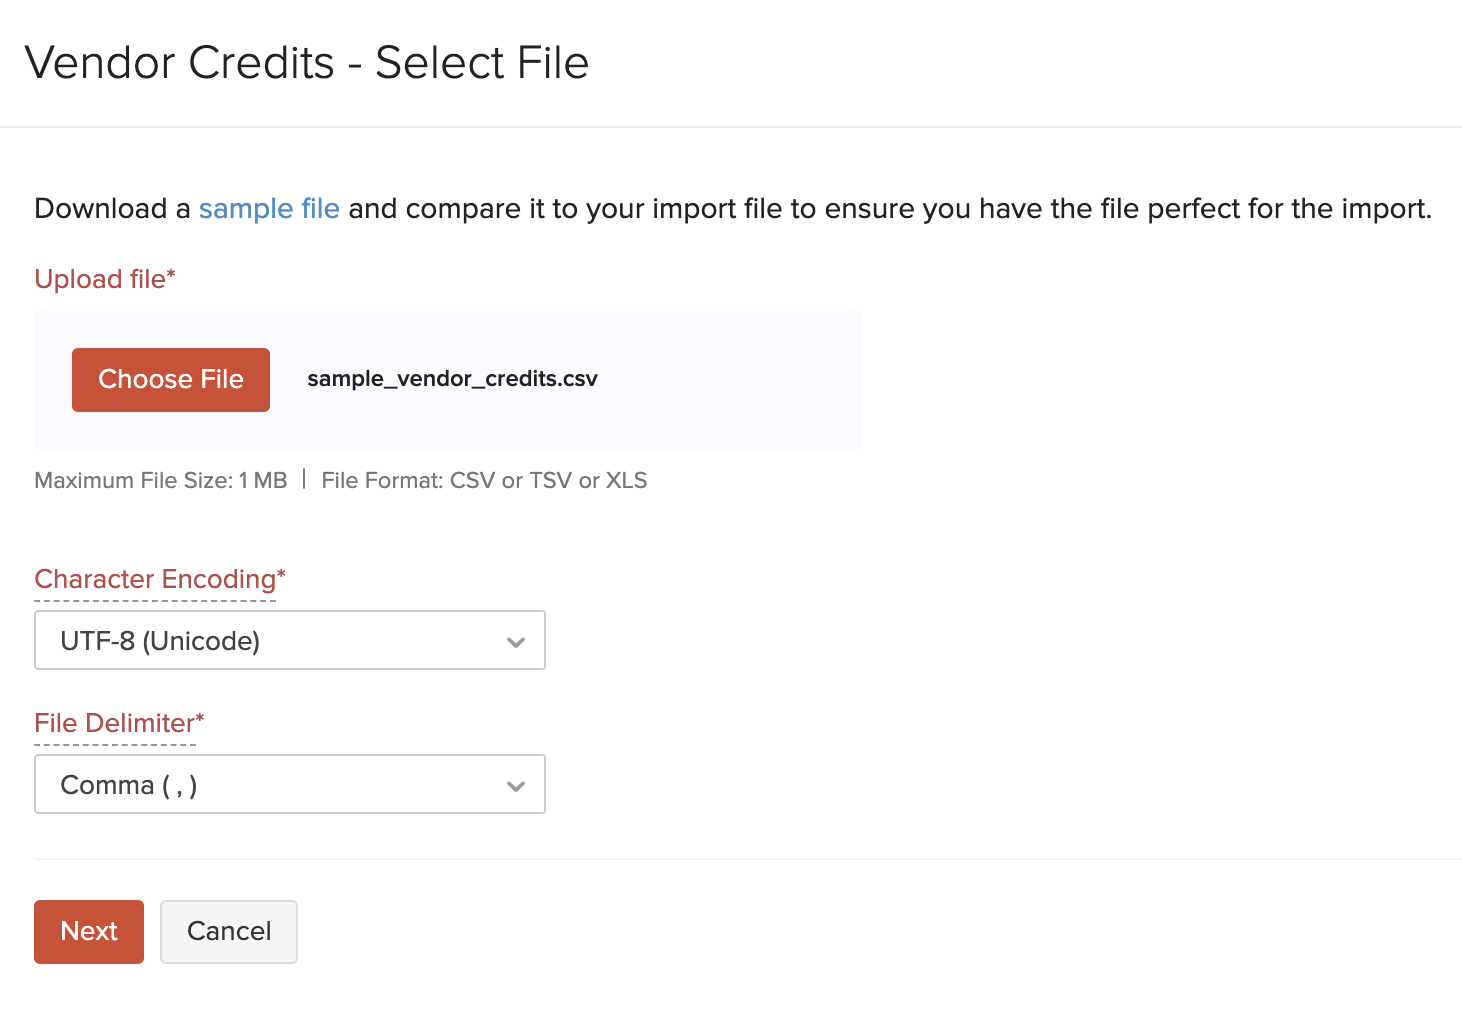
- Click the Choose File button under Upload file. You can download the sample CSV file for your reference by clicking sample file.
Insight: The file size cannot be more than 1 MB.
- Choose the Character Encoding and File Delimiter for your file.
Insight:
- Character Encoding is used to pair numbers with characters. By default, the Unicode Transformation Format (UTF-8) encoding is used which supports a wide range of characters that go beyond 8 bits.
- The Field Delimiter is used to separate two values in a row. While importing vendor credits, the default file delimiter is comma (,).
- Click Next.
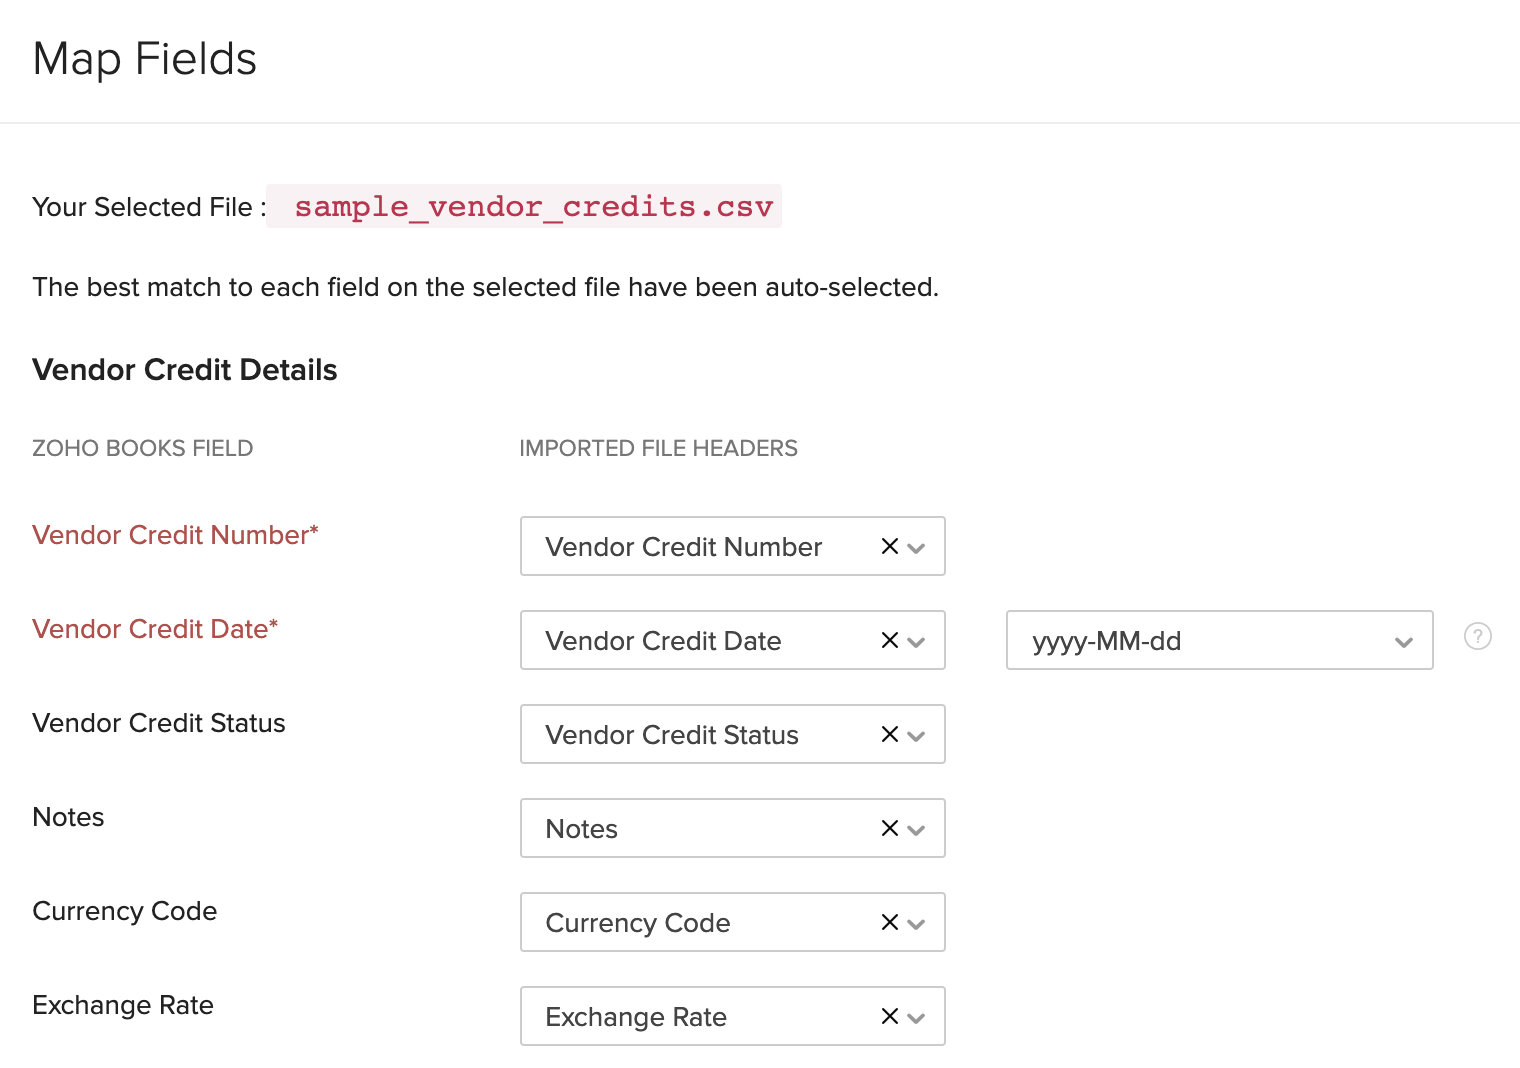
- Ensure that all the fields are mapped correctly in the Map Fields page.
- Mark the box Save these selections for use during future imports if you want to use the similar import format next time.
- Click Next.
- In the Preview window, click Import.
Next >
Functions in Vendor Credits
Related


 Yes
Yes