Overview
You need to create a new organization and choose the US edition to make use of this feature. Below are a list of operations you can perform with sales tax.
Creating an organization
In Zoho Books, your business is termed an organization. Find out how you can create a new organization for your business.
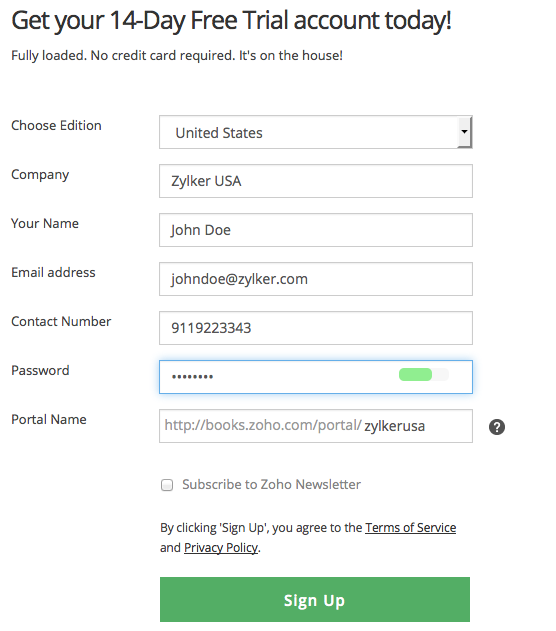
- If you are new to Zoho, click here to sign up. You can try Zoho Books for free for two weeks.
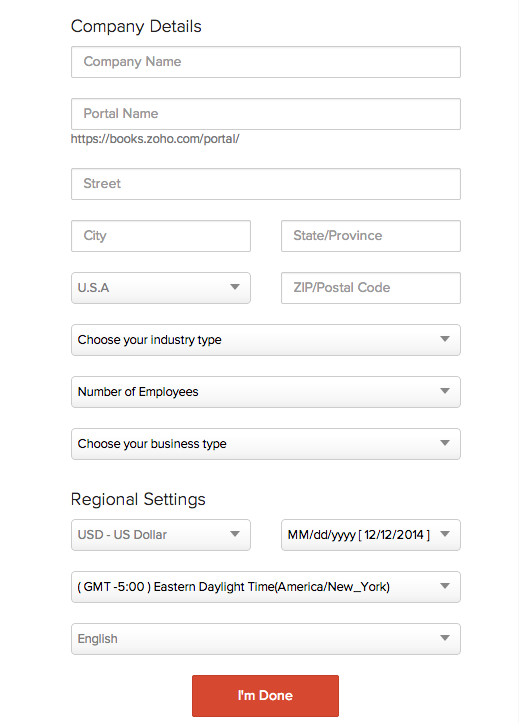
- If you already use a Zoho product, click here. Fill up the setup page to get started.
Setting Up Sales Tax
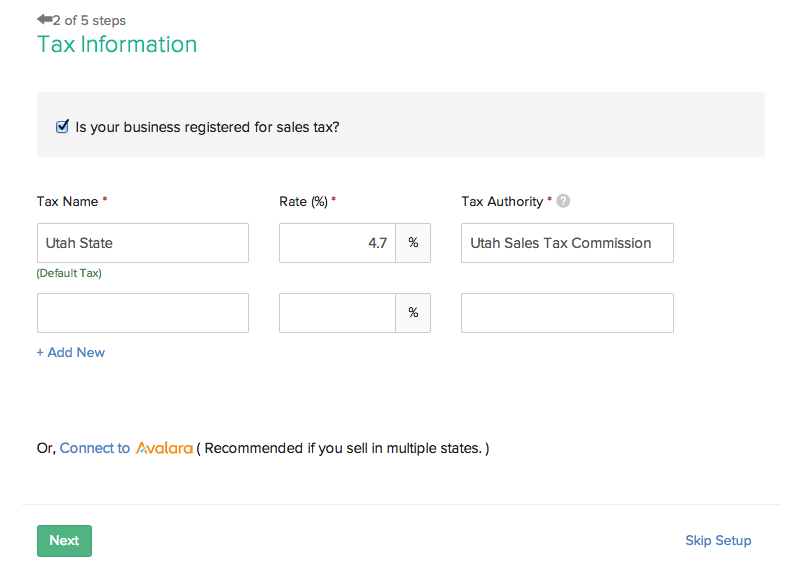
If you are using Zoho Books for the first time, click Quick Setup in the Getting Started page. Choose Taxes. Enter tax details and save.
This section takes you through the process of enabling sales tax in Zoho Books. Here’s what you do.
- Once you’re signed in, click the gear icon on the top right corner and select Taxes.
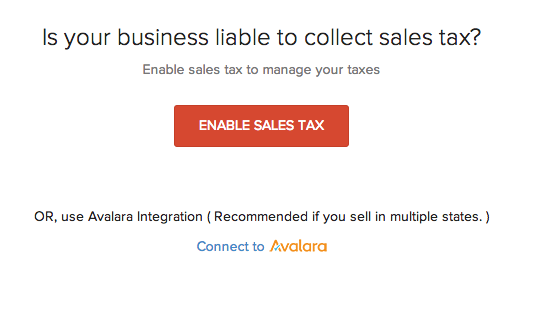
- Click the ENABLE SALES TAX button and click Save.
Tax
Create a new tax
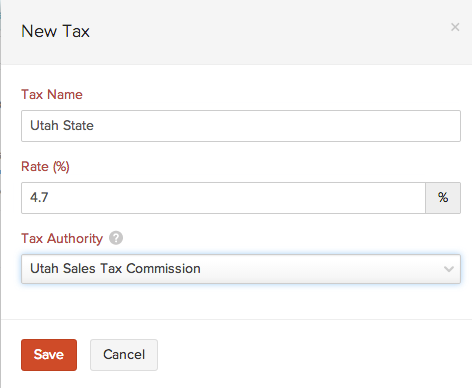
Before using sales tax in your invoices and quotes, you need to create a new tax. For example, the State sales tax rate of Utah is 4.7%.
- Click the gear icon on the top right and select Taxes.
- Now click the + New Tax button.
- Enter the required tax details and click the Save button.
Tax Authority can be created here in the New Tax form and by choosing New Tax Authority from the + New Tax drop down as well.
Create a new tax group
There might be occasions when multiple taxes need to be applied. You can club the individual taxes under a group. For example, Utah’s State sales tax rate is 4.7%, local sales tax rate is 1% and the County Option Sales Tax rate is .25%.
- Click the gear icon on the top right and select the Taxes option.
- Click the drop down arrow just next to the + New Tax button and select the New Tax Group option.
- Type in the desired name for the tax group and check the taxes that you want the group to be associated with and click the Save button.
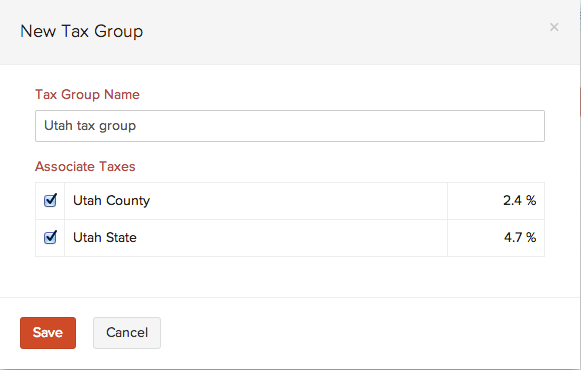
You’ll find that the tax group is a single entity with the percentage rate of individual sales taxes in the group summed up. This makes it easier to use tax groups in transactions.
Create a new tax exemption
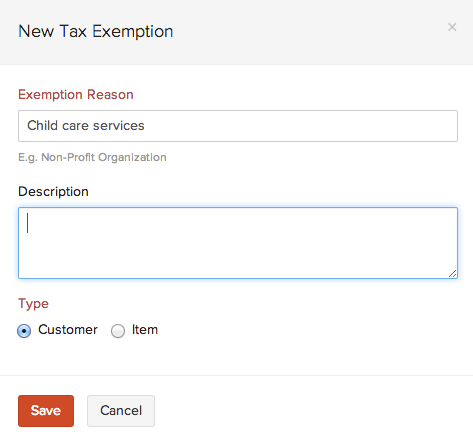
You can create new tax exemptions for customers and items. E.g. Child care and non-profit organizations are exempt from taxes.
- Click the gear icon on the top right and select the Taxes option.
- Click the drop down arrow just next to the + New Tax button and select the New Tax Exemption option. Enter Exemption Reason and Description. Choose the required type (customer or item) and click Save.
Default Tax
The Default Tax will be used in transactions when tax preference (Taxable/Tax Exempt) is not set for the involved customers. The first tax you create will be marked as the Default Tax initially. However, you can mark a different sales tax as default as well.
Default Tax can be useful for the following scenarios.
- When customers are imported into Zoho Books, their tax preference is not set. When these customers are involved in transactions, the Default Tax will be applied in those transactions.
- The tax preference will also not be set for customers who were created before sales tax was enabled. Here again, the Default Tax will be used in transactions where these customers are involved.
Default Tax is not automatically associated with a customer. It is only used when tax preference (Taxable/Tax Exempt) is not set for the involved customers. You can set the Tax Preference of a customer at anytime.
To mark a different tax as default, click the gear icon on the top right corner and select Taxes. Now choose the tax to be marked as default and click “mark as default”.

Contacts
Associating tax for a contact
Let’s say, your customer resides in Utah where a sales tax rate of 4.7% applies. Read below to find out how you can associate this rate to the customer.
- Go to Sales > Customers (for customers) or Purchases > Vendors (for vendors).
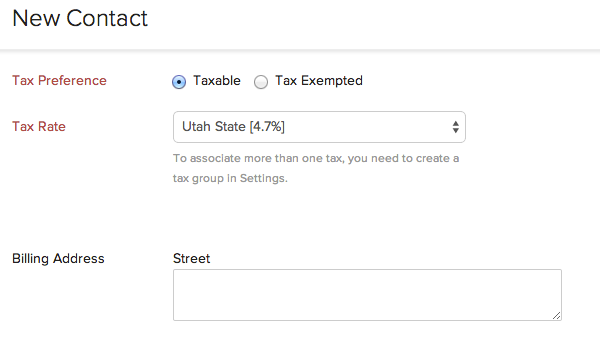
- After filling in customer details, scroll down to the Tax Type label and ensure that Taxable is checked.
- Select the required tax rate for contact from the drop down box adjacent to the Tax Rate label.
Making a contact nontaxable
There might be occasions where your customer is a non-profit organization which is exempt from tax. You can make a particular customer non-taxable by following the below steps.
- Go to Sales > Customers (for customers) or Purchases > Vendors (for vendors).
- After filling in customer details, scroll down to the Tax Type label and ensure that Non-Taxable is checked.
- Enter the Exemption Reason and Tax Authority. Scroll down and click the Save button.

Items
Sales Tax in Items
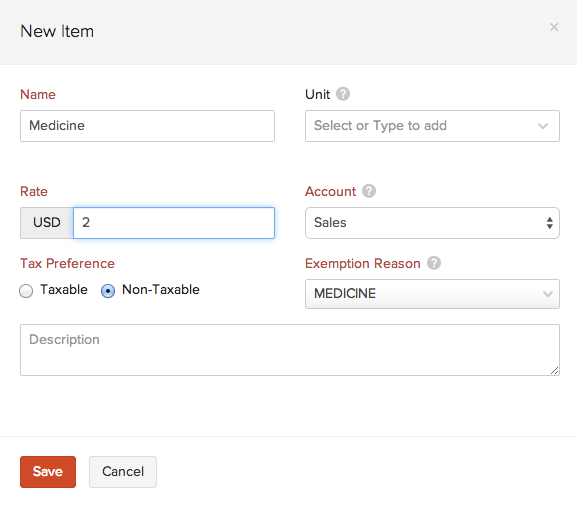
You can also choose tax preferences for items.
- Go to the Items tab, select All Items and click + New Item button.
- Enter the item name and choose the appropriate account.
- Enter the Exemption Reason if the tax preference is nontaxable.
Making an item nontaxable in invoices
You can make a particular item non-taxable in an invoice.
- Go to the Sales tab and select the Invoices sub-tab.
- Click the Create New Invoice button if it’s your first invoice or click + just adjacent to the Invoices tab.
- Click the Tax label in the line item, select Non-Taxable and enter an exemption reason.

Invoices
Sales Tax in Invoices
After associating specified sales tax for contacts, the next step is applying sales taxes to invoices. If you choose a customer whom you have already associated tax with, then the corresponding tax will be applicable to all taxable items. However, if you choose to make the transaction non-taxable, you’ll be asked to enter a suitable exemption reason.
- Go to the Sales tab and select the Invoices sub-tab.
- Click the Create New Invoice button if it’s your first invoice or click + just adjacent to the Invoices tab.
- Choose the Customer name. You will notice that as soon as you select your customer, the corresponding tax would be displayed just below the customer name.
- After adding the necessary item details, scroll down and click the Save button.
The same steps can be followed while applying sales tax to recurring invoices as well.
Recurring invoices will not be created unless sales tax is applied. This can happen when you have created a recurring invoice before enabling sales tax. After enabling sales tax, you can apply a tax rate to the recurring invoice using the above steps.
Making a particular invoice nontaxable
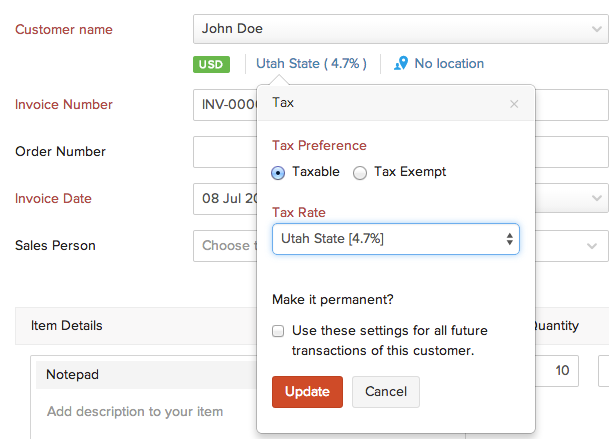
You can make a particular transaction nontaxable even if you have associated tax with the customer involved in the transaction. Tax will be disabled for that transaction and you’ll not be able to apply tax to individual items as well.
- Go to the Sales tab, select the Invoices sub-tab and click + just adjacent to it.
- Choose the Customer name. You will notice that as soon as you select your customer, the corresponding tax would be displayed just below the customer name.
- To make this invoice nontaxable, click sales tax that is displayed just below the customer name text box.
- Ensure that Exempt is checked for the tax type.
- Select the Exemption Reason and Tax Authority from the respective drop-down boxes and click the Update button.
All sales tax related operations that can be performed with invoices are applicable to quotes, credit notes, sales orders and recurring invoices as well.
Tax Payments
Record tax payments
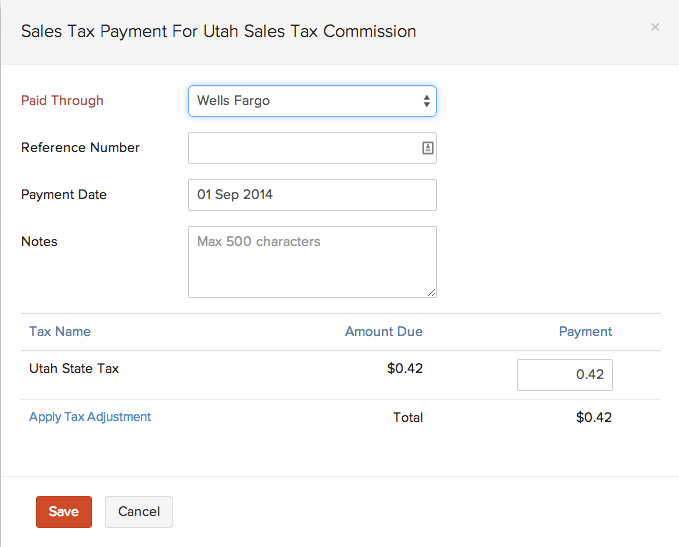
After you have paid the taxes you owe to the respective tax authorities, you can record those payments. Tax payments will be in accordance to the tax basis (accrual or cash) chosen in the organization profile. Before recording a payment, please make sure to configure a bank account. To record a tax payment, follow the below steps.
- Go to the Accountant tab, select Tax Payments and select a Pay upto date.
- Select the tax authority by clicking on the respective row.
- Select a Paid Through account, Payment Date and click Save.
Note: This feature is only available for organizations in the U.S. and Canada editions of Zoho Books.
Record payments with an adjustment
You can make an adjustment to the tax you owe in case of any rounding differences, penalties or discounts. To record a tax payment with an adjustment, please follow the below steps.
- Go to the Accountant tab.
- Select the Tax Payments for which an adjustment has to be recorded and click Apply Tax Adjustment.
- Enter an adjustment Amount and an appropriate Account.
- Note that the Account drop down would contain expense accounts for positive adjustment amounts and income accounts for negative adjustment amounts.
- Enter a reason for the adjustment and click Apply.
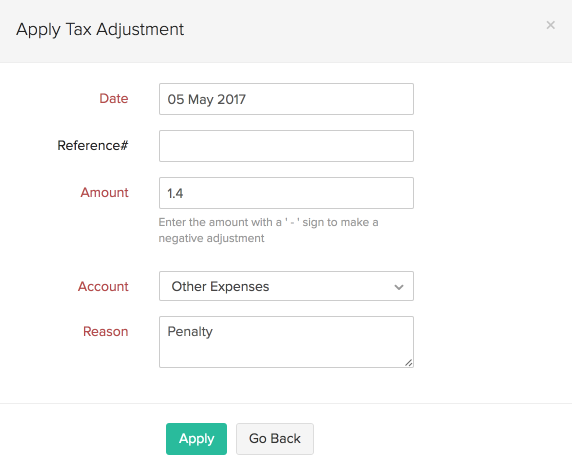
Now that an adjustment has been applied, the corresponding payment has to be recorded. Click Save in the Record Tax Payment form to record the payment with the adjustment.
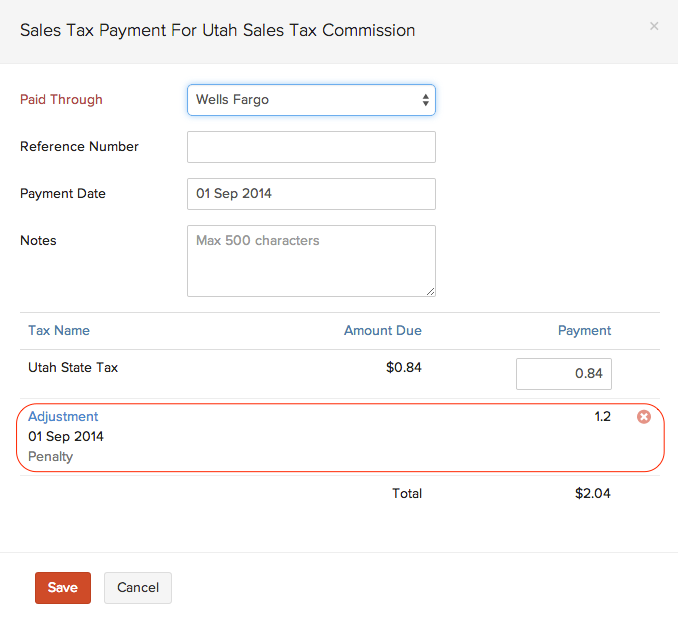
You can find the list of tax adjustments applied in Tax Adjustments sub-tab.
Payment History
To view the tax payments you have made so far, follow the below steps.
- Go to the Accountant tab and select Tax Payments.
- Click the Show Payment History page on the top right corner.


