
Filing With Yearli
Yearli is a tool which helps you to generate, file and submit your 1099-MISC forms with ease. All you have to do is:
Learn more about Yearli and Zoho Books.
Create an account in Yearli
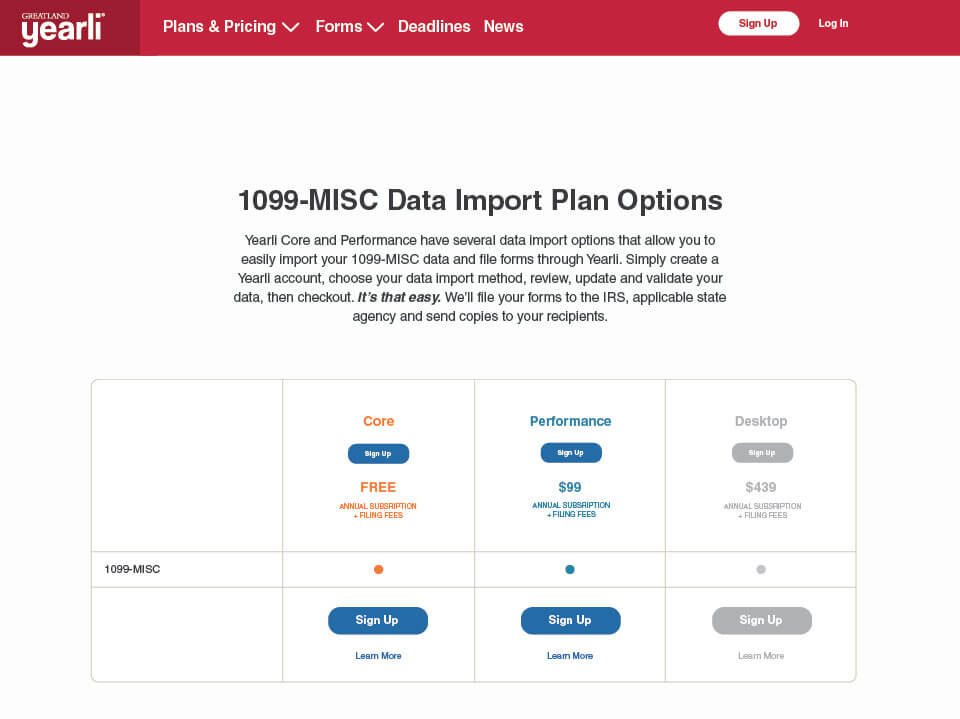
- Visit the Yearli page.
- Choose one of the plans according to your business requirements by clicking Sign Up at the bottom of the page.
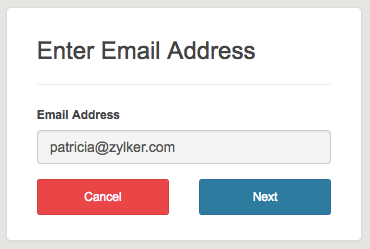
- Enter your email address and click Next.
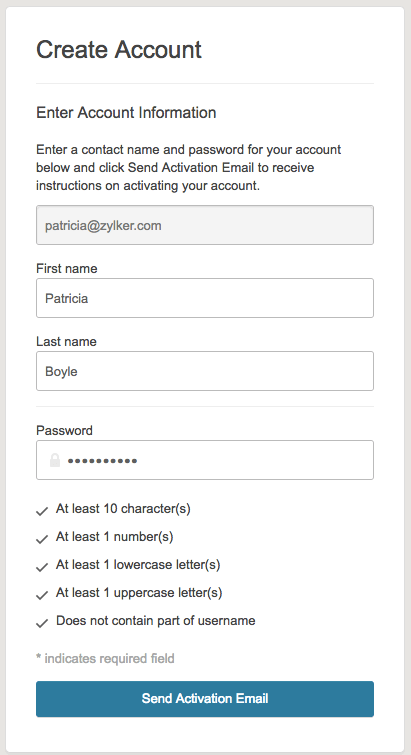
- Enter your details in the page that follows.
- Click Send Activation Email.
- An activation email will be sent to the registered email address from where you can activate your Yearli account.
- Click the activation link and you’ll be re-directed to Yearli’s account creation page.
- Fill the page and click Continue.
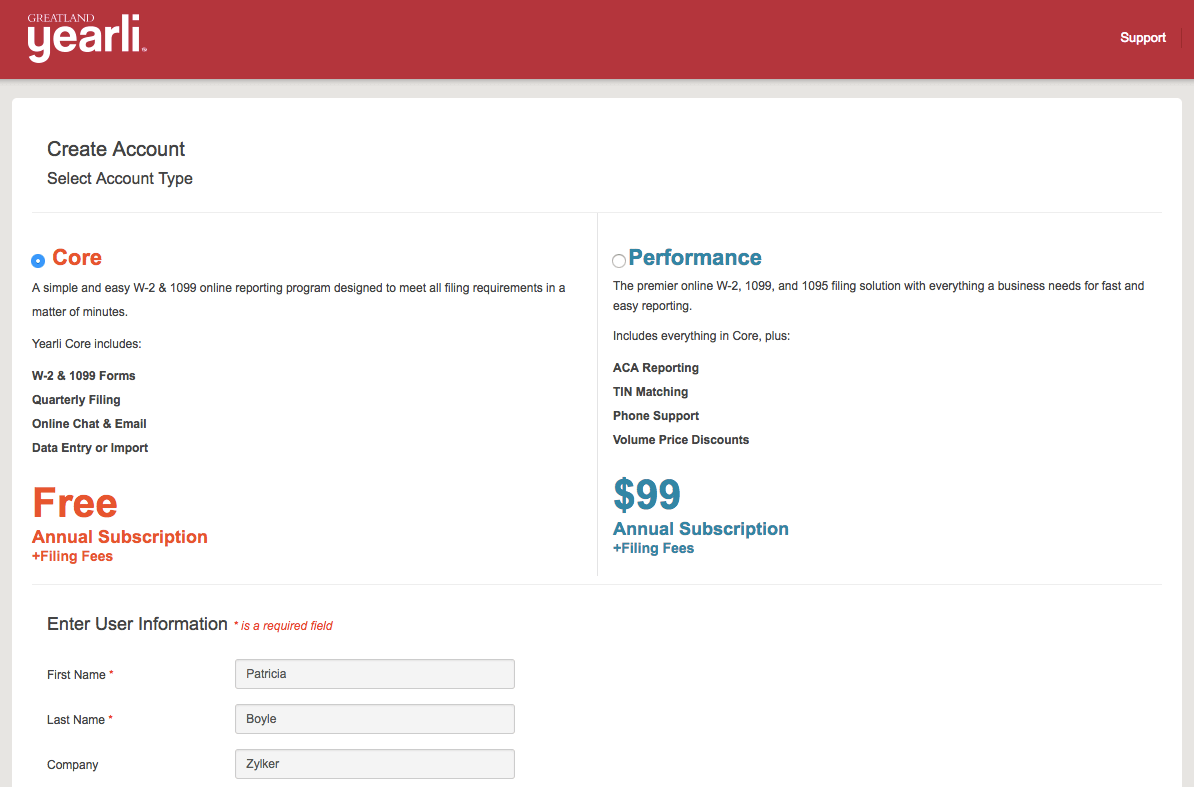
- Verify all the details and click Create Account.
Import Your Data from Zoho Books
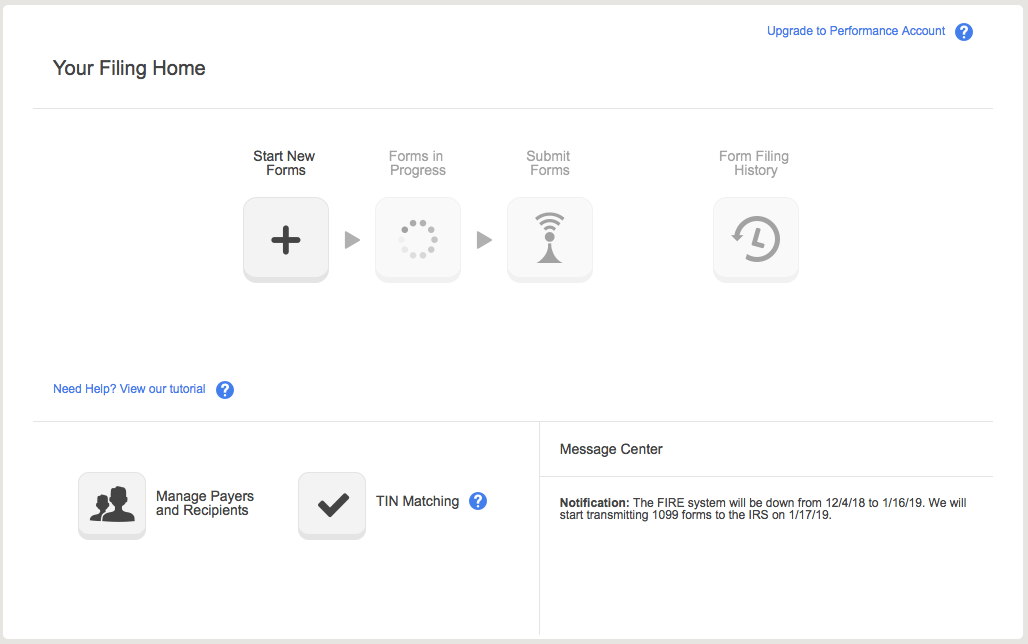
- After you have created an account in Yearli, you’ll have to create a new form for submission.
- Click Start New Form in the page that follows.
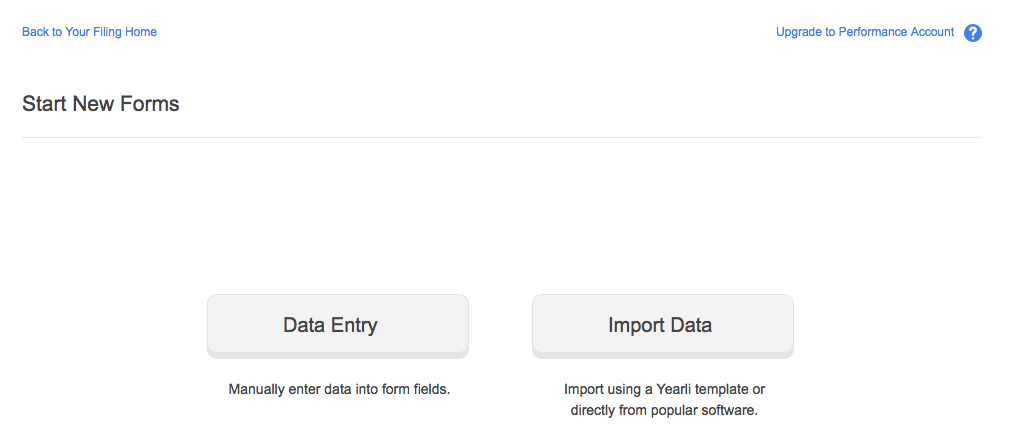
- Click Import Data to import your data from Zoho Books.
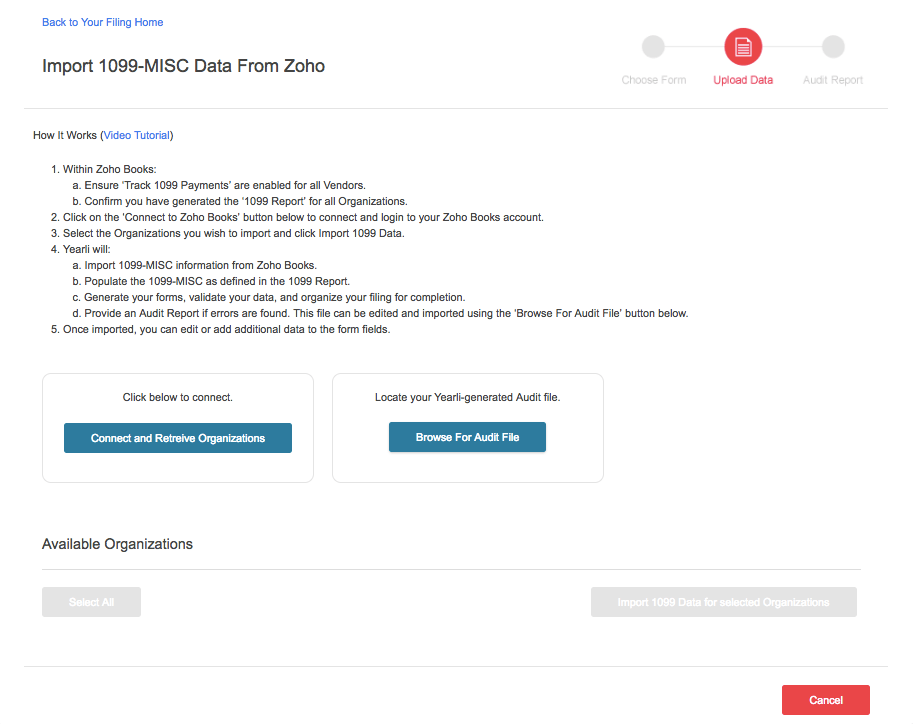
- Scroll down and select Zoho Books from the list of apps.
- Click Connect and Retrieve Organizations.
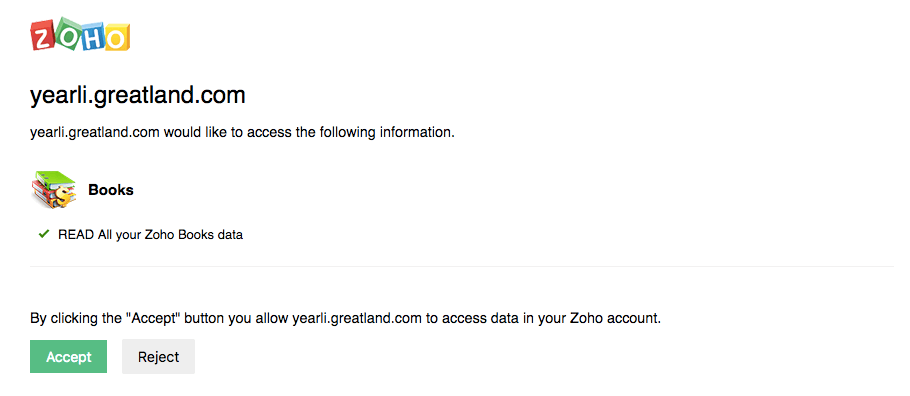
- Sign in to your Zoho Books account.
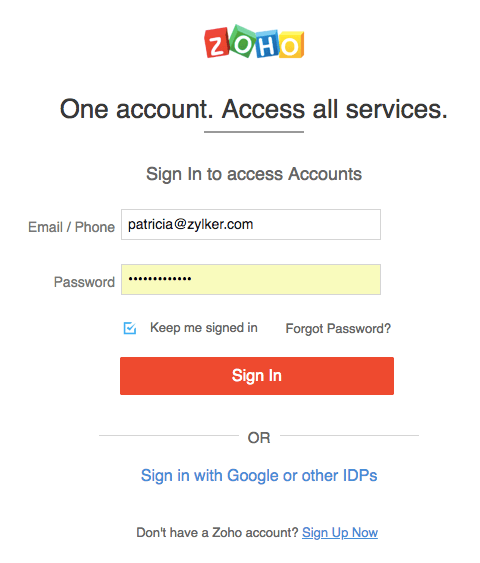
- Click Accept.
- Select the organizations for which you want to file the data.
- Click Import 1099 Data for selected Organizations.
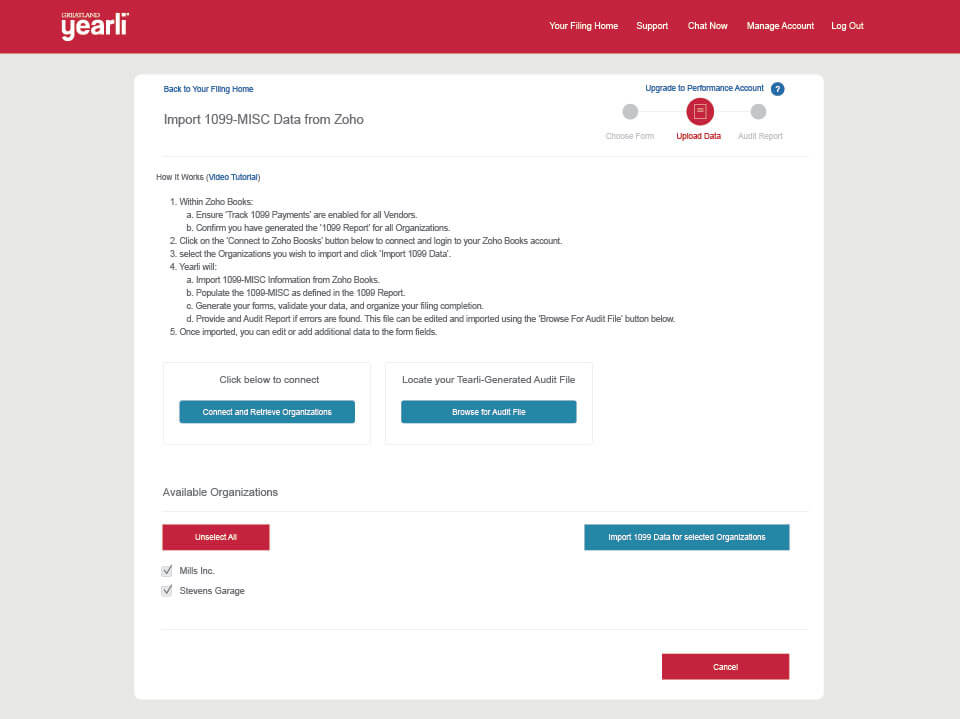
- Verify the number of payers and forms imported and click OK.

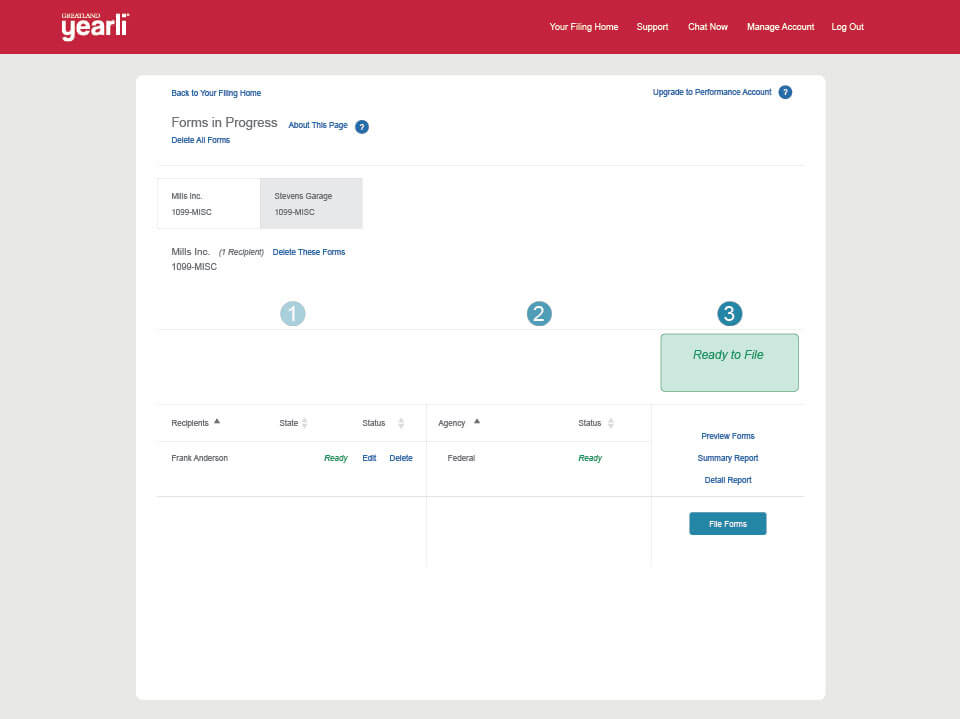
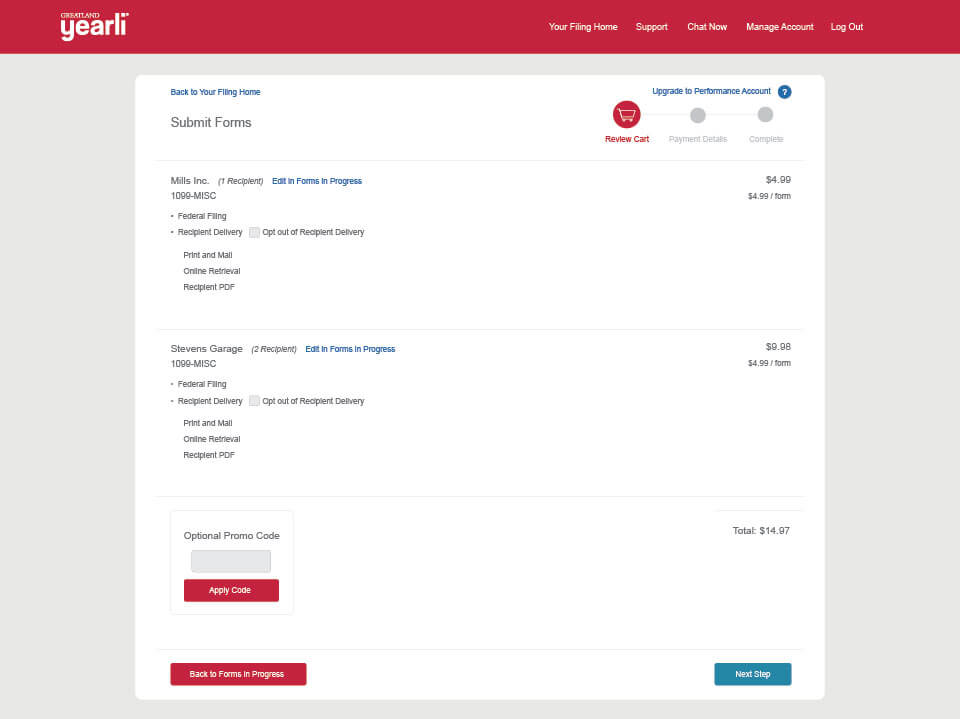
Review the data and checkout
- Review the payer, recipient and form data.
- Click File Forms.
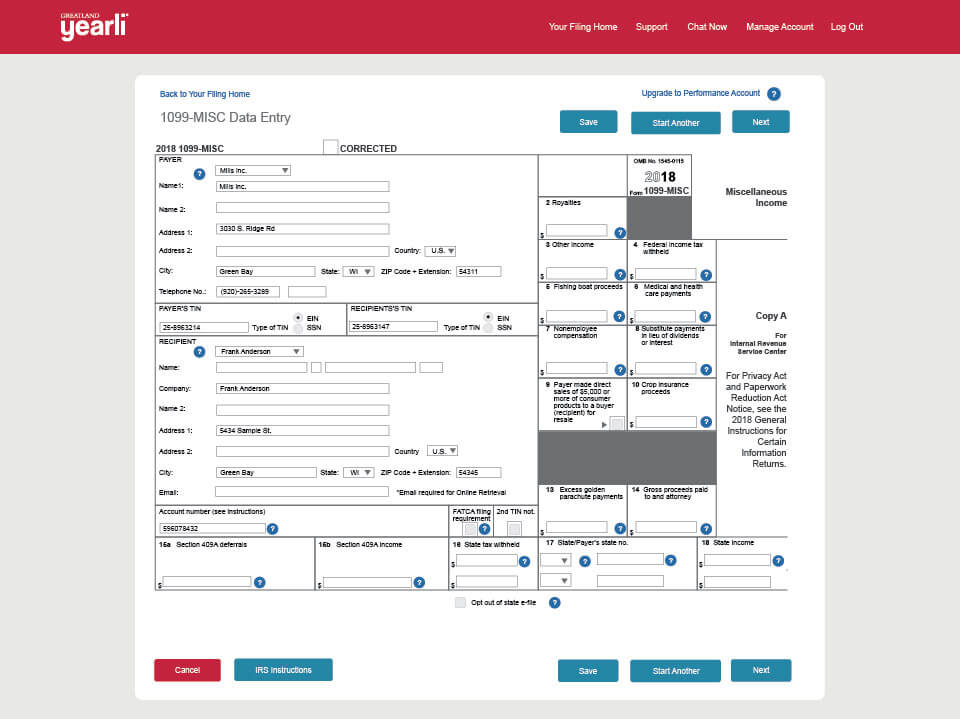
- Choose to review and/or edit data by form.
- Click Next.
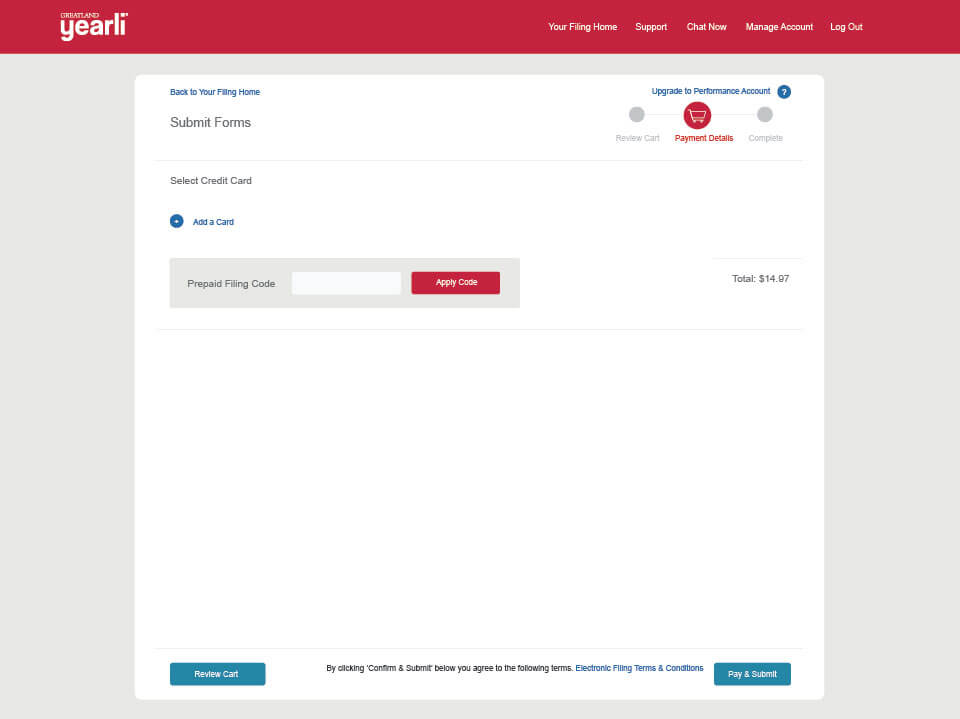
- Enter payment information and submit forms to federal and state (where applicable) agencies.
- Click Next Step.
- Proceed to pay and submit the form.
 Yes
No
Yes
No
Thank you for your feedback!