Steps to connect Zoho Mail MCP with Devin AI (Formerly Windsurf)
Note:
The steps mentioned below are for free plan users on Devin Desktop application.
As a prerequisite, please download Devin desktop app to proceed.
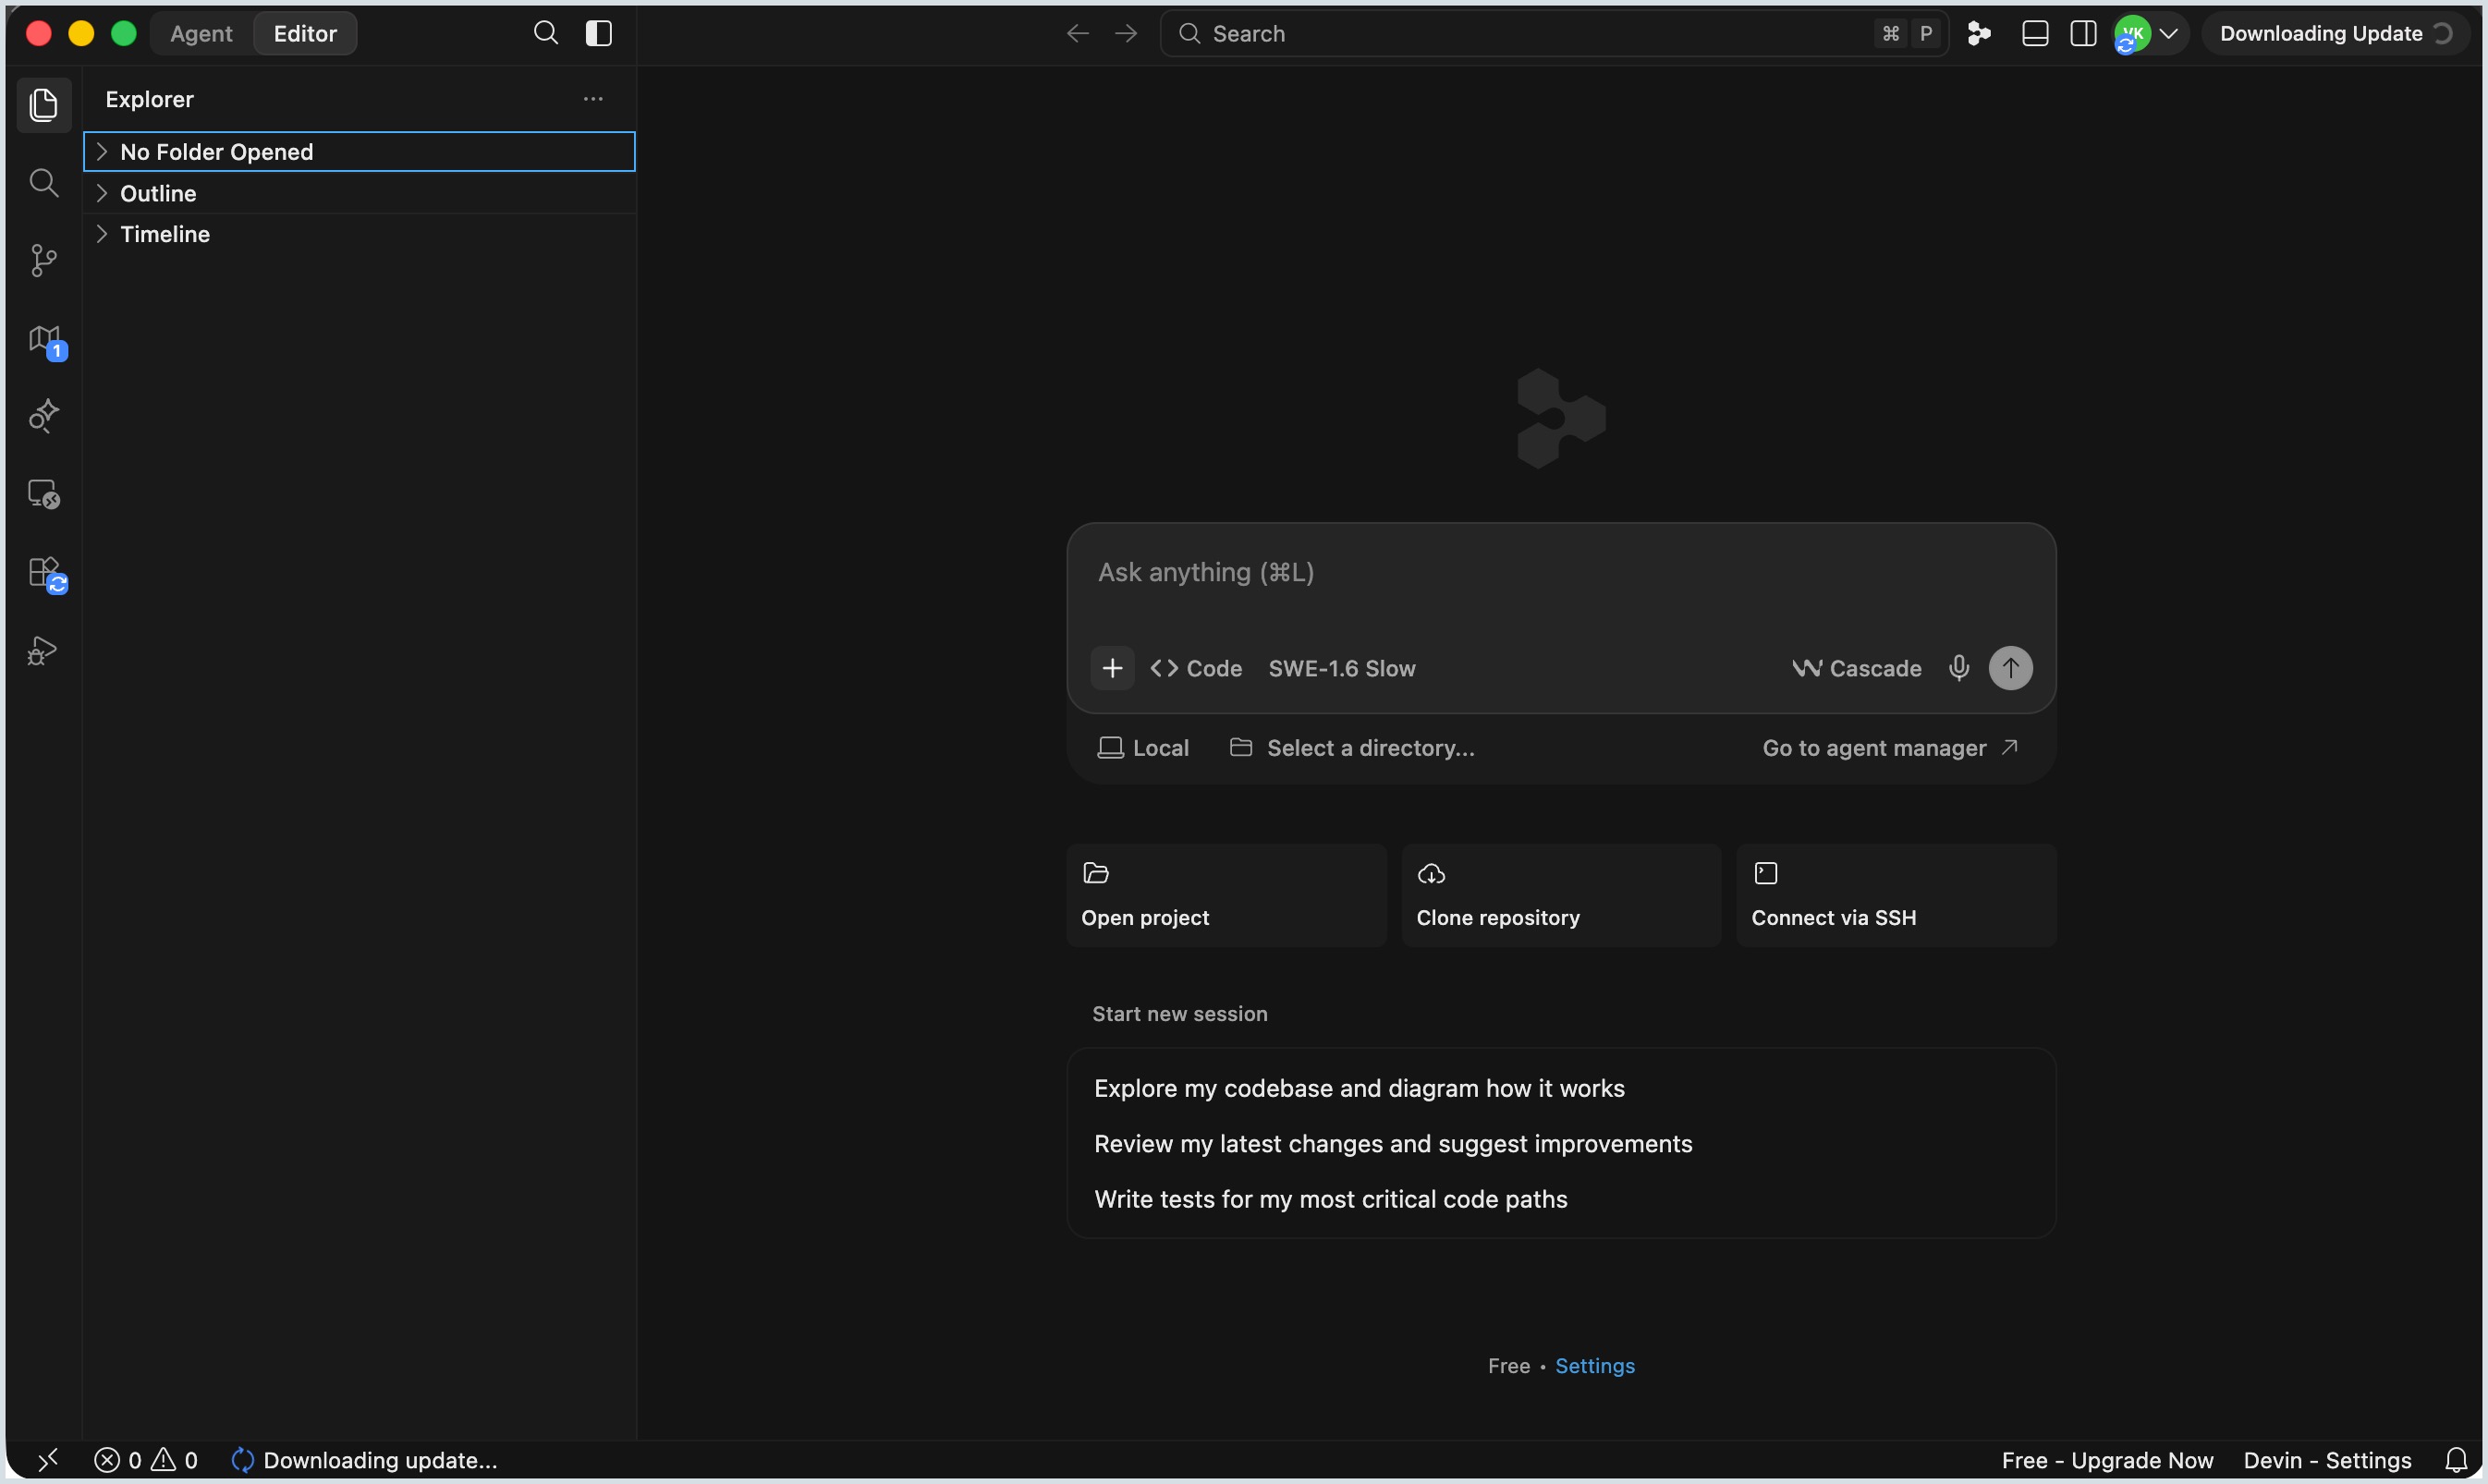
- Open the Devin AI application and click Settings located at the bottom of the screen.
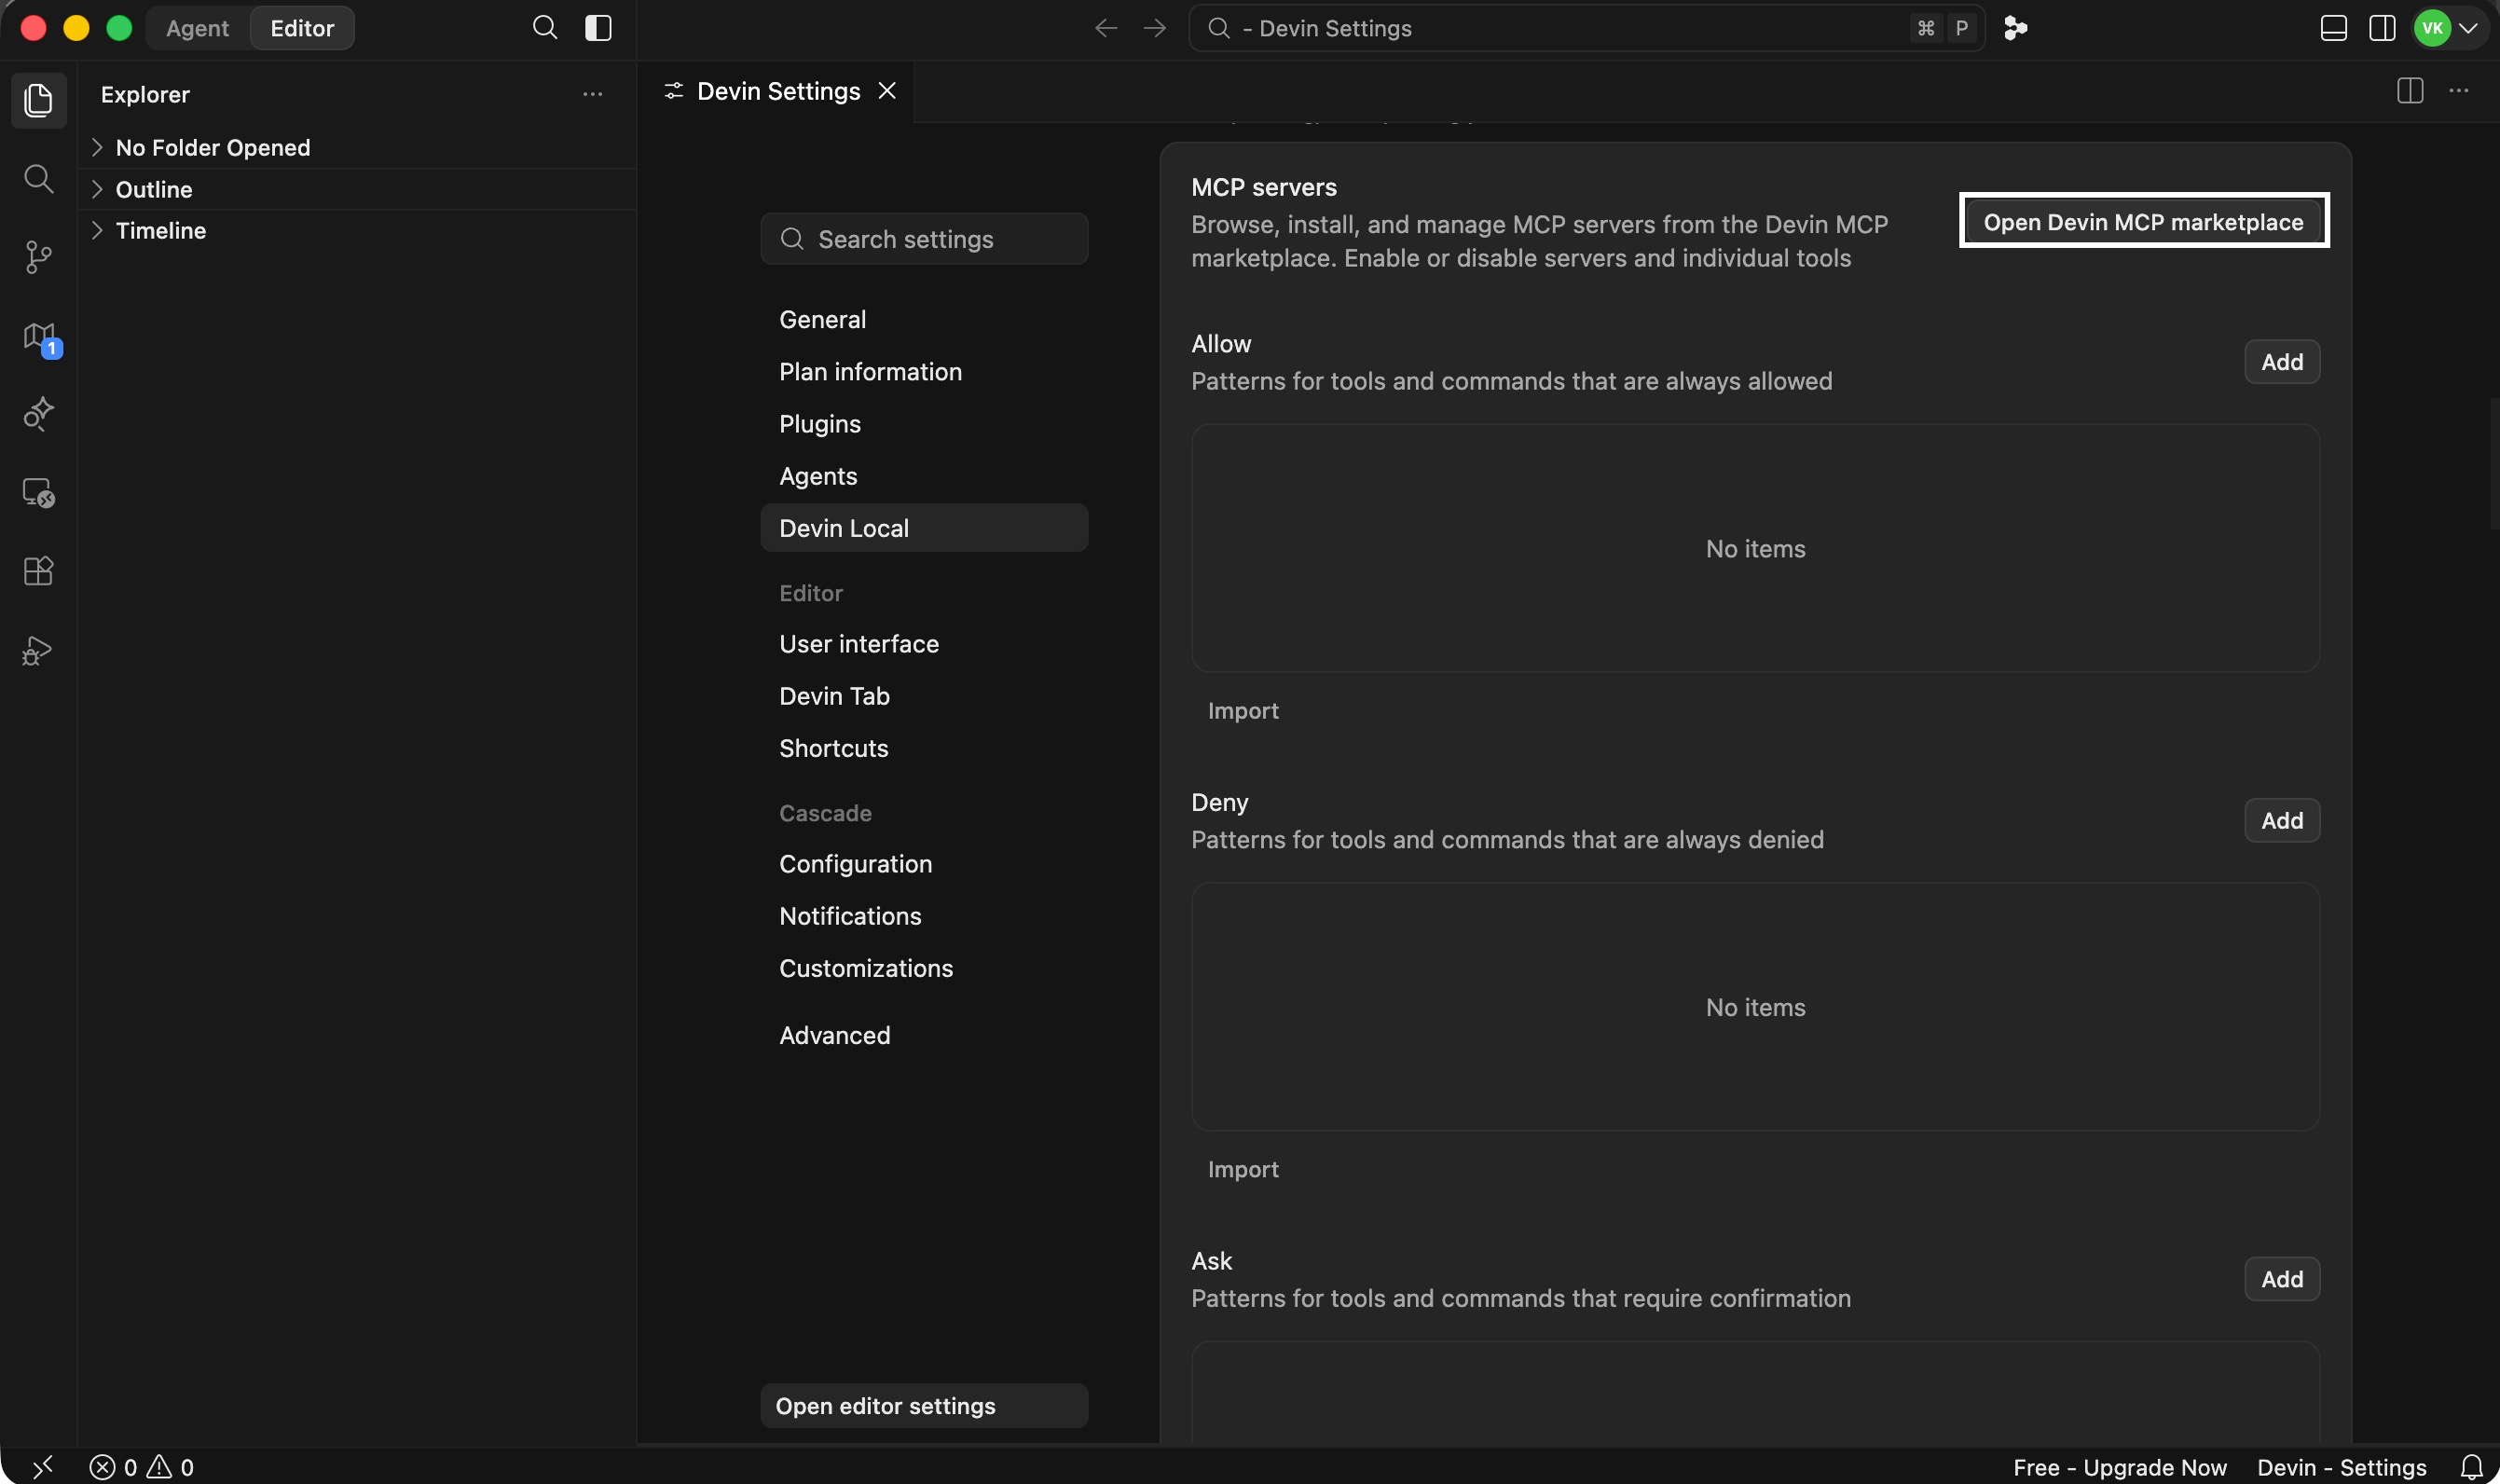
- Select Devin Local from left pane and click Open Devin MCP Marketplace.
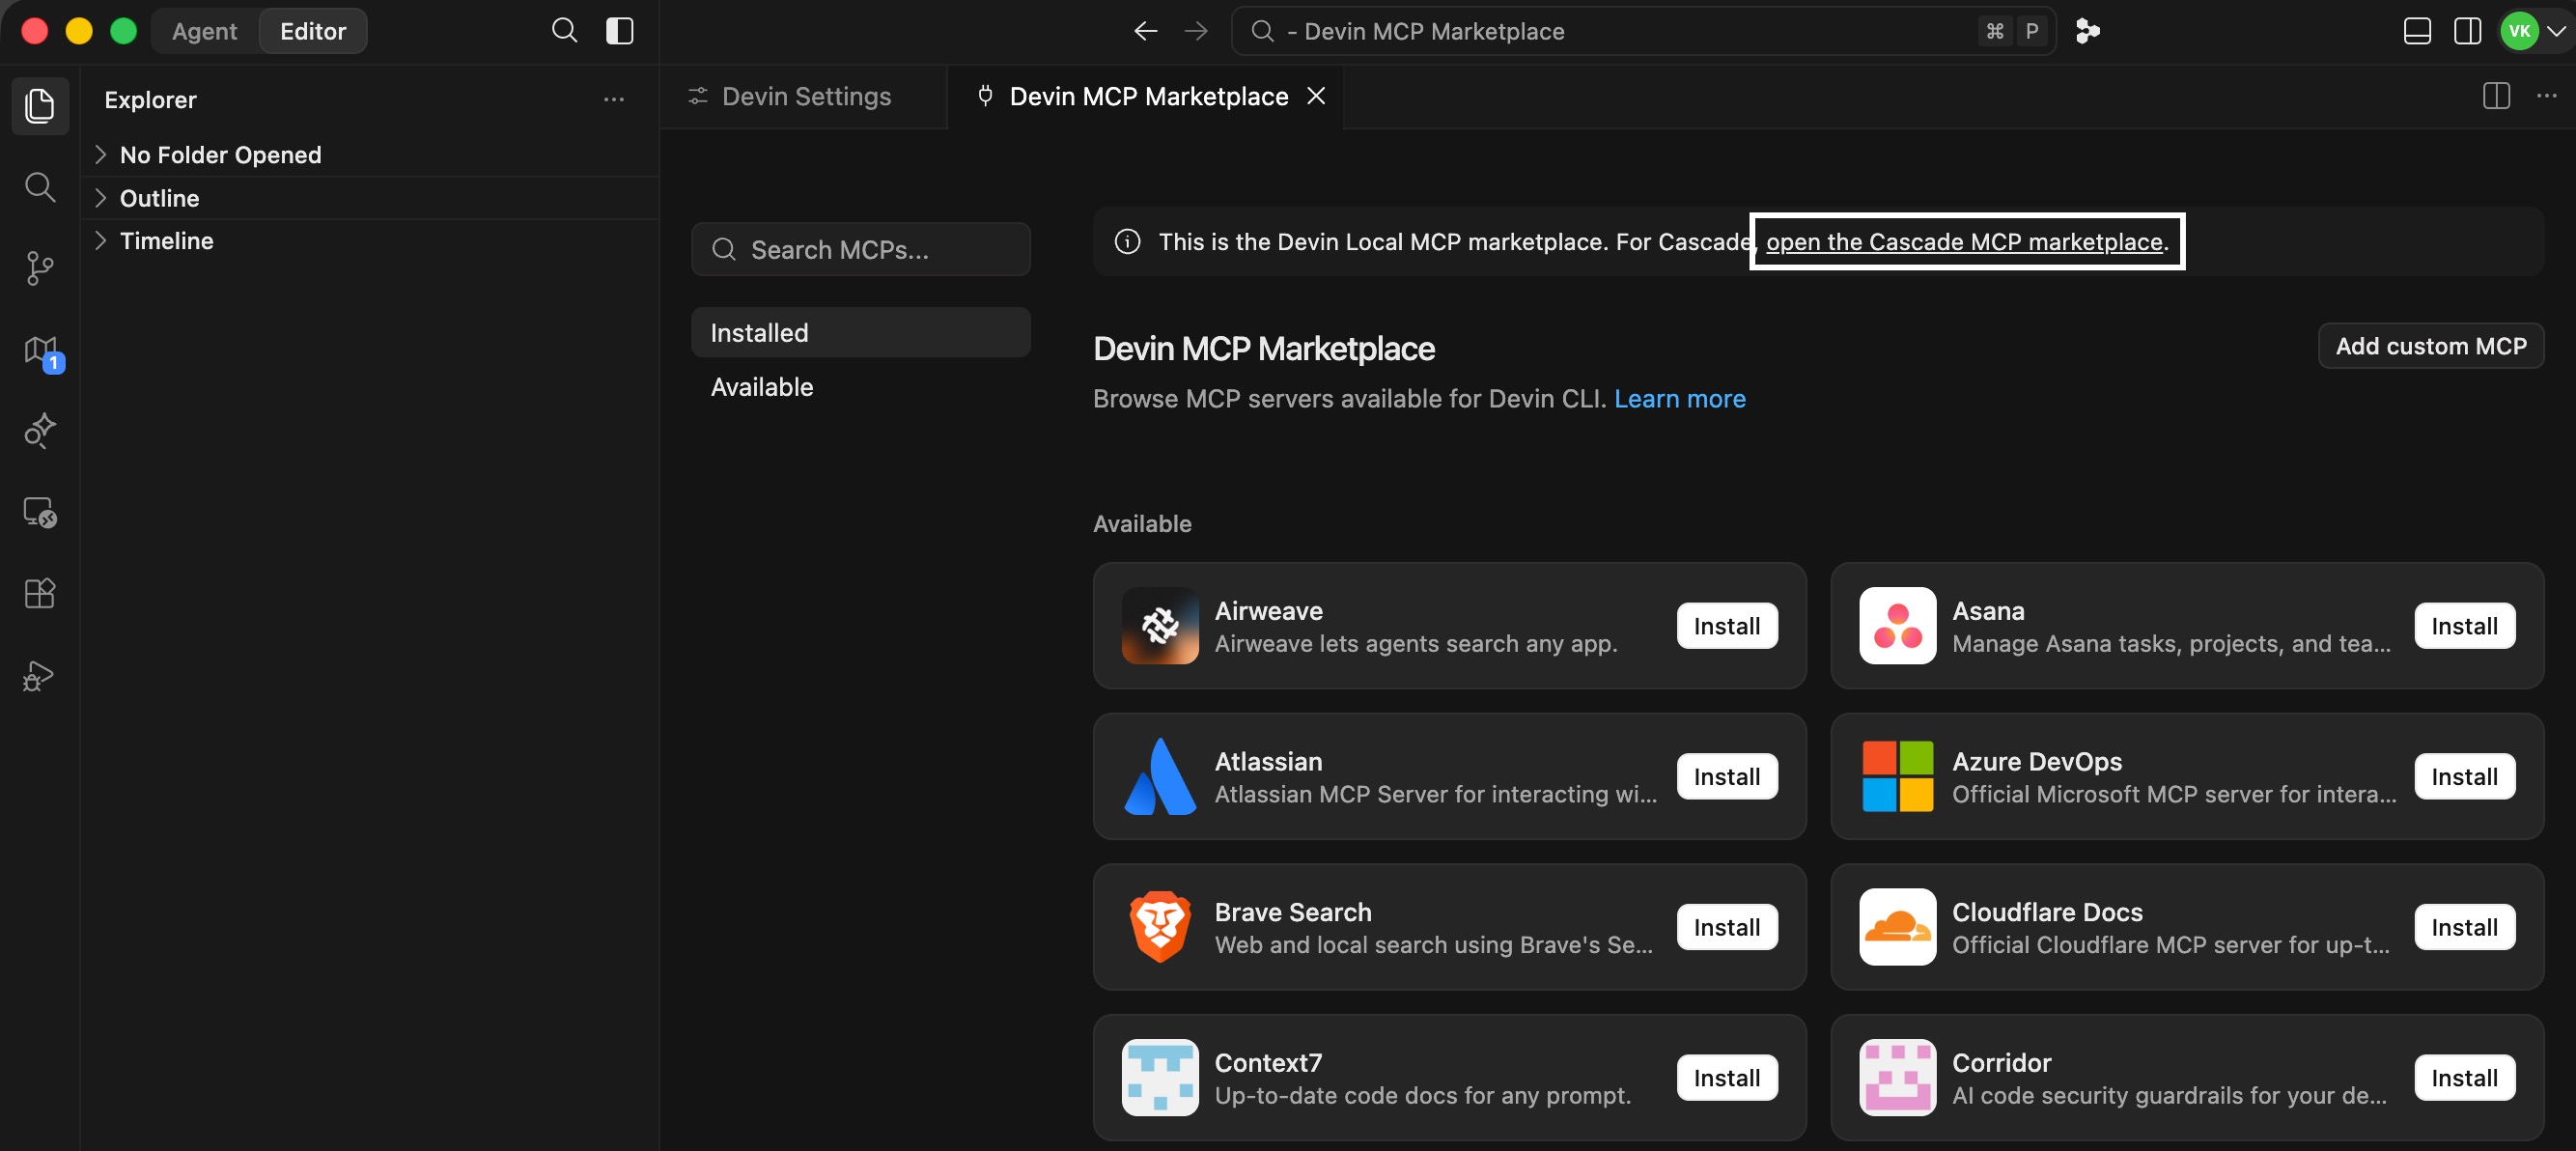
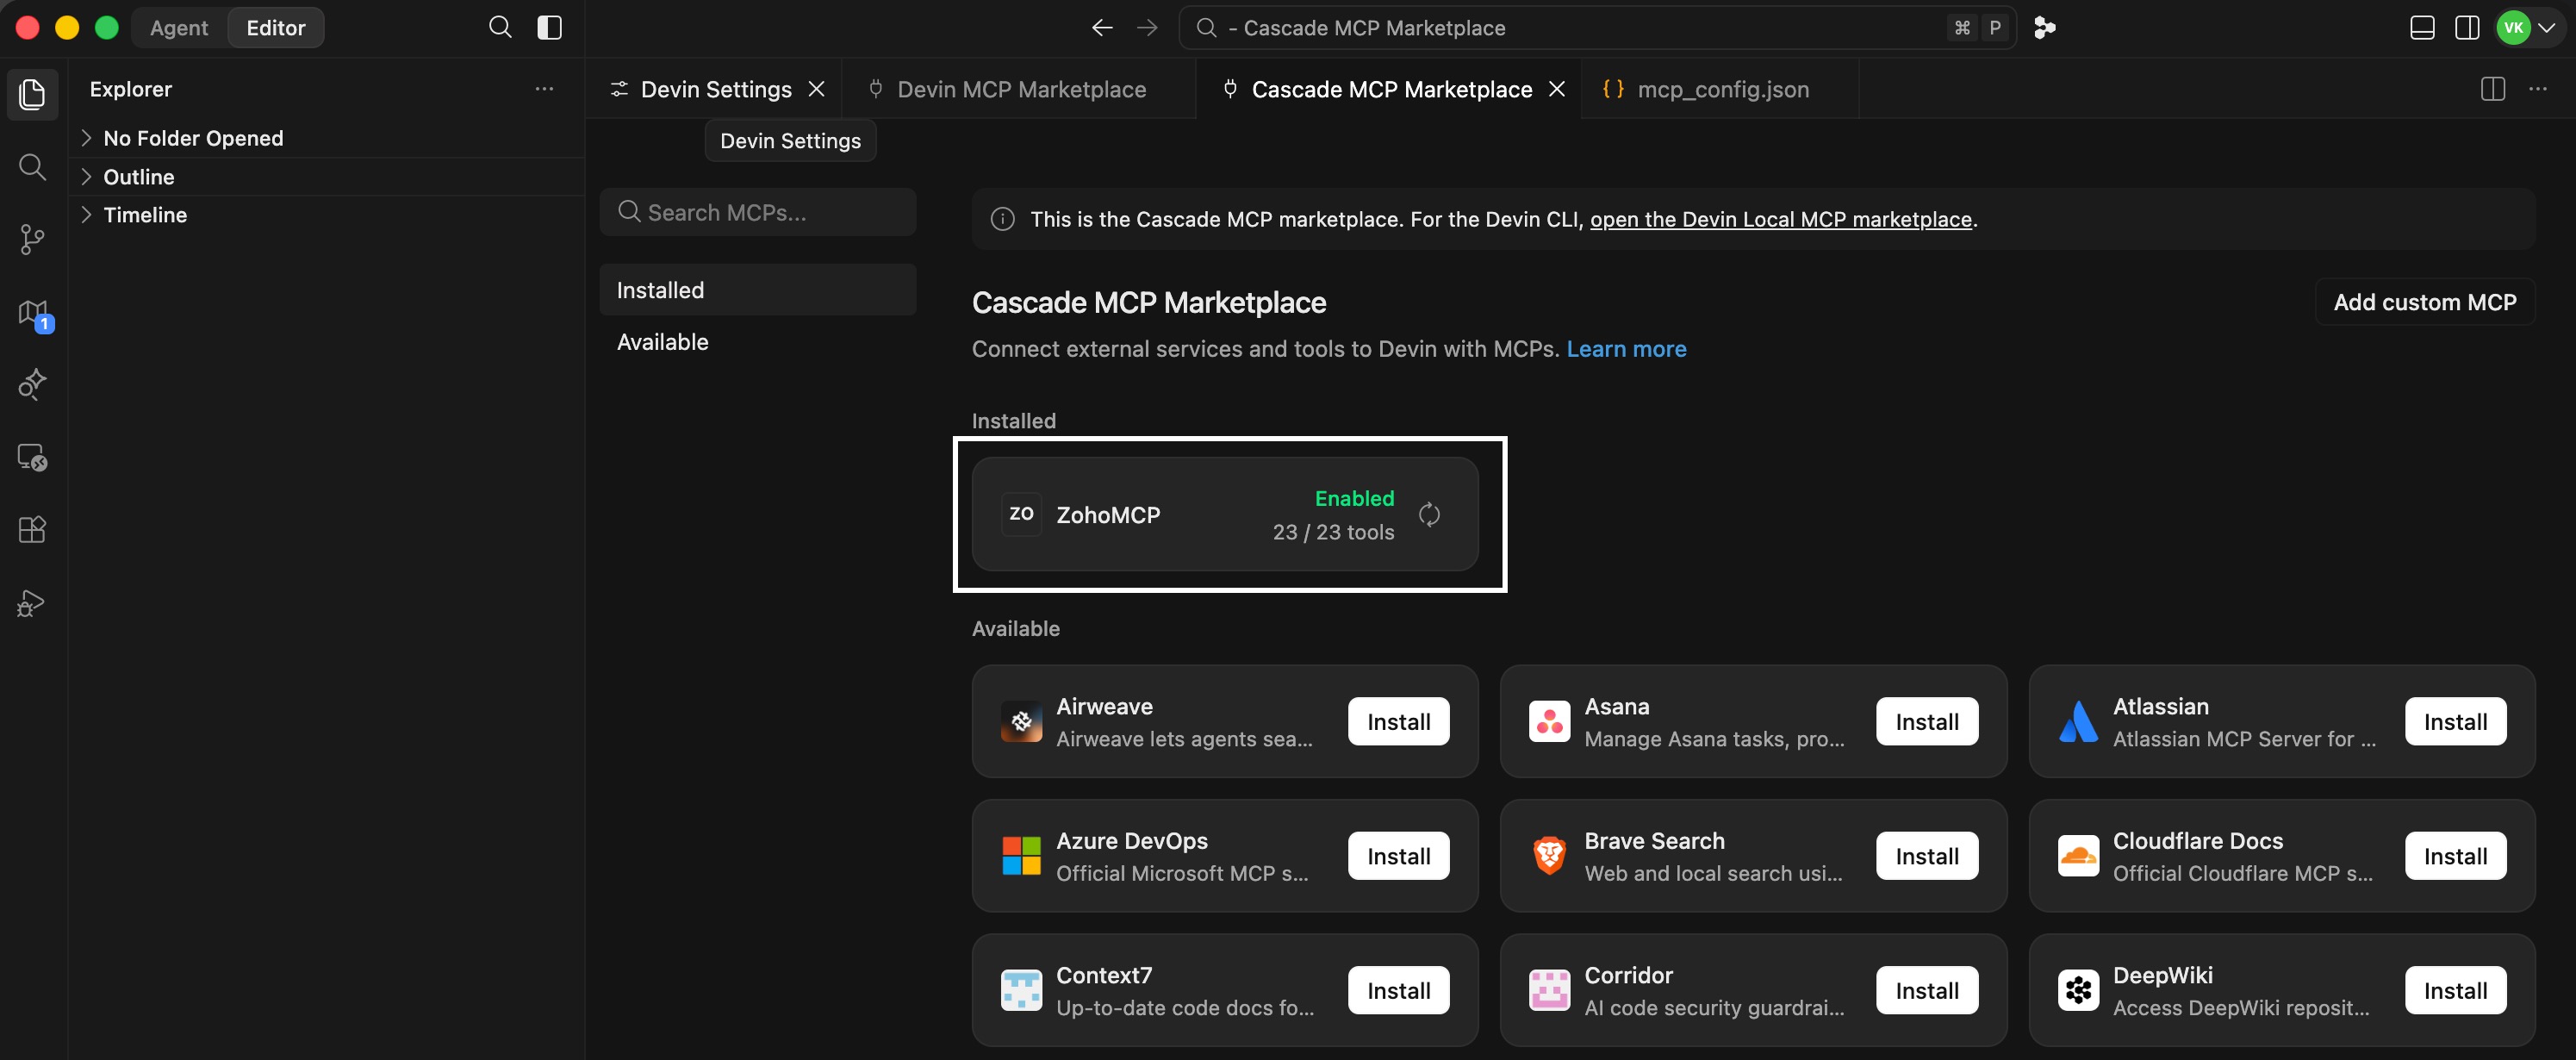
- In the Devin MCP Registry that opens, click the link open the Cascade MCP marketplace in the banner displayed at the top of the page.
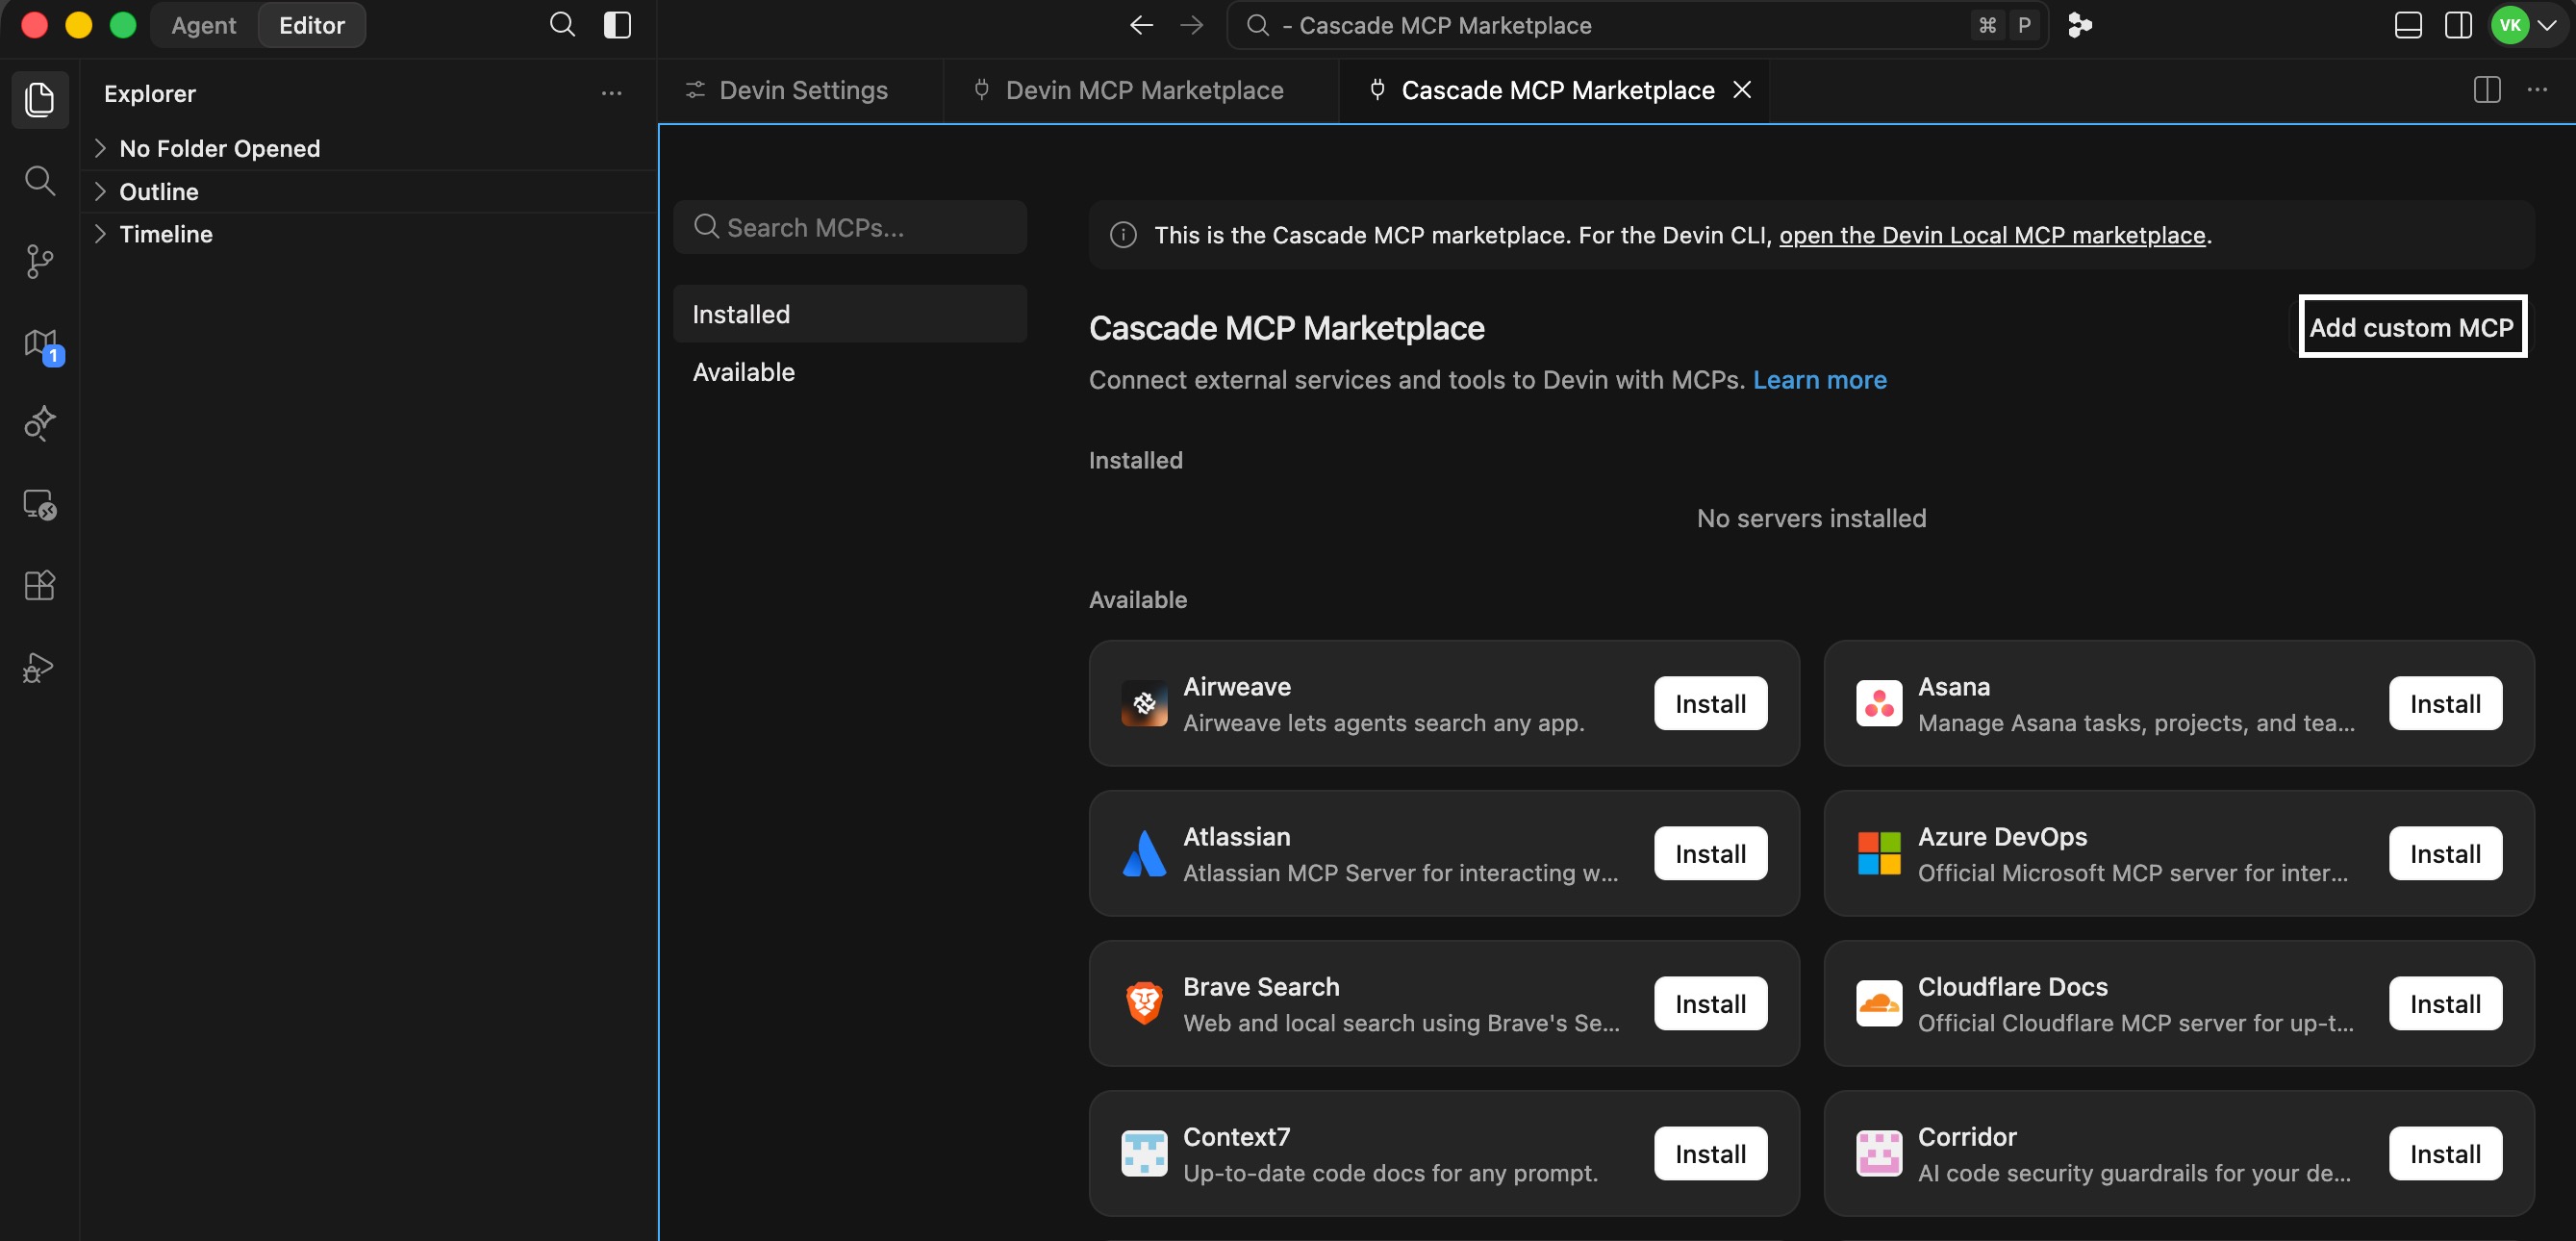
- In the Cascade MCP Marketplace, click Add custom MCP.
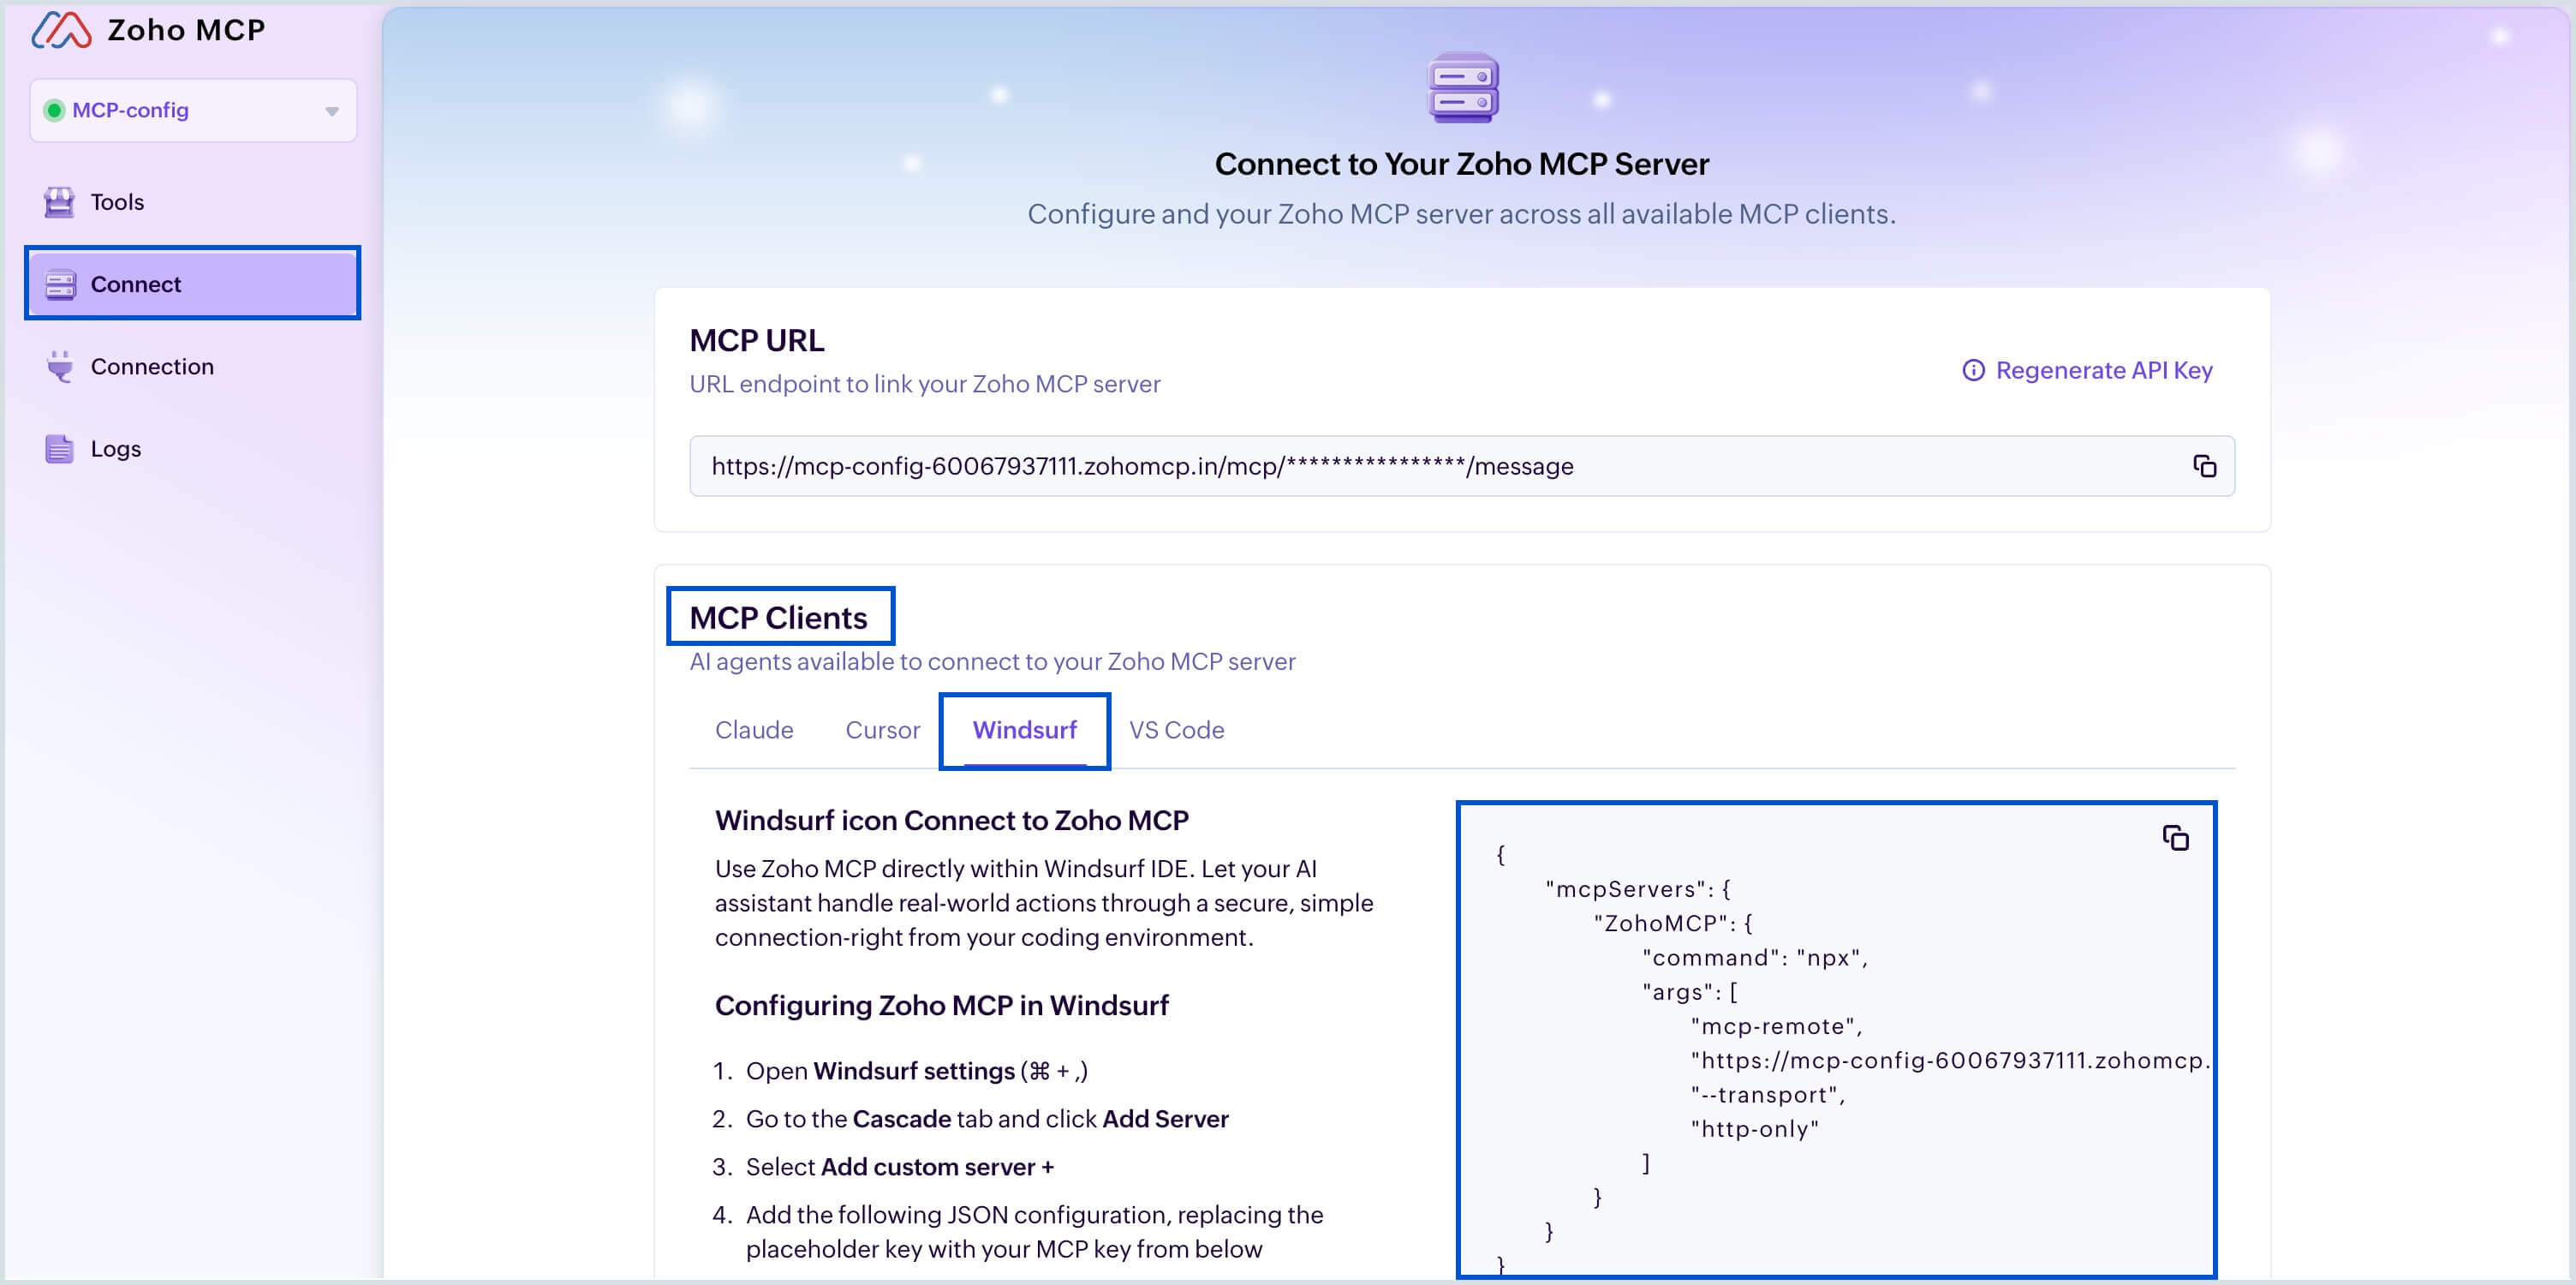
- The mcp_config.json file opens in the editor. Copy the JSON configuration code snippet available under the Connect > MCP Clients > Windsurf tab from the Zoho MCP server console.
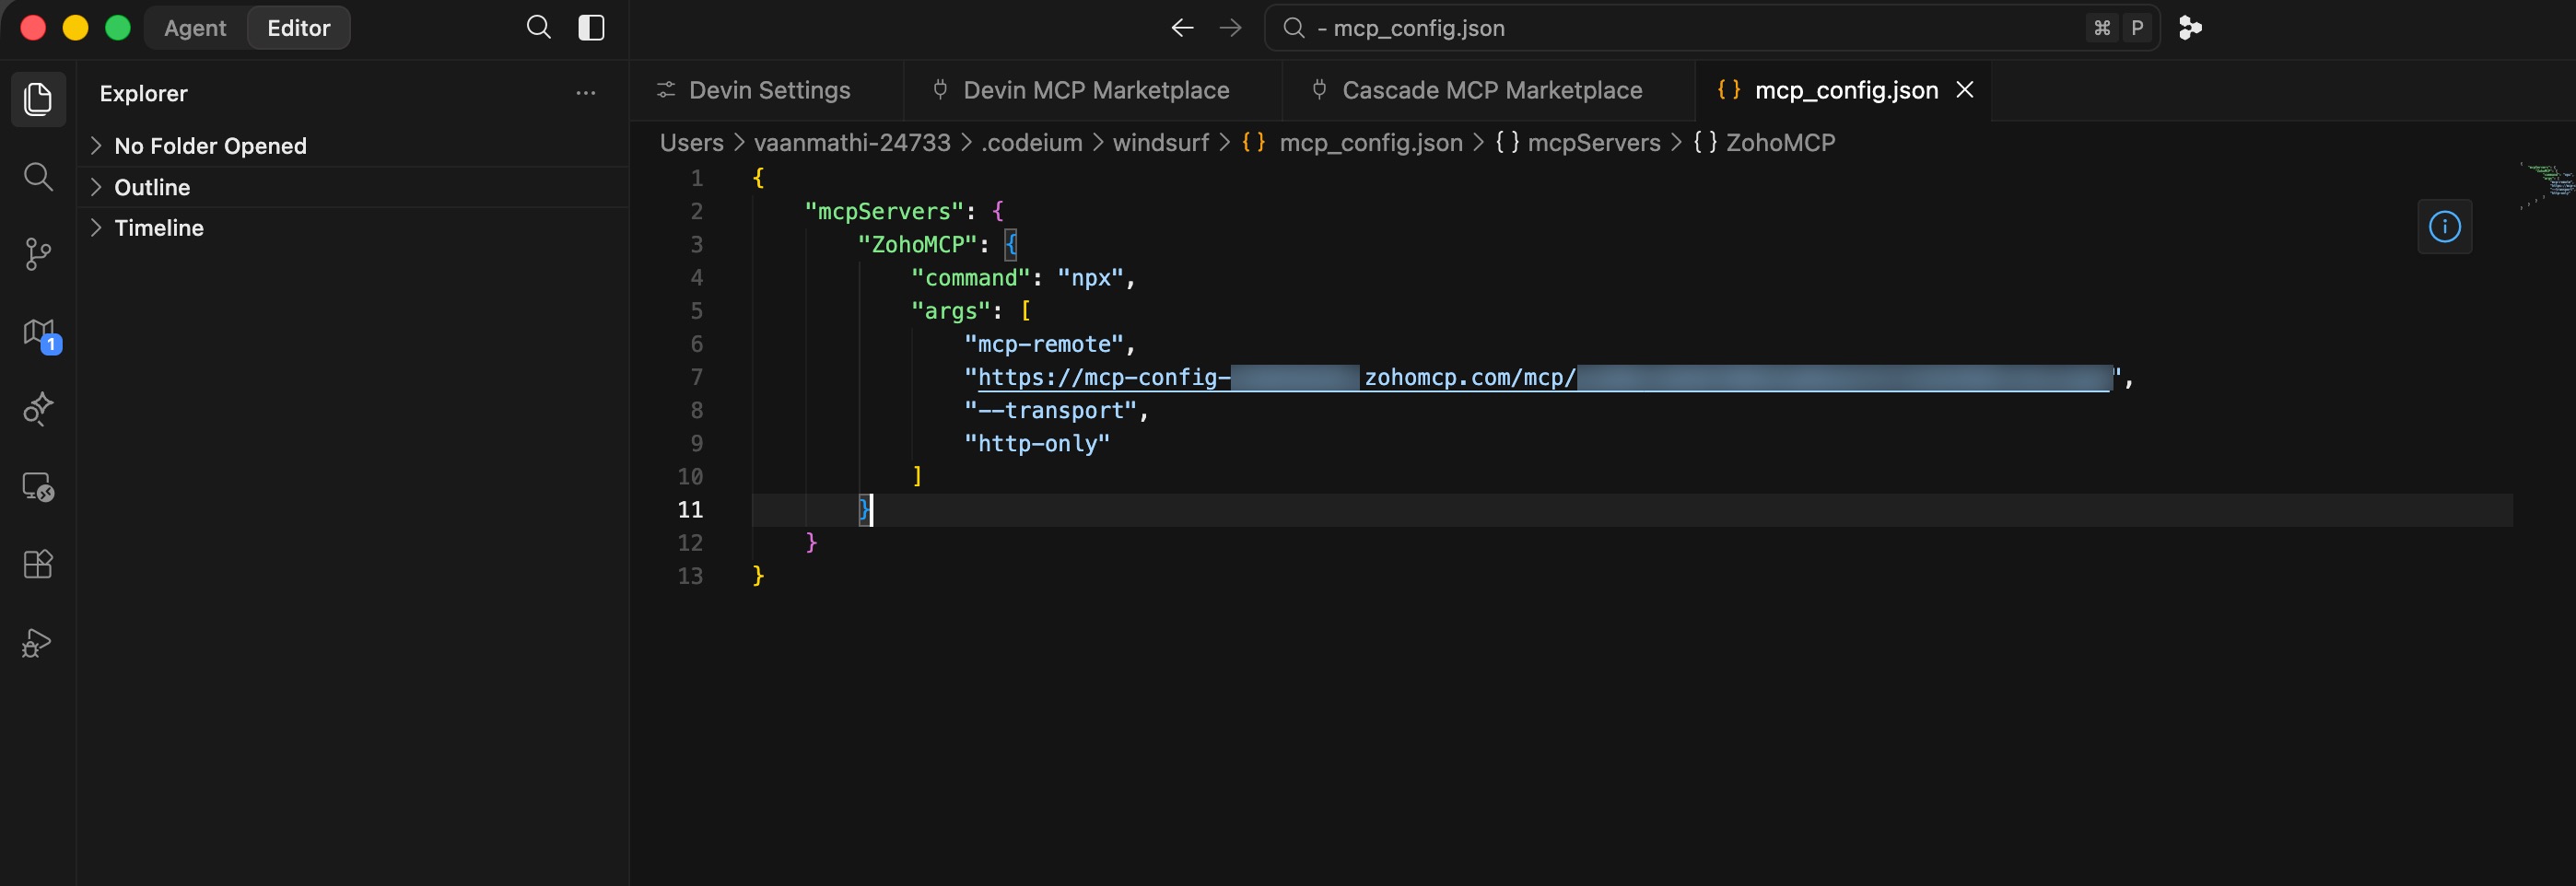
- Now paste this copied code snippet to the mcp_config.json file and save it to proceed with the connection setup.
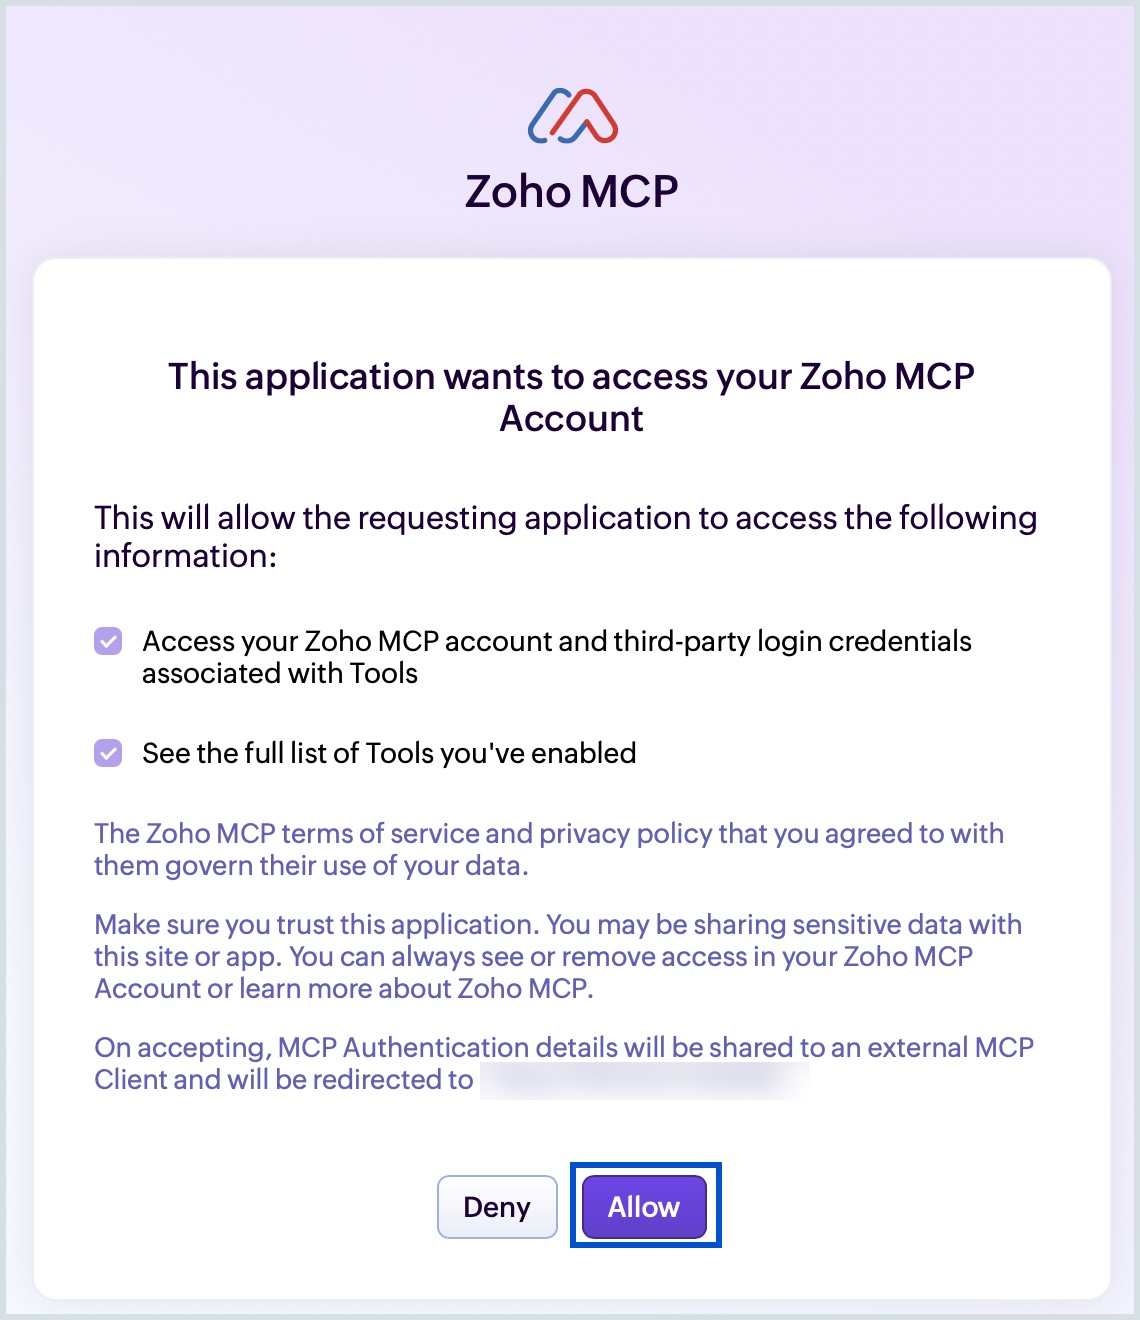
- Devin will automatically initiate the authentication process. You will be directed to the Zoho MCP authorization screen in your local host. Click Allow.
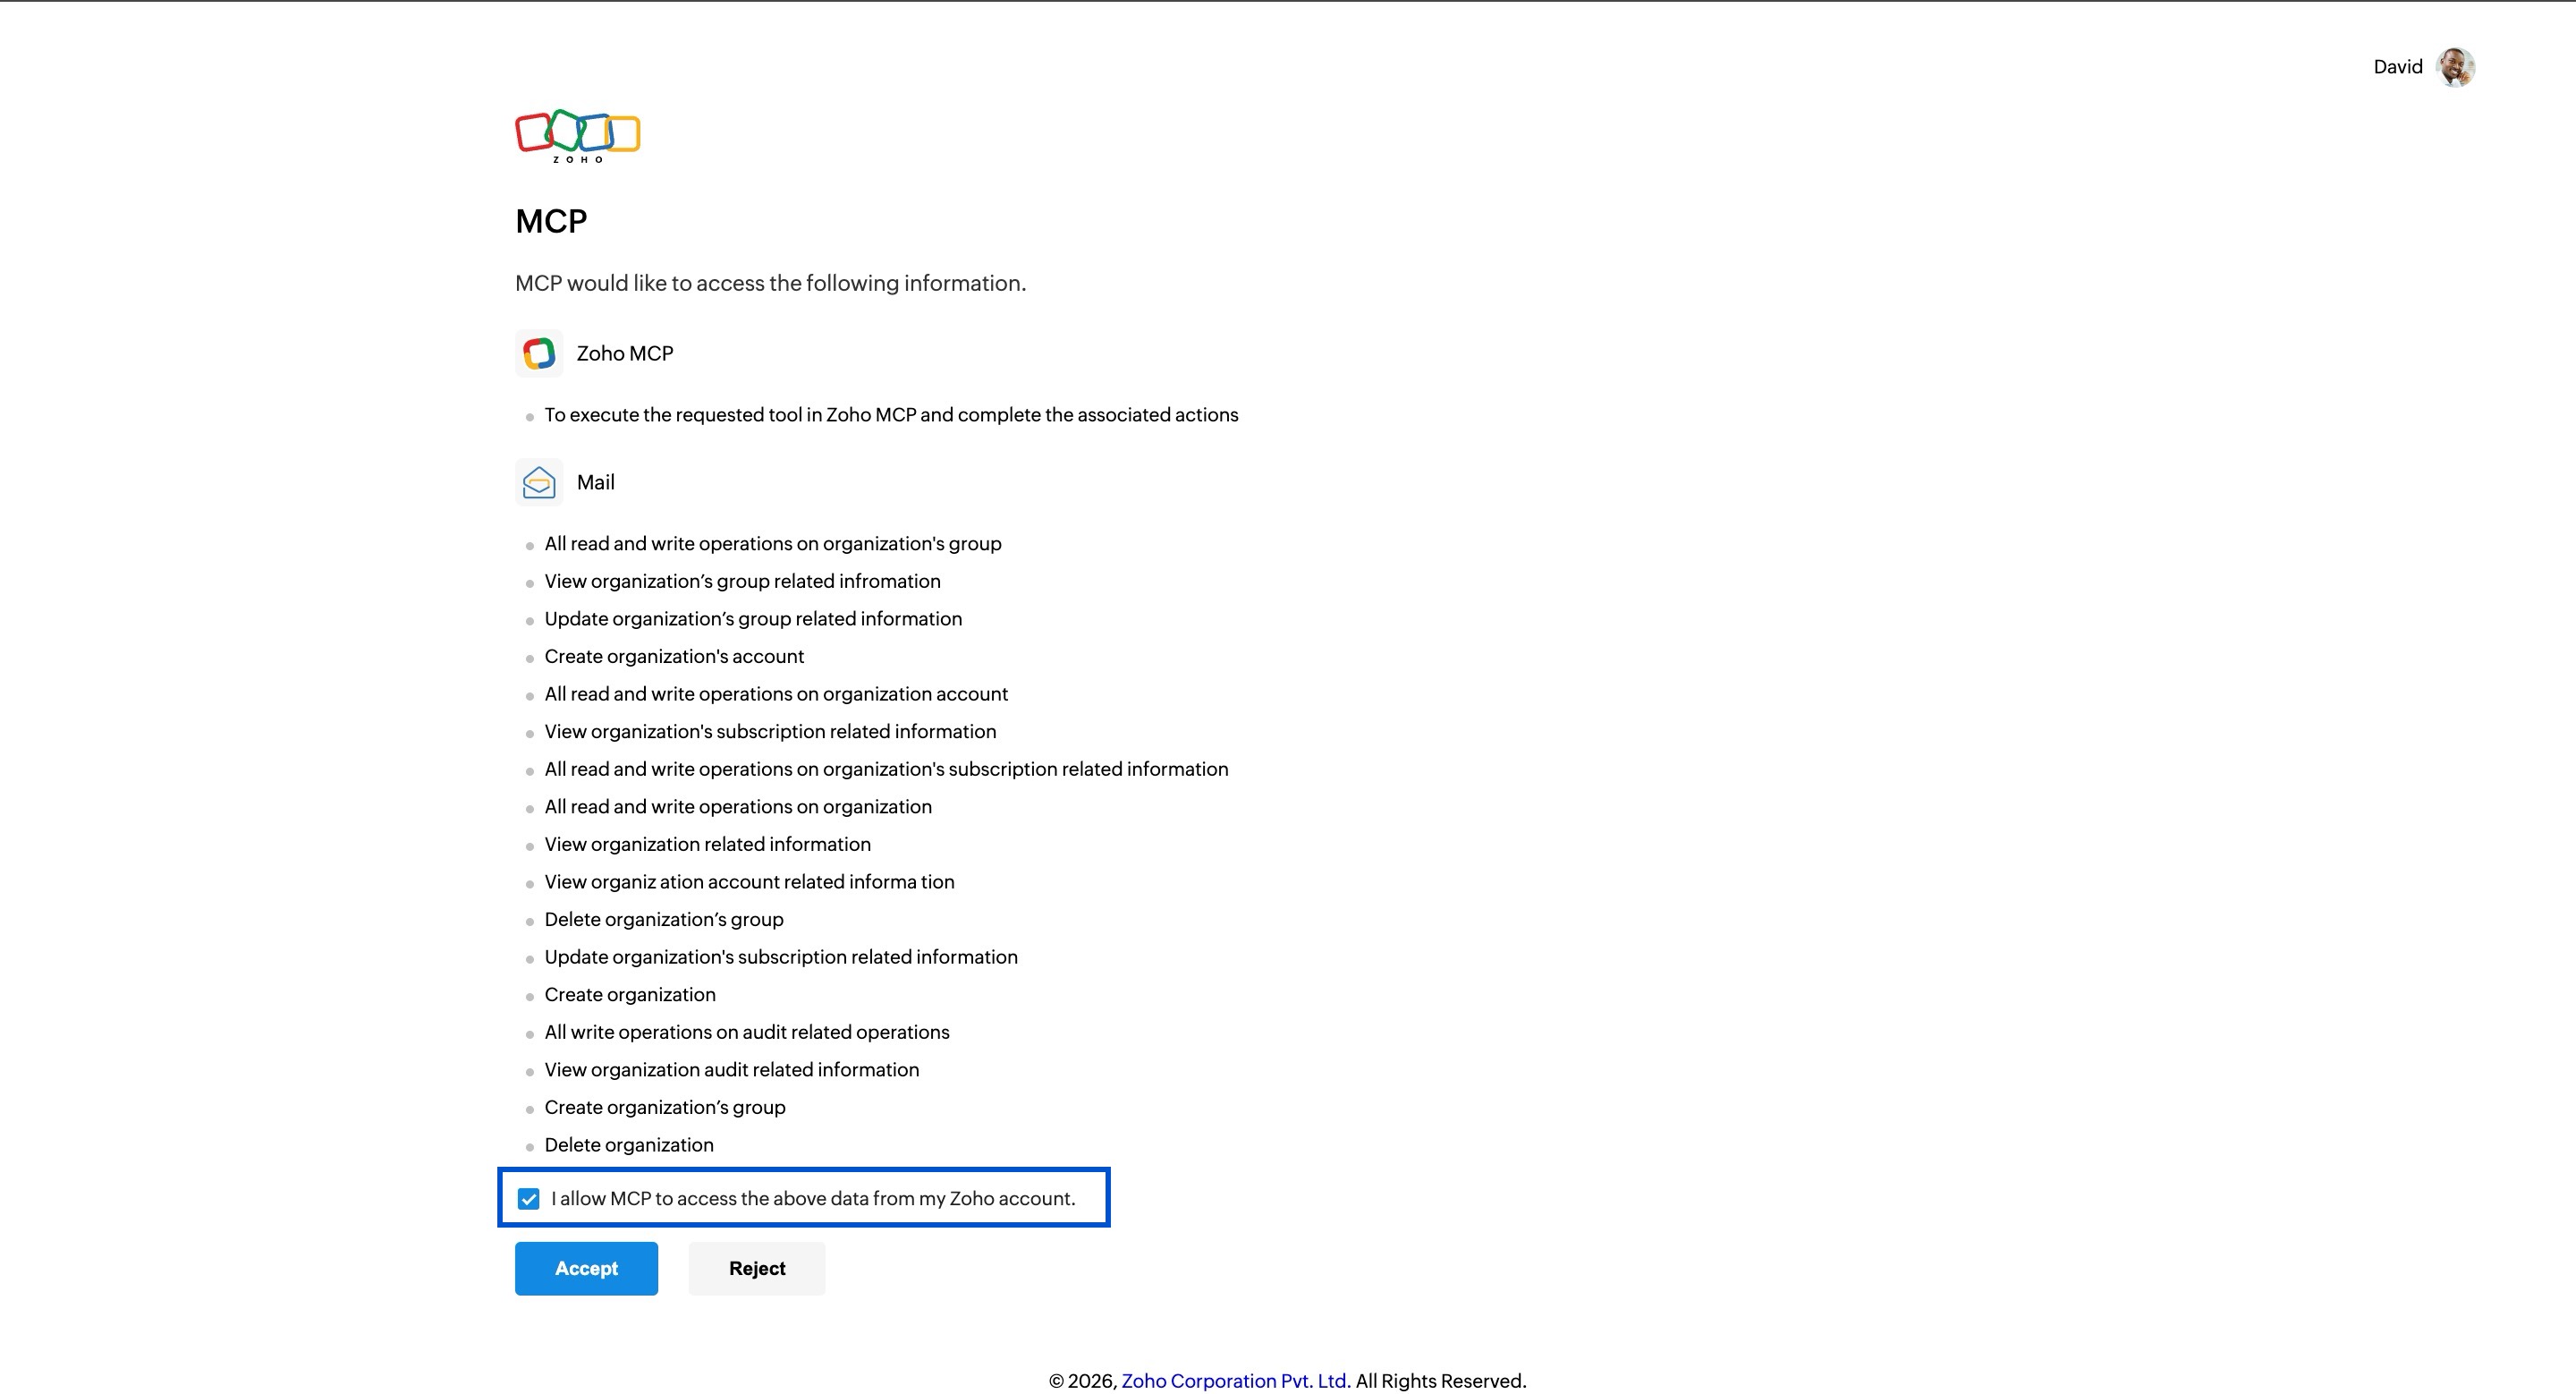
- Review the mail permissions, select the checkbox and click Accept in the authorization page to grant permission.
- Once authorization is completed, return to the Cascade MCP Marketplace and verify that the added server ZohoMCP appears under the installed MCP servers.
- Then, return to the Devin MCP Marketplace and click Connect next to ZohoMCP to connect it with the Devin CLI.
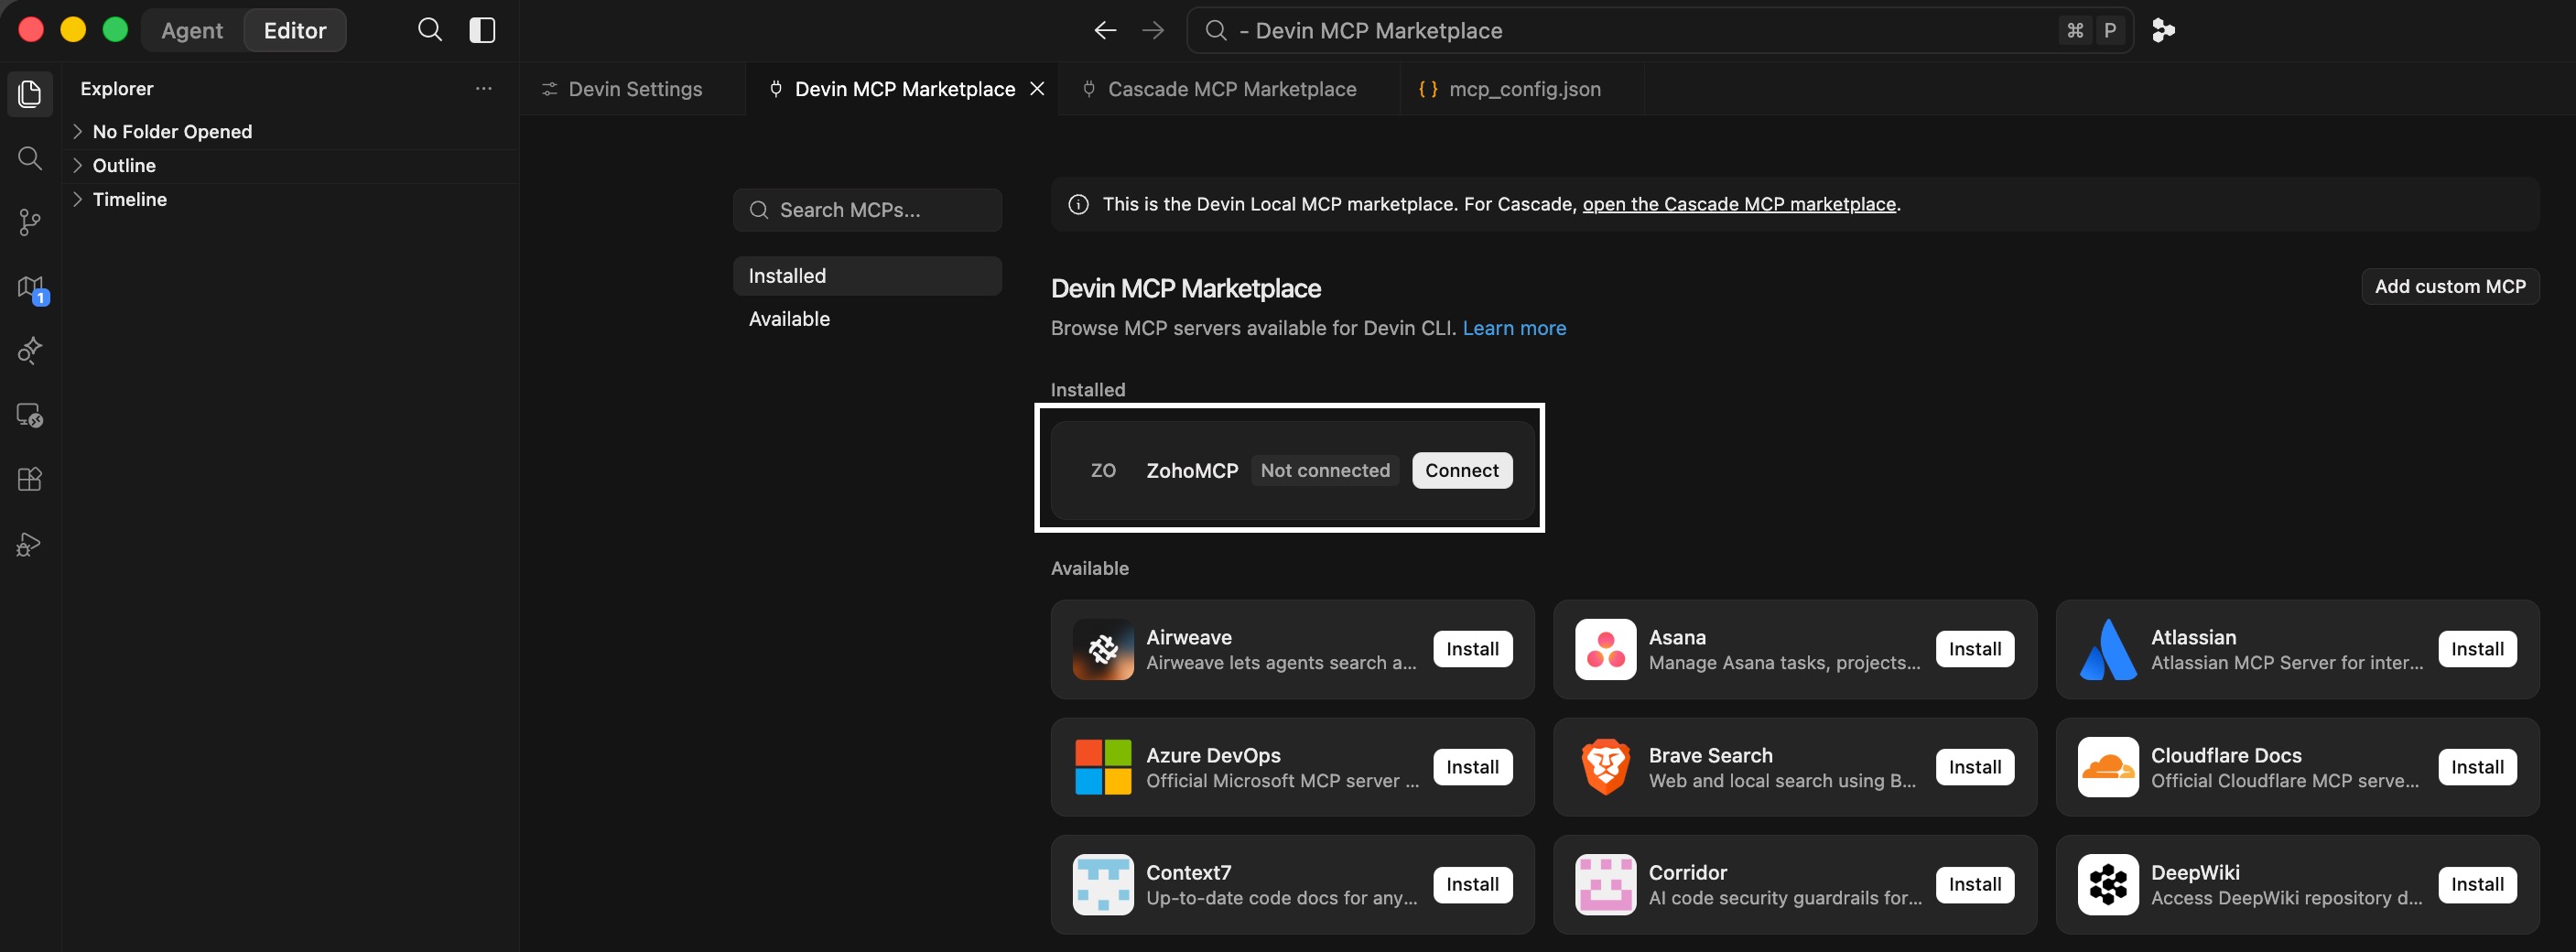
Now your configured Zoho MCP server is enabled in Devin desktop app along with the added Zoho Mail tools.