

Other Actions for Credit Note

Edit Credit Note
You can change the details of your existing credit note. Here’s how:
- Go to Sales > Credit Notes.
- Select the credit note you want to edit.
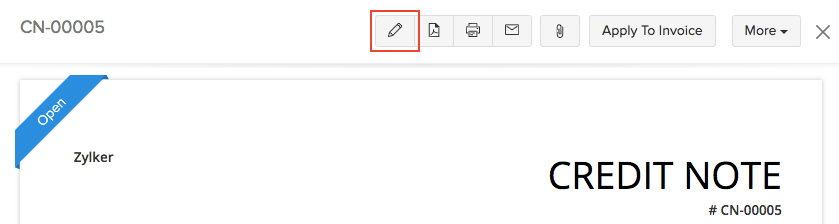
- Click the Edit icon in the top right side of the page.
- Make the changes and save the credit note.
Insert Headers as Line Items
You can insert headers to group related line items in your credit note. When you have many line items, headers break the list into clear sections so your customers can scan the credit note more easily. For example, you can add a header such as Maintenance Services, Hardware Items, or a project name and group the related line items under it. You can also insert multiple headers to your credit note.
To insert a header row in your credit note:
- Go to Sales on the left sidebar and select Credit Notes.
- Click + New in the top right corner to create a credit note, or select an existing credit note and click Edit to modify an existing one.
- In the Item Table, click the More icon next to the required line item, and select Insert New Header. Alternatively, you can click the dropdown next to + New Row below the Item Table and select New Header.
- Type the title for the header.
- Fill in the required fields and click Save.
The header will be added as a row and the line items below it will remain unchanged. To remove a header, click the Remove icon to the right of it.
Insight: Removing a header does not remove the line items below it.
Insert Subtotals as Line Items
A subtotal row displays the total of the line items above it in your credit note. It includes all line items between the previous subtotal and the current subtotal, or all line items from the beginning of the credit note if no previous subtotal exists. It is calculated automatically and updates whenever line items are added, edited, or removed. For example, you can add a subtotal for a group of hardware items or a project. You can add multiple subtotals to a credit note.
Note: The line item subtotal feature is supported only in the Global, Canada, and US editions.
To insert a subtotal row in your credit note:
- Go to Sales on the left sidebar and select Credit Notes.
- Click + New in the top right corner to create a credit note, or select an existing credit note and click Edit to modify an existing one.
- In the Item Table, click the More icon next to the required line item, and select Insert New Subtotal. Alternatively, you can click the dropdown next to + New Row below the Item Table and select New Subtotal.
- The subtotal row will be inserted.
- Fill in the required fields and click Save.
The subtotal will be added as a row and the line items below it will remain unchanged. To remove a subtotal, click the Remove icon to the right of it.
Insight: Removing a subtotal does not remove the line items below it. The line items remain in the credit note and are included in the final total.
Download Credit Note
You can download your credit note as a PDF. Here’s how:
- Go to Sales > Credit Notes.
- Select the credit note you want to download.
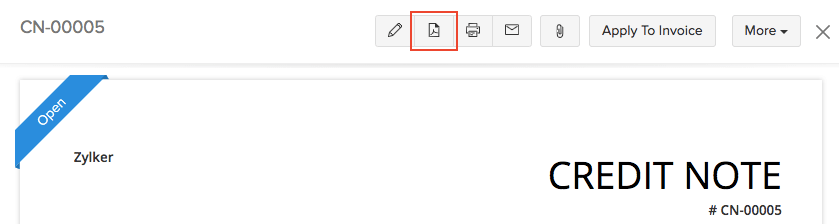
- Click the PDF icon on the right side of the page.
Void Credit Note
Sometimes, you might not want a credit note to be a part of your sales transactions. At the same time, you might not want to delete it either. In such a case, you can choose to void the credit note. Here’s how you can do it:
- Go to Sales > Credit Notes.
- Select the credit note you wish to void.
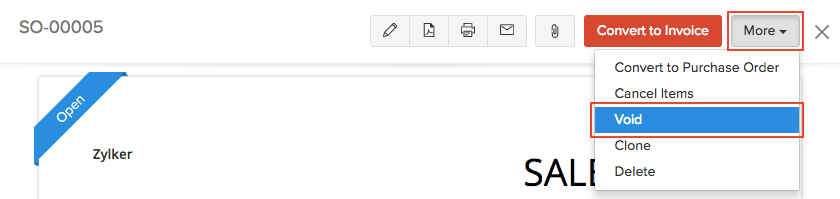
- Click More > Void.
- Enter the reason to void.
- Click Void it.
If you want to make the credit note active again, you can convert it to draft. Here’s how:
- Go to Sales > Credit Notes.
- Select the credit note (in the Void status) that you want to make active.
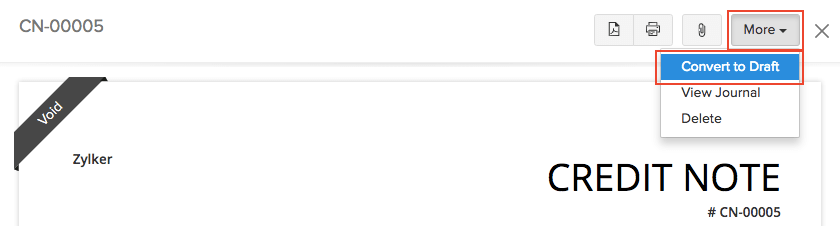
- Click More > Convert to Draft.
- Enter the reason to make the credit note active.
- Click Convert to Draft.
Note:
If you unvoid a credit note, it will be in the Draft status by default. You would have to convert the credit note to open for it to be an active transaction again.
Attach Files to Credit Note
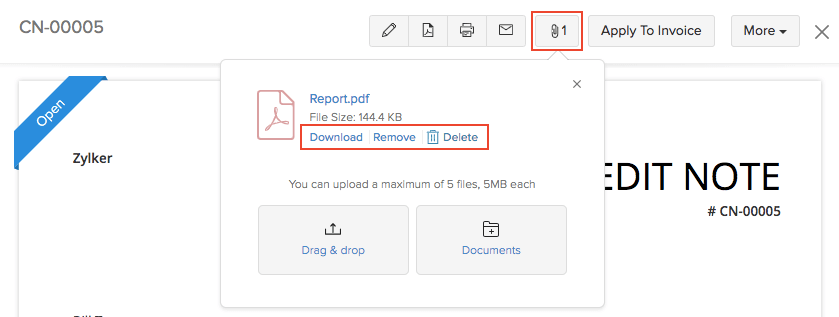
You can attach up to 5 files to each credit note. The size limit for each file is 5 MB.
To attach files to your credit note:
- Go to Sales > Credit Notes and select the credit note to which you want to attach the file(s).
- Click the Attach icon in the top right corner of the page.
- Select your upload option.
Upload options
| Options | Description |
|---|---|
| Drag & Drop | Upload files from your system. |
| Documents | Upload files from documents saved in your Zoho Books account. |
You can Download, Delete or Remove the files by clicking the options below the uploaded files.
Note:
- If you Delete a file, it will be permanently deleted from your account.
- If you Remove a file, it will be removed from the transaction but will still be present in your documents tab.
Print Credit Note
To print a credit note:
- Go to Sales > Credit Notes and select the credit note you want to print.
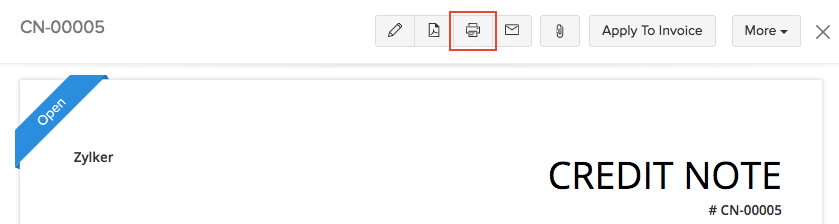
- Click the Print icon on the right side of the page.
- Check the preview and click Print.
Filter Credit Notes
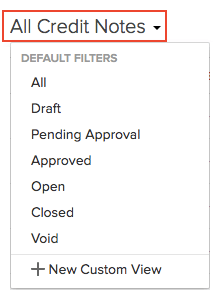
You can filter credit notes based on their status. Here’s how:
- Go to Sales > Credit Notes.
- Click the All Credit Notes dropdown in the top of the page.
- Select the credit note status to filter accordingly.
Custom Views
You can create custom views to filter credit notes based on criteria you set. Learn more about Custom Views.
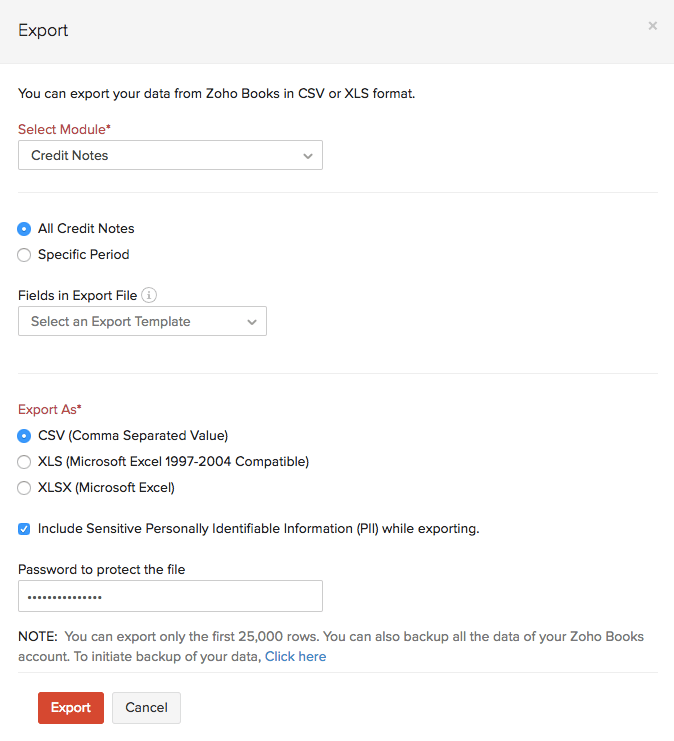
Export Credit Notes
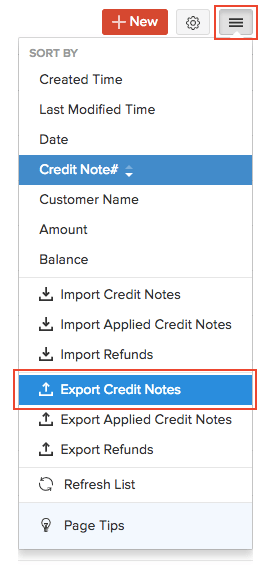
You can export all your credit notes in Zoho Books in CSV, XLSX or XLS format. Here’s how:
- Go to Sales > Credit Notes.
- Click the More icon on the top right side of the page.
- Select Export Credit Notes.
- Select the format of the export under Export As, and fill in the other necessary fields.
- Click Export.
Related >
 Yes
Yes