Manage expenses
Filters
To view only a particular type of expense, you can make use of the filters that are available at the top left corner of the page. For example, if you would like to view those expenses that were converted to invoices, choose the Invoiced option from the filter. Now the expenses that were invoiced to the customers alone will be displayed.

All:
All the expenses irrespective of any status, would be listed if this filter is chosen.
Unbilled:
Expenses that are yet to be converted or added into an invoice will be listed under this filter.
Invoiced:
Expenses which were converted to invoices, but yet to receive payment would be listed here.
Reimbursed:
Expenses which were paid by the customers would be listed here.
Billable:
Expenses that were converted and yet to be converted to invoices are listed here.
Non-Billable:
Expenses which cannot be converted to invoices are listed here.
With Receipts:
Expenses with receipts attached to them.
Without Receipts:
All expenses that doesn’t contain receipts are listed here.
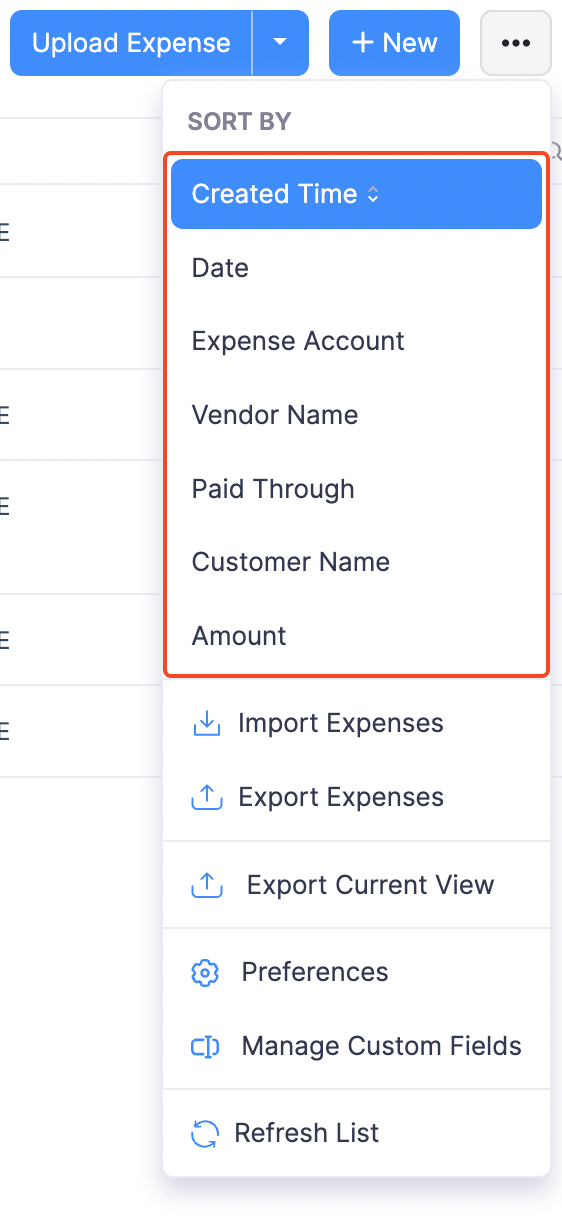
Sorting:
Expenses can be sorted by:
Created Time
Date
Expense Account
Customer Name
Amount

Custom Views
Custom Views are specific filters to list your expenses based on your criteria.
For example, out of all your expenses in Zoho Billing, you might want to view those expenses that are greater than $1000.
With Custom Views, you can simply create this filter. All you have to do is set criteria and later use it to classify data.
To create a Custom View:
- Navigate to Expenses.
- Click the filters dropdown in the top-left corner.
- Select + New Custom View.
- Give an appropriate Name to your view, define Criteria and set Column Preference (i.e. columns which you want to see in the filtered results).
- Click Save.
Your new custom field will now be listed under Created By Me, in the filters dropdown.

Export expenses
If you would like to have all your expenses in a single file, you can make use of the export option. You can export the first 25,000 rows of your data at one go.

- Navigate to Expenses.
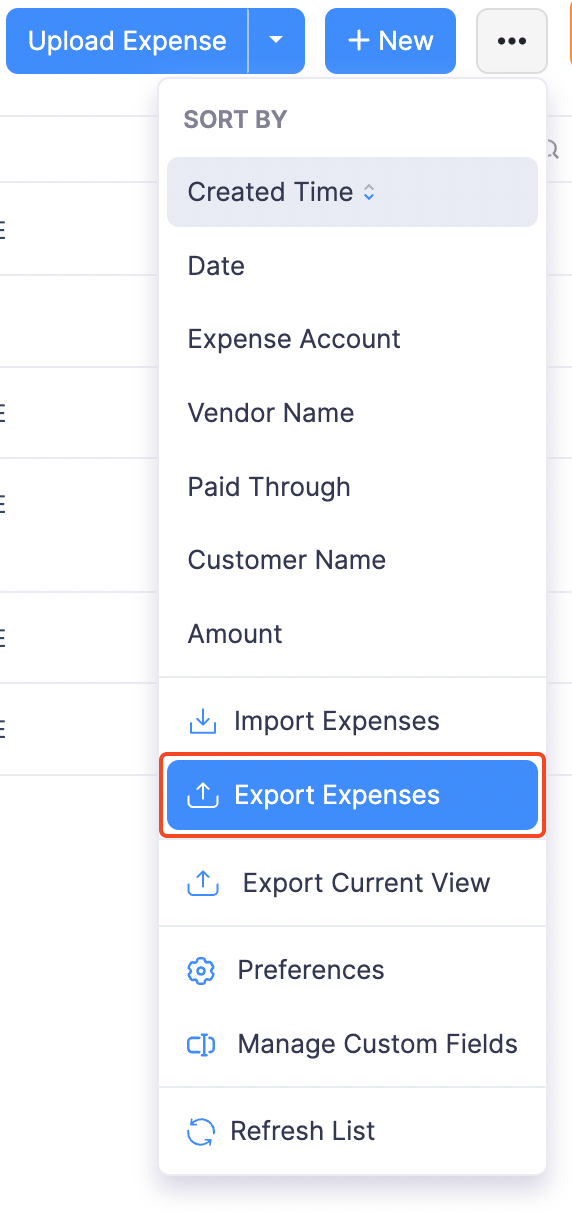
- Click the hamburger icon on the top right corner.
- Select Export Expenses.
- You can choose to export all the expenses or export expenses created only in a particular time period.
- If you would like to export only certain fields, choose them in the Fields section in Export File field.
- Choose the format you want the file to be in.
- Click Export.


 Yes
Yes