Advanced Group Settings
Steps to Access Advanced Group Settings
With Zoho Mail, you can configure personalized settings as per your organization's requirements. Follow these steps to access the Advanced settings of an email group by following the below steps:
- Log in to Zoho Mail Admin Console.
- Navigate to the Control Panel.
- Choose Groups from the left menu.
- All the groups you are a part of will be listed here. Click on any group from the listing.
- Click on the Advanced Settings tab.
You can manage the email policy, notifications, permissions, and much more from Advanced Settings.

Email Policy
Email policies are used to enforce certain restrictions that comply with company guidelines. You can apply an existing email policy to your group by choosing the relevant policy from the dropdown. You can also view the details of the chosen policy by clicking on the View Settings button.

Permissions
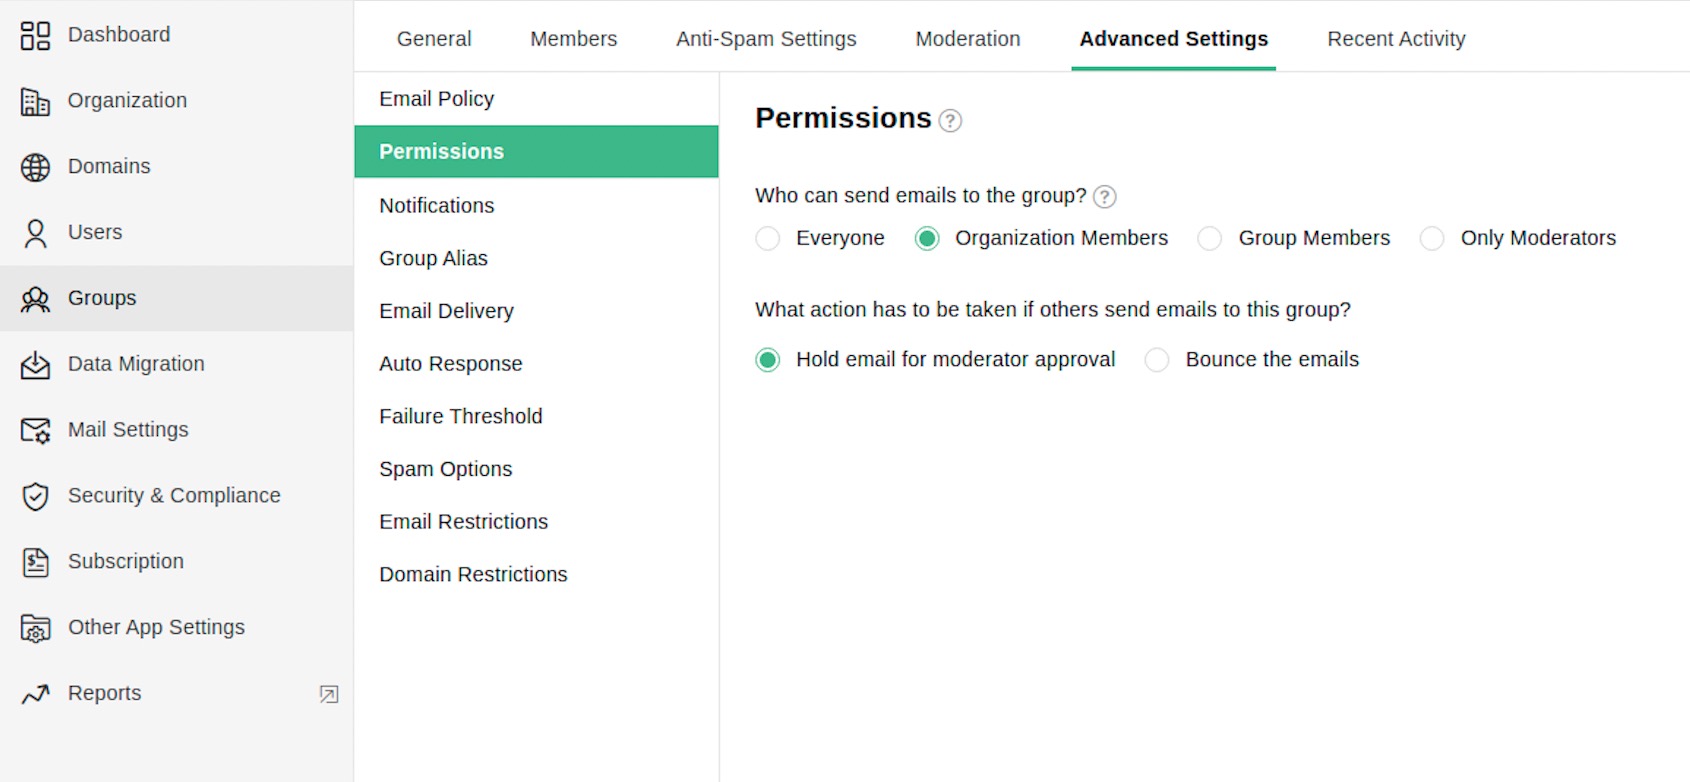
You can modify the following settings from the Permissions section:
- You can choose who can send emails to the group - everyone or organisation members or group members or only moderators.
- And what action has to be taken if others send emails to this group - Hold the email for moderator approval or bounce the email.
Notifications
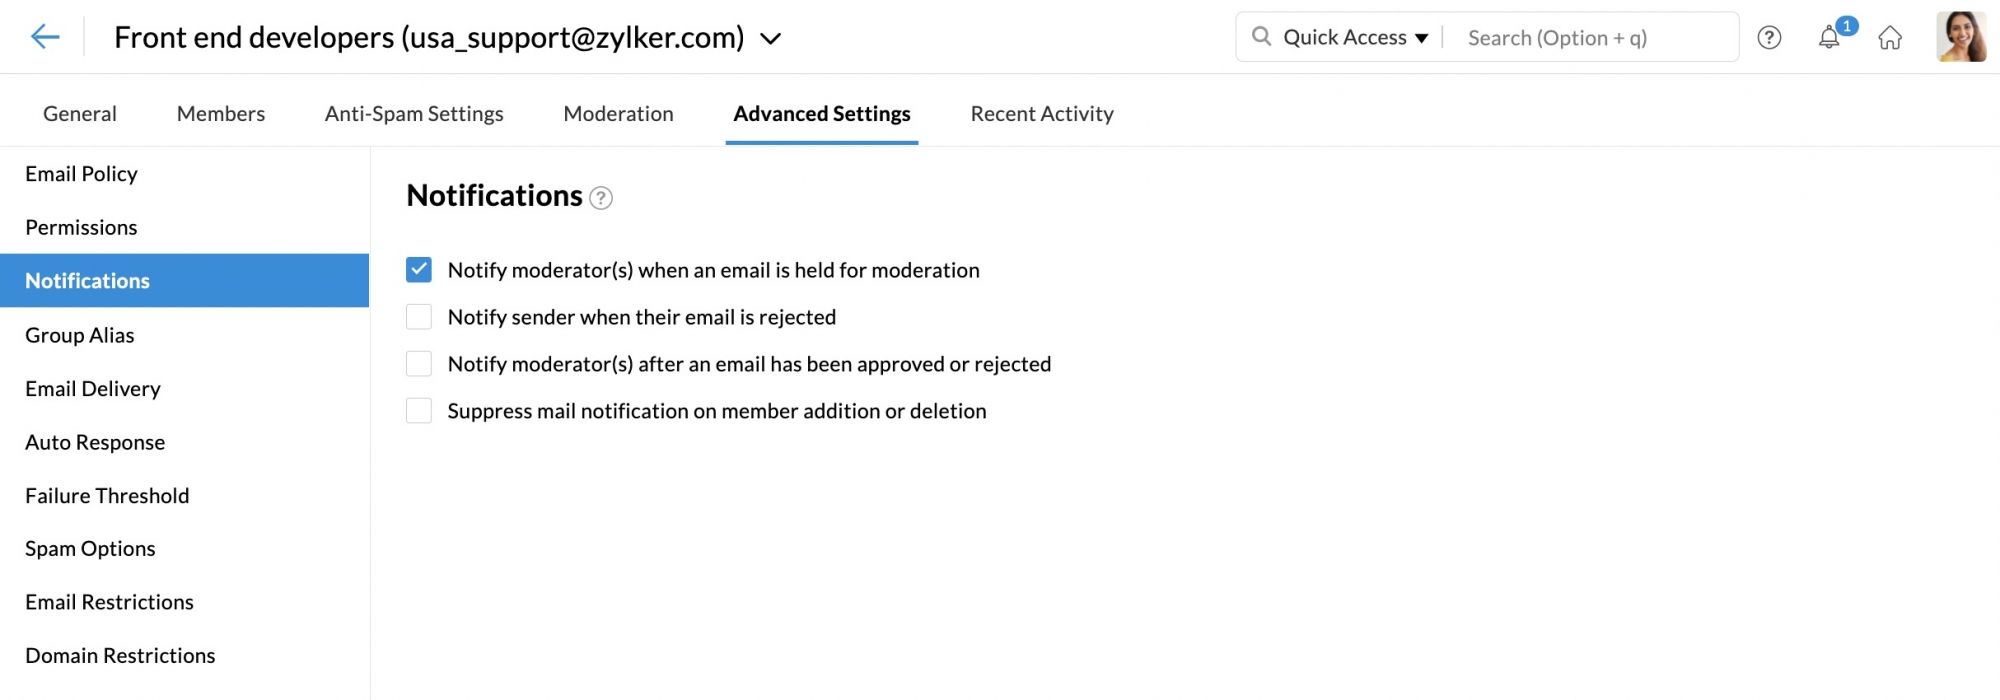
From the Notifications settings, you can enable notifications when the following events occur:
- When an email is sent for moderation
- When an email is rejected
- After an email has been approved or rejected
In addition you can also choose to:
- Suppress mail notification on member addition or deletion
Group Alias
Group email aliases are an additional email address for your group email address. You can send/ receive emails or set forwards on behalf of the group using the Group alias. Navigate to Group Alias settings in Advanced settings to add an alias. Enter the desired email address and choose a domain from the dropdown. Click on the Add button to create the group alias.
You can hover over the aliases listed in this section to make an alias the default email address or to delete it.

Note:
If your account reaches the maximum number of group email aliases, contact support@zohomail.com.
Email Delivery
You can enable or disable the following settings from the Email Delivery section:
- Deliver emails only if the group address is in TO or CC
- Allow members to send emails using the group email address as the From address

Auto Response
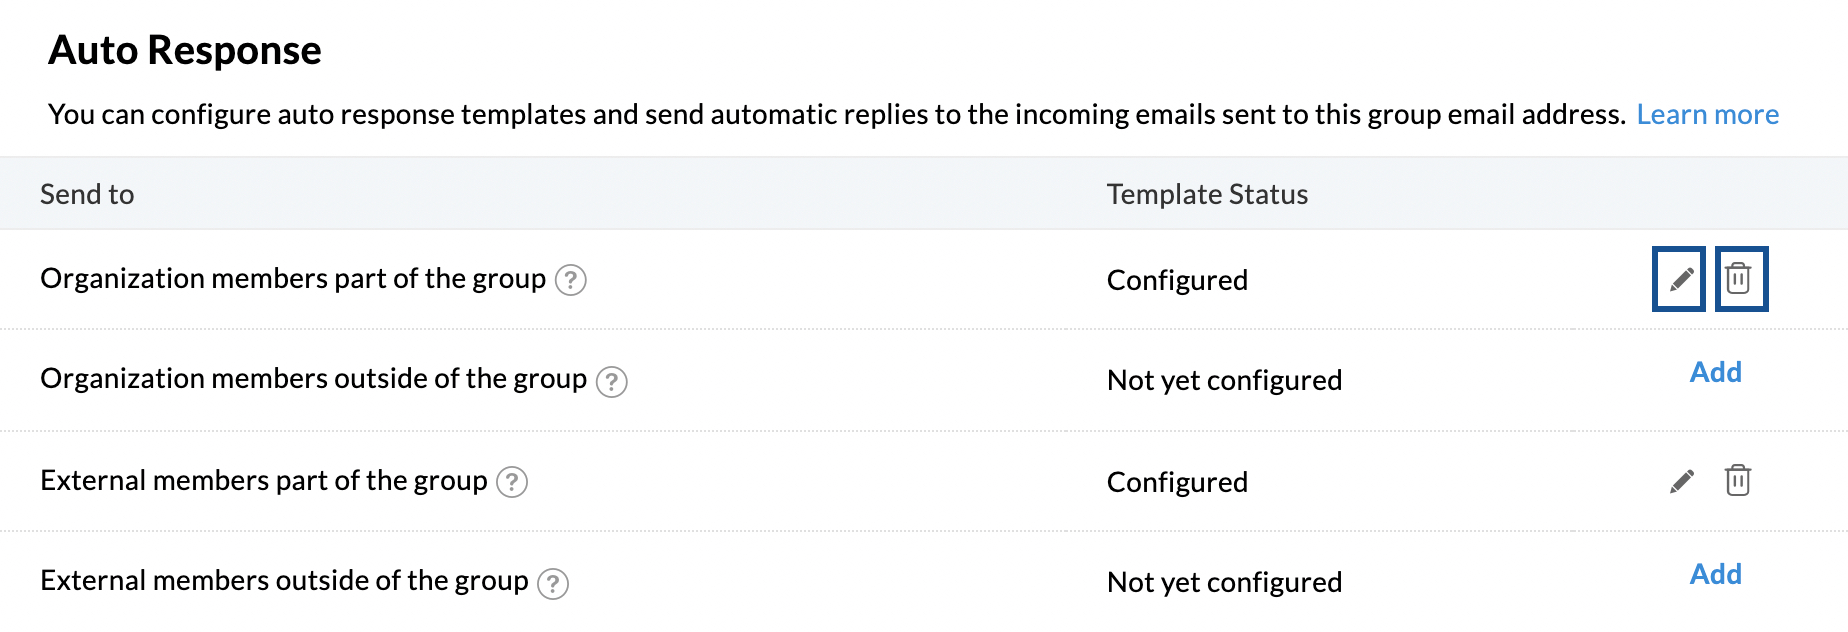
The Auto-Response setting can be used to configure automatic reply templates based on the sender's type in the groups. The types of senders are listed under the Send to section. You can set up Auto-Response based on the following type of senders:
- Organization members part of the group - These are the members who are part of the organization and the group to which the email is received.
- Organization members outside of the group - These are the members who are part of the organization but not a member of the group.
- External members part of the group - These are the members who are not a member inside the organization but a part of the group.
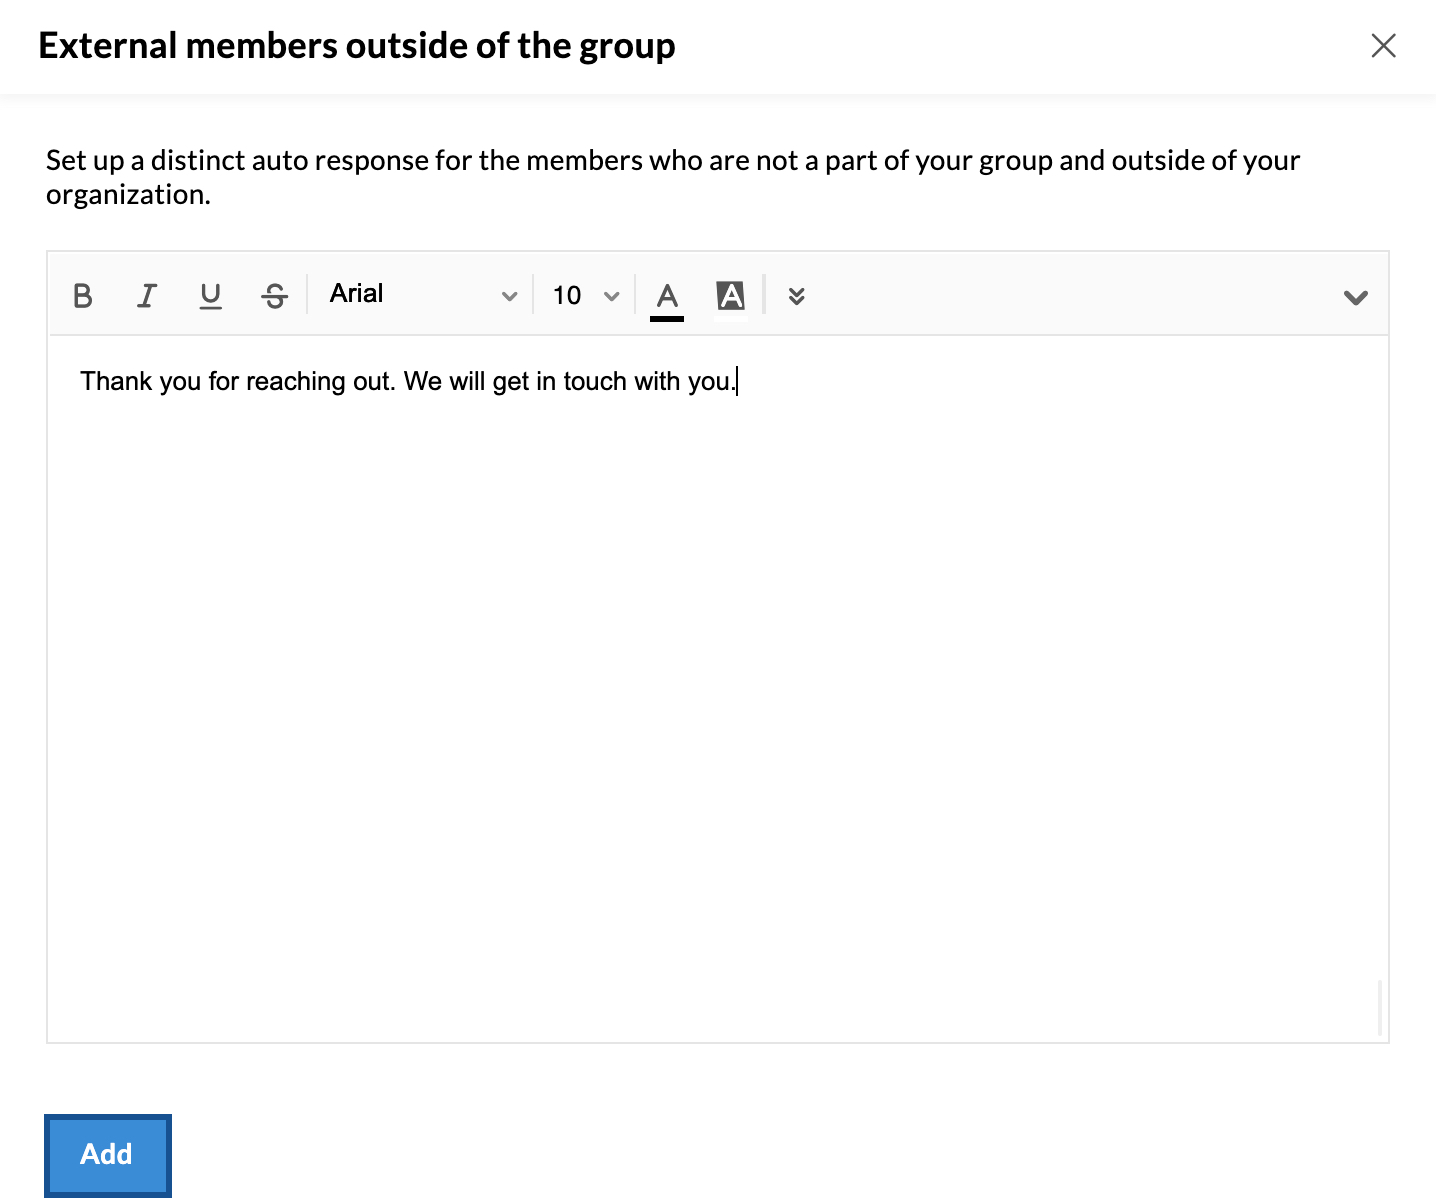
- External members outside of the group - These are the members who are not a member of the organization as well as the group.
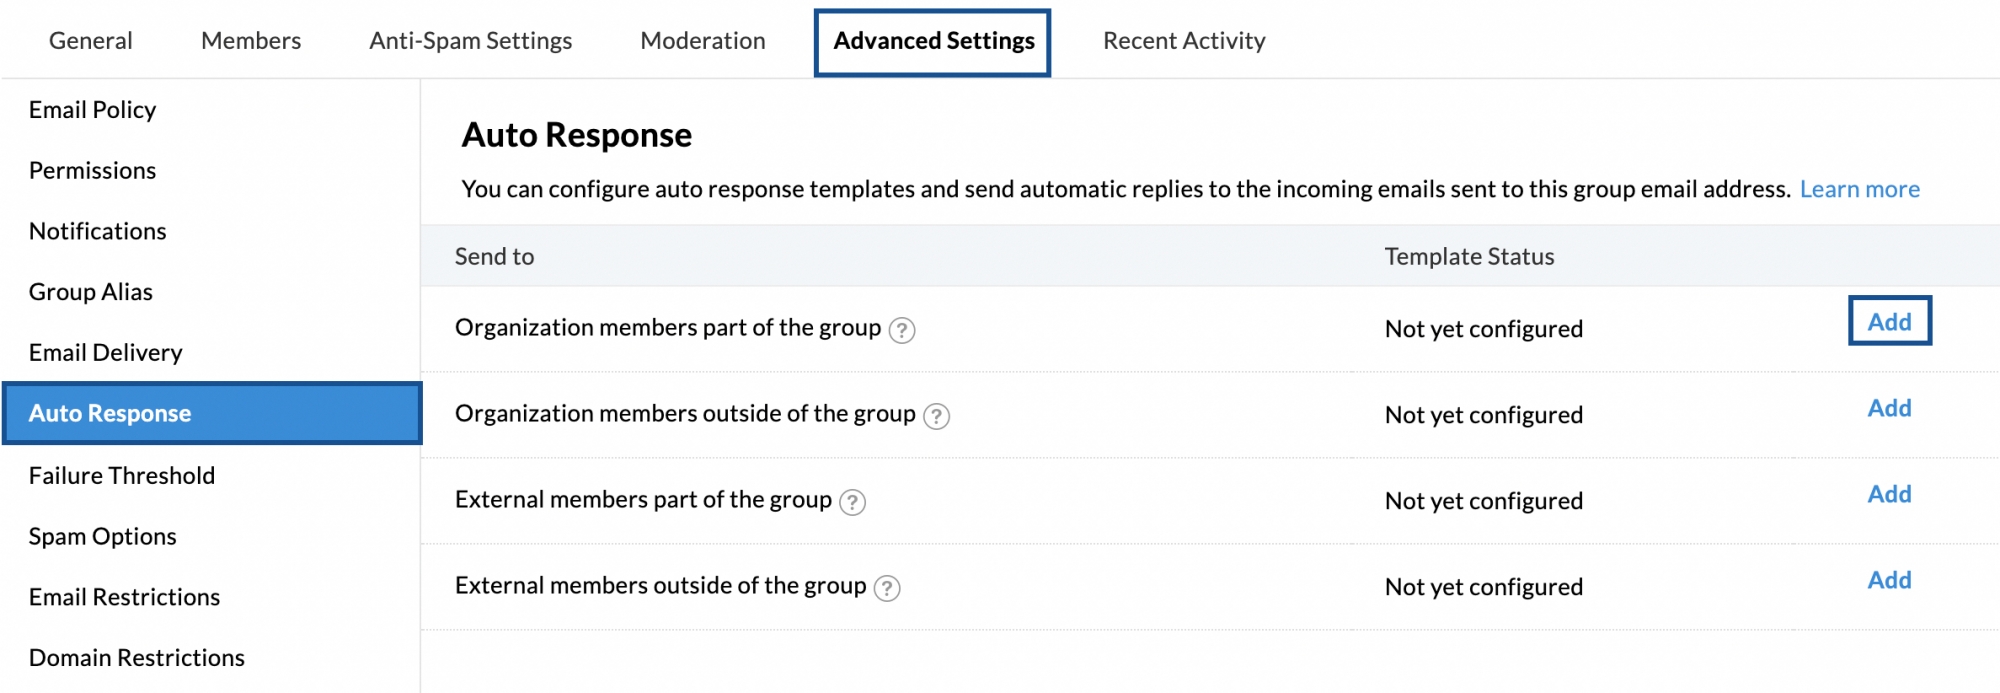
The Template Status section will indicate whether or not the auto-response template has been configured. If the template is not configured, click on Add given to the right of each sender type. In the compose window provide the response template for the chosen type of sender. You can make use of the formating tools given on top of the compose window. Click Add to save the auto-response template.
You can Edit/ Remove the configured response template by using the icons provided on the right end of each response type.
Failure Threshold
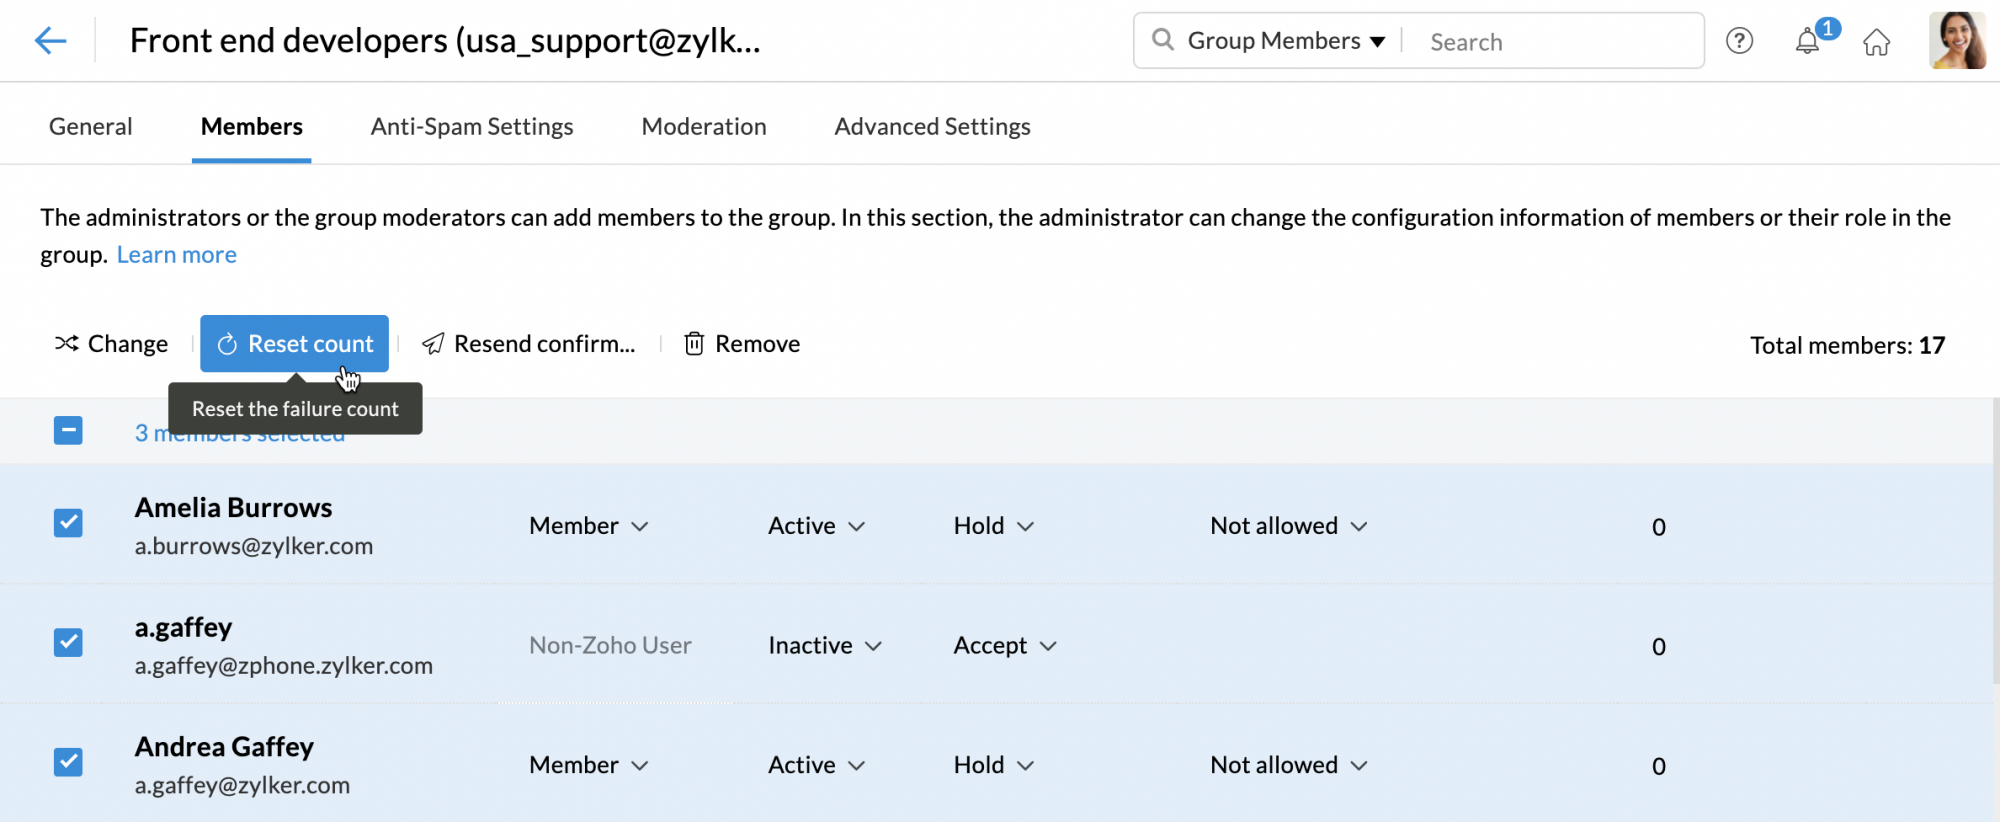
You can set a failure threshold for failed email deliveries to the group members. If an email from the group to a group member does not get delivered and gets bounced back continuously and crosses the set threshold, any future emails to that member will automatically be skipped. If the email is successfully delivered after a few failed deliveries, provided the count is less than that of the threshold value, the failure count automatically resets itself to 0. You can set a failure threshold value between 10-100.
For example, consider a group named Zylker Marketing and rebecca@zylker.com is a group member. Let's say you set the failure threshold to 10. If the emails addressed to Rebecca from the group gets continuously bounced back and crosses 10, any emails sent from the group to Rebecca in the future will automatically be skipped.

You can see the failure count of each member in the final column of the Members section. The admins and the moderators can choose to reset the failure count of any member.
Email Restrictions
You can add email addresses of your choice in this section and choose an action for the emails sent from the address. Click the add button to enter the email addresses and choose one of the following actions:
- Allow emails
- Hold emails for approval
- Reject emails
Once done, click Add.
Domain Restrictions
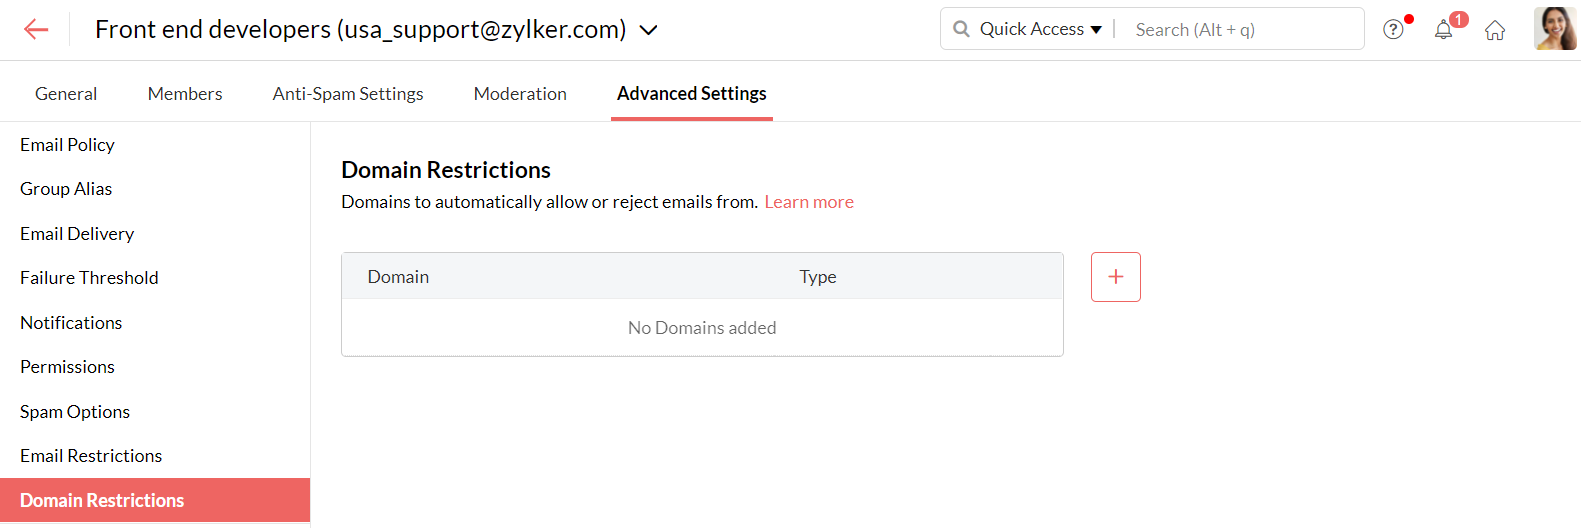
You can add domains of your choice in this section and choose an action for the emails sent from the domain. Click the add button to enter the domain and choose one of the following actions:
- Allow emails
- Hold emails for approval
- Reject emails
Once done, click Add.
